 As always, Happy Junkin'!
Uncategorized
Junkin Tips & Tricks: 45
UncategorizedComment As always, Happy Junkin'!
Junkin Tips & Tricks: 44
UncategorizedComment As always, Happy Junkin'!
Junkin Tips & Tricks: 43
UncategorizedComment As always, Happy Junkin'!
DIY Steampunk Halloween Mask
UncategorizedComment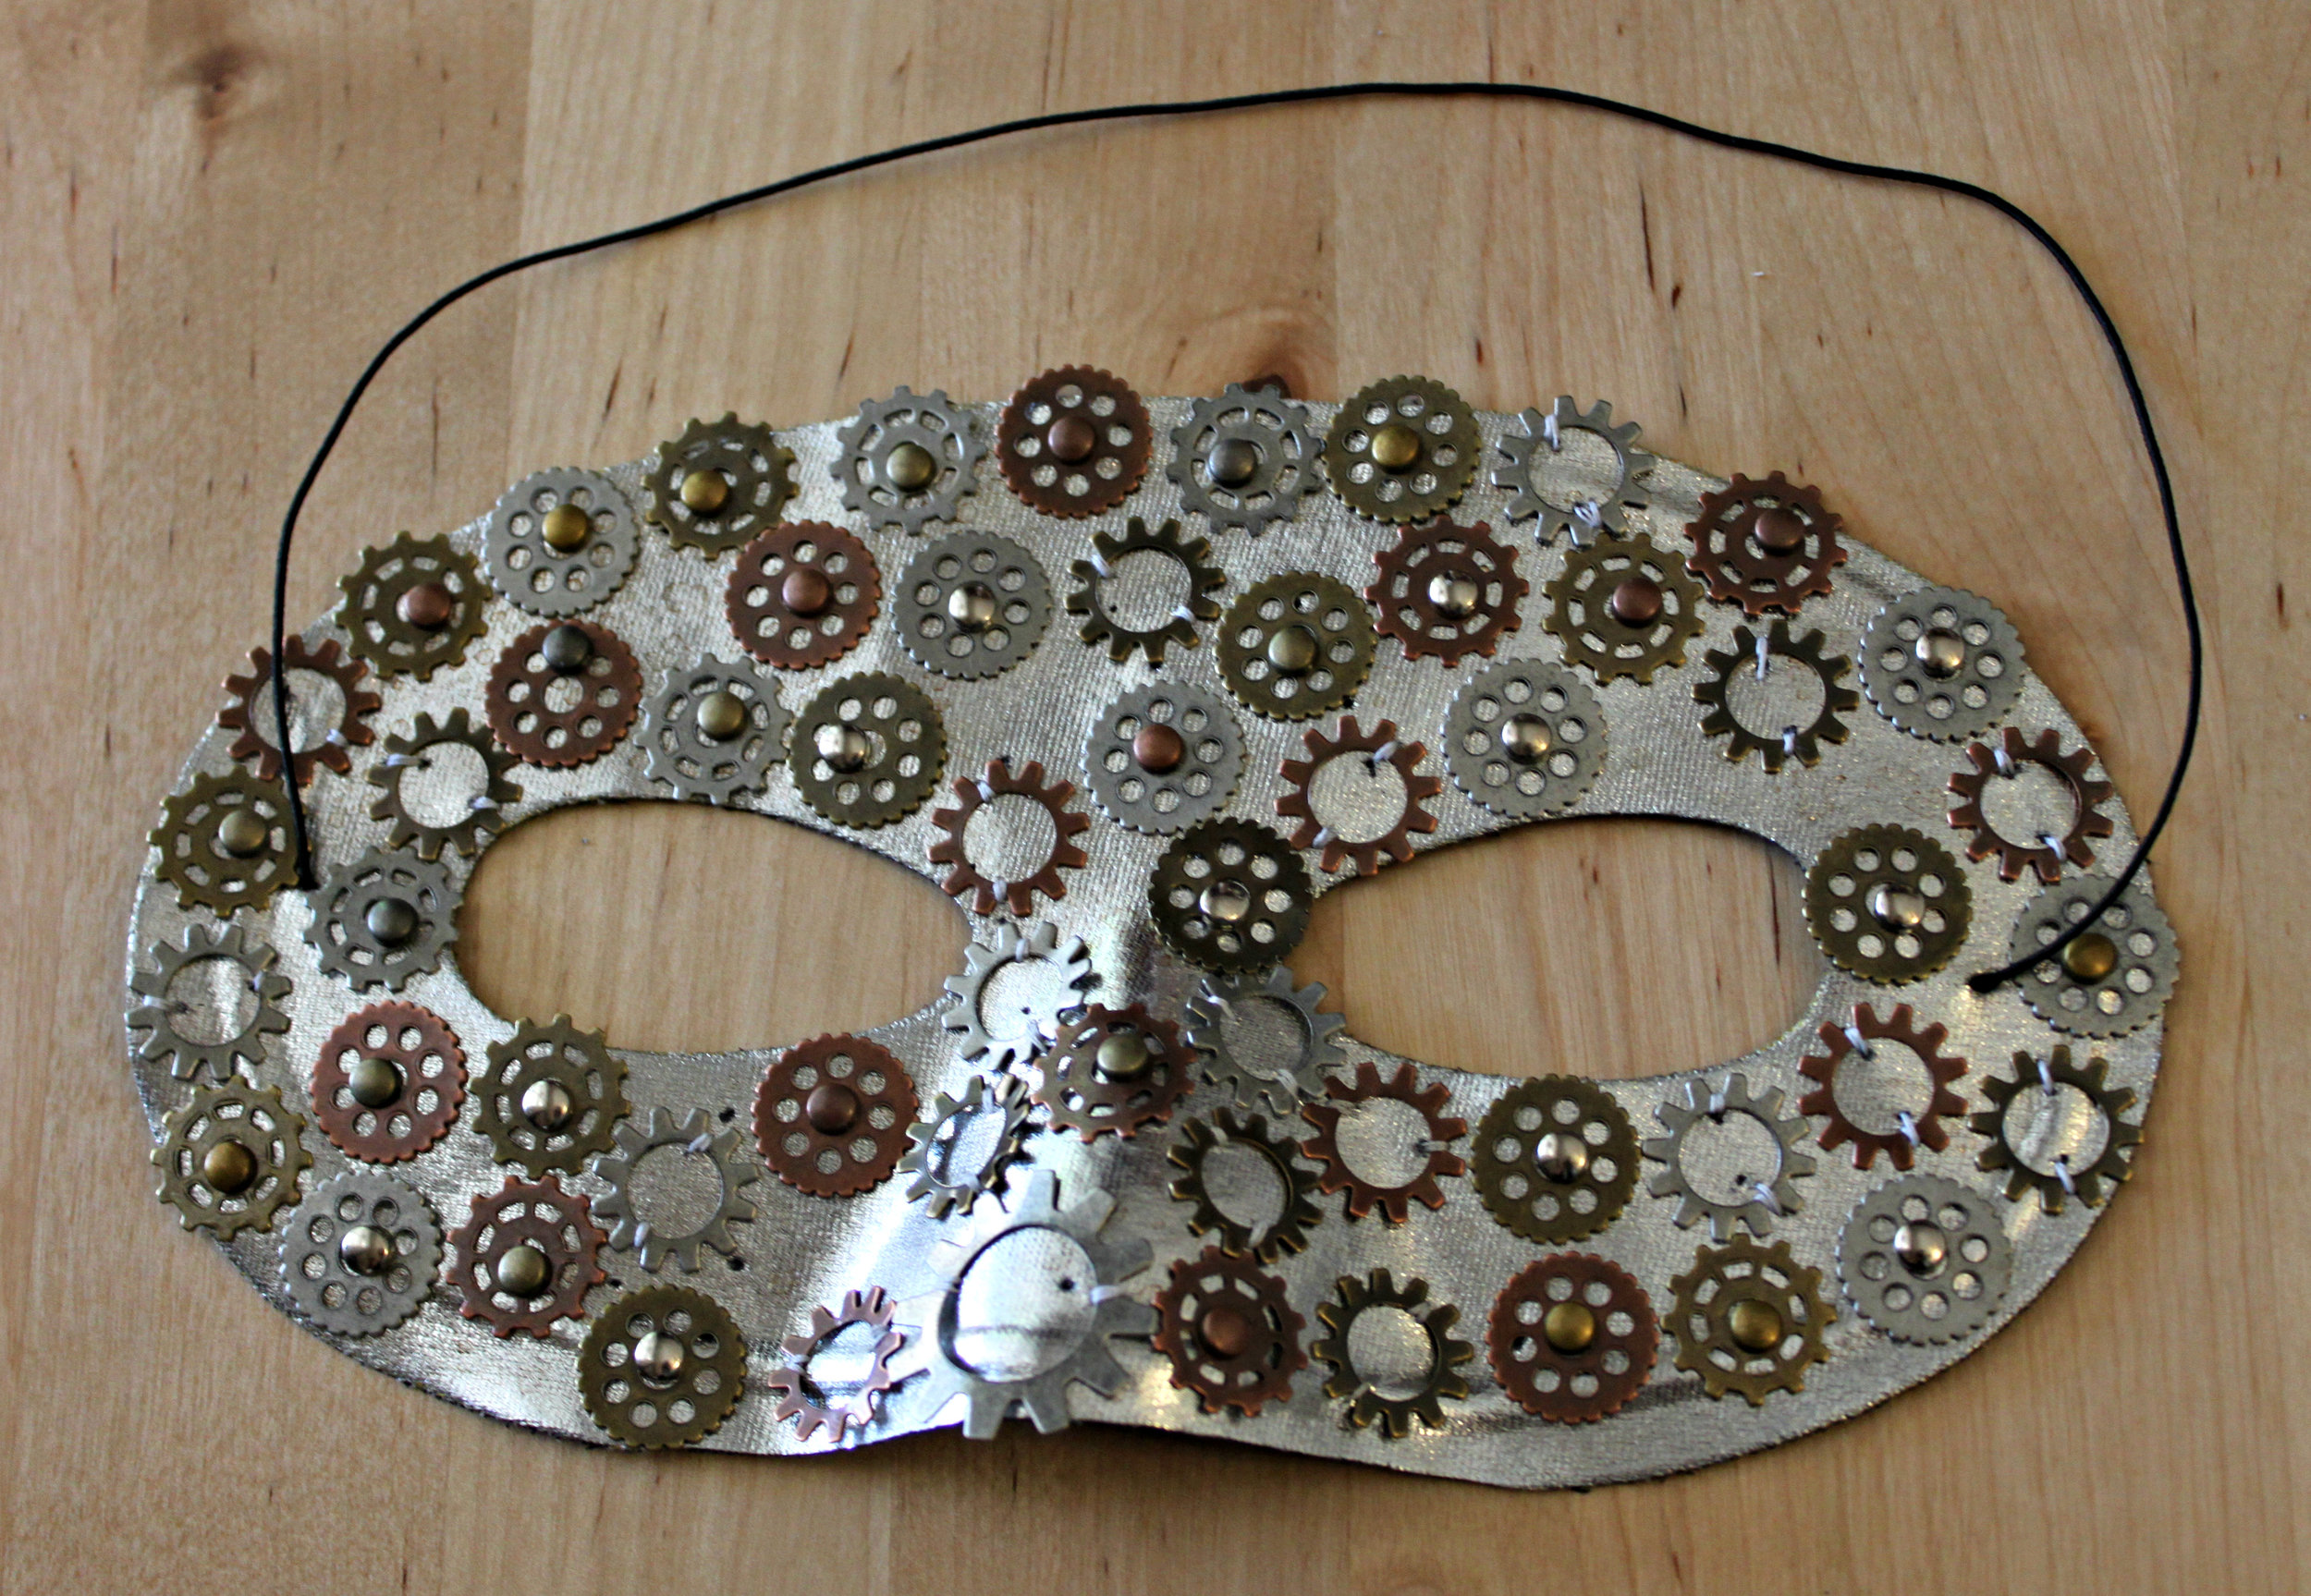 Here's is the 2nd DIY Halloween mask I've created this year. It's simple, yet time intensive to create. Here's what you'll need:
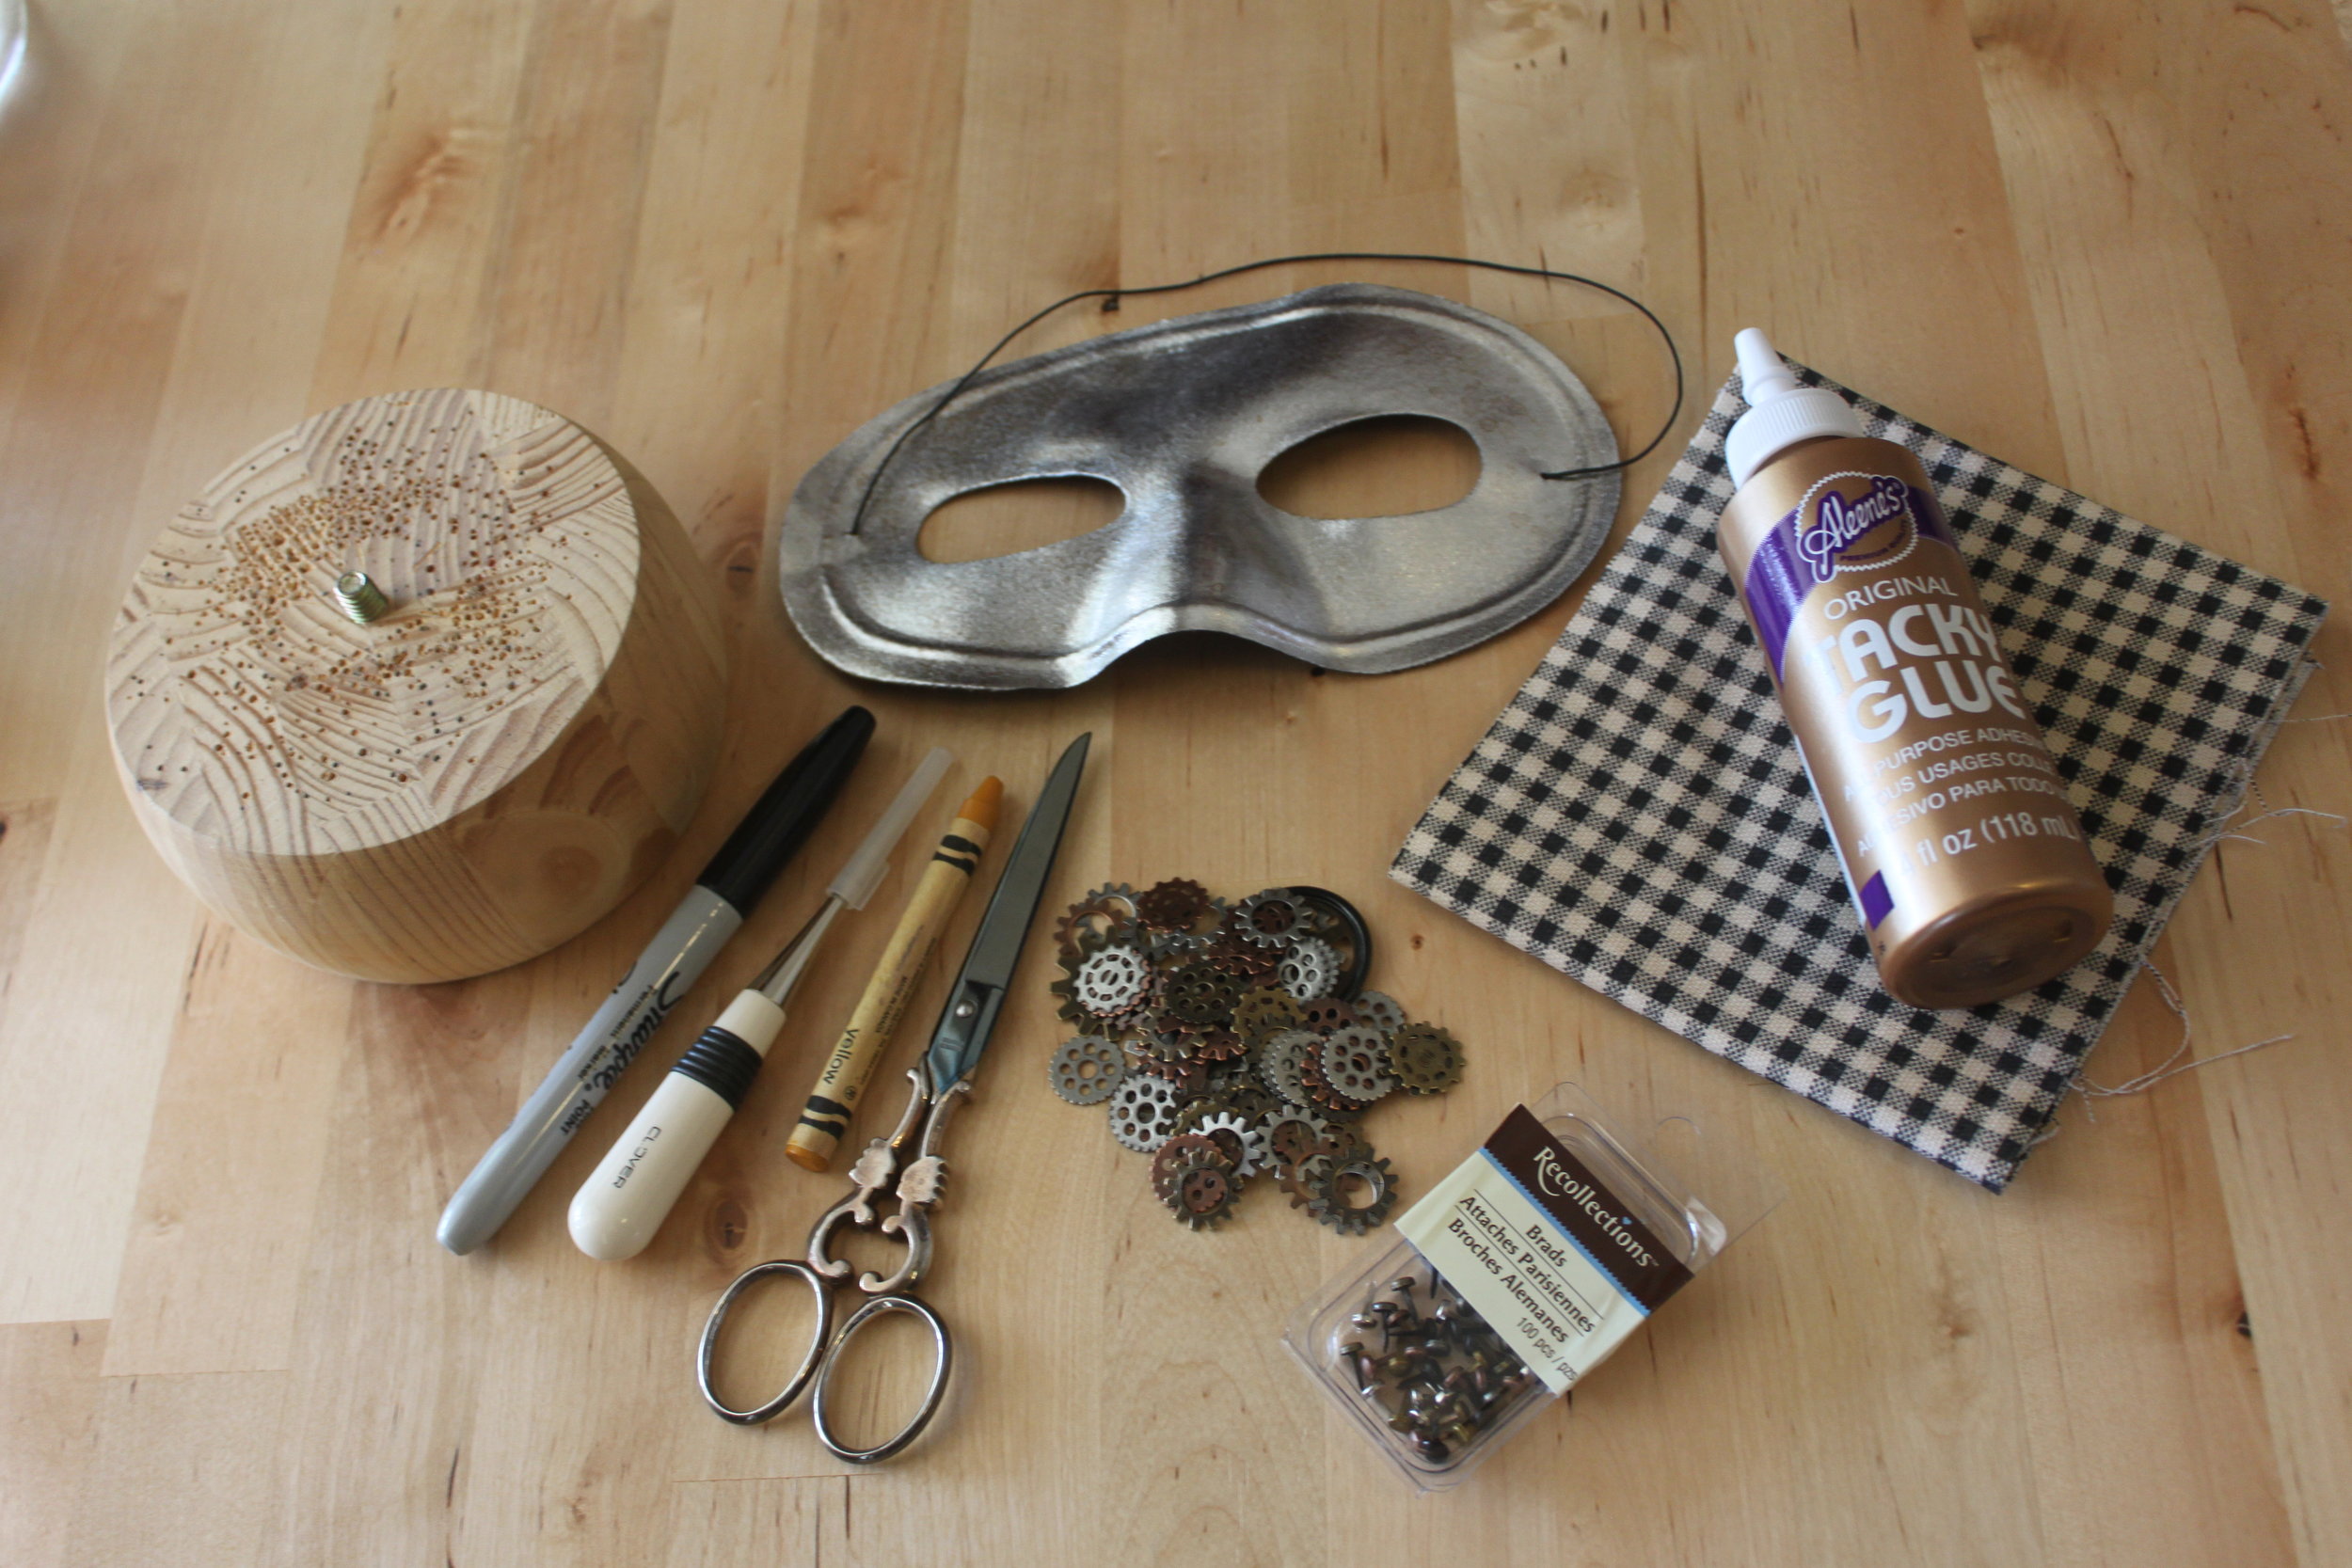
- Mask (I purchased mine from Party City for 99 cents)
- Reproduction Gears (I don't recommend using actual gears since the weight of real gears will pull the mask away or down from your face because of the additional weight)
- Brads
- Needle & thread (matching the color of your mask)
- Embroidery needle
- Marker, fabric crayon, or chalk
- Scissors
- Tacky Glue (or any other all-purpose glue)
- An awl
- Cotton Cloth or felt (for backing your mask)
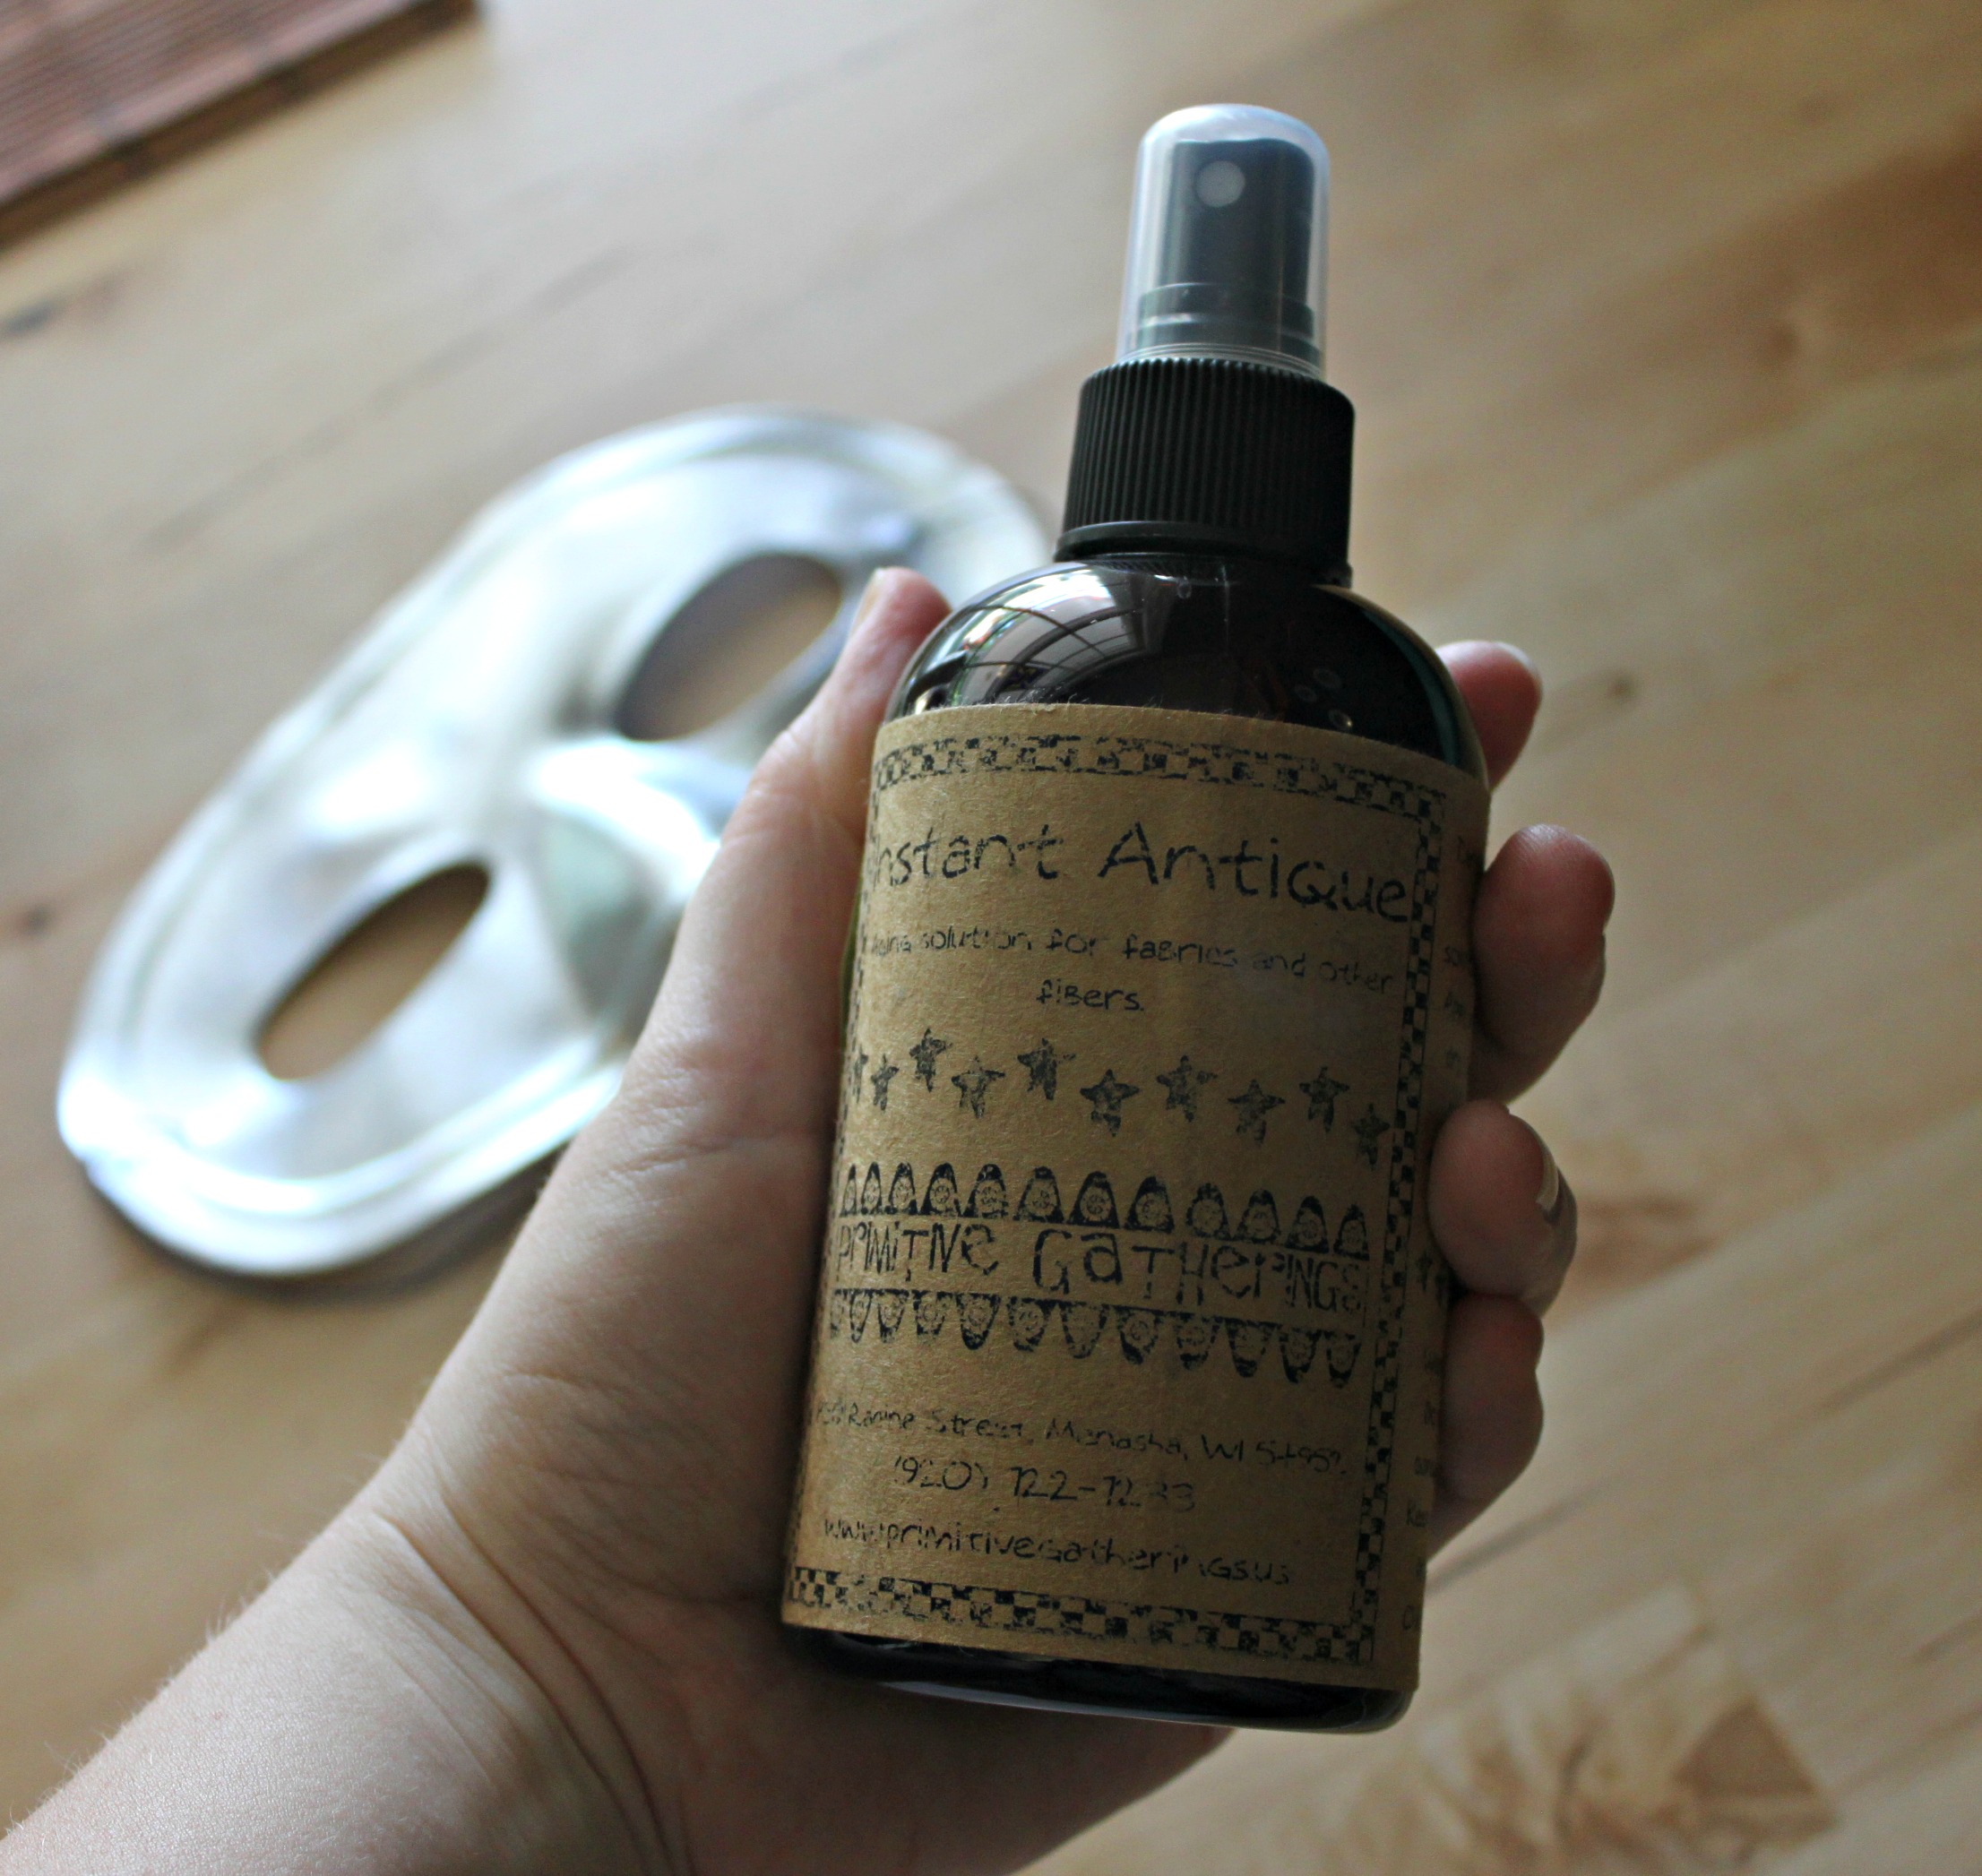
- Fabric Antique Spray (optional)
- Work surface (I have a portable thick wood piece that I use)
- Antique your mask (optional). I used an antique fabric spray. It dulled the newness of the mask nicely.
- Untie your elastic head strap from your mask. Set elastic aside for later.

- Spread your cloth (or felt) out flat on the table. Trace the outline of your mask & the eye holes with chalk or fabric crayon.
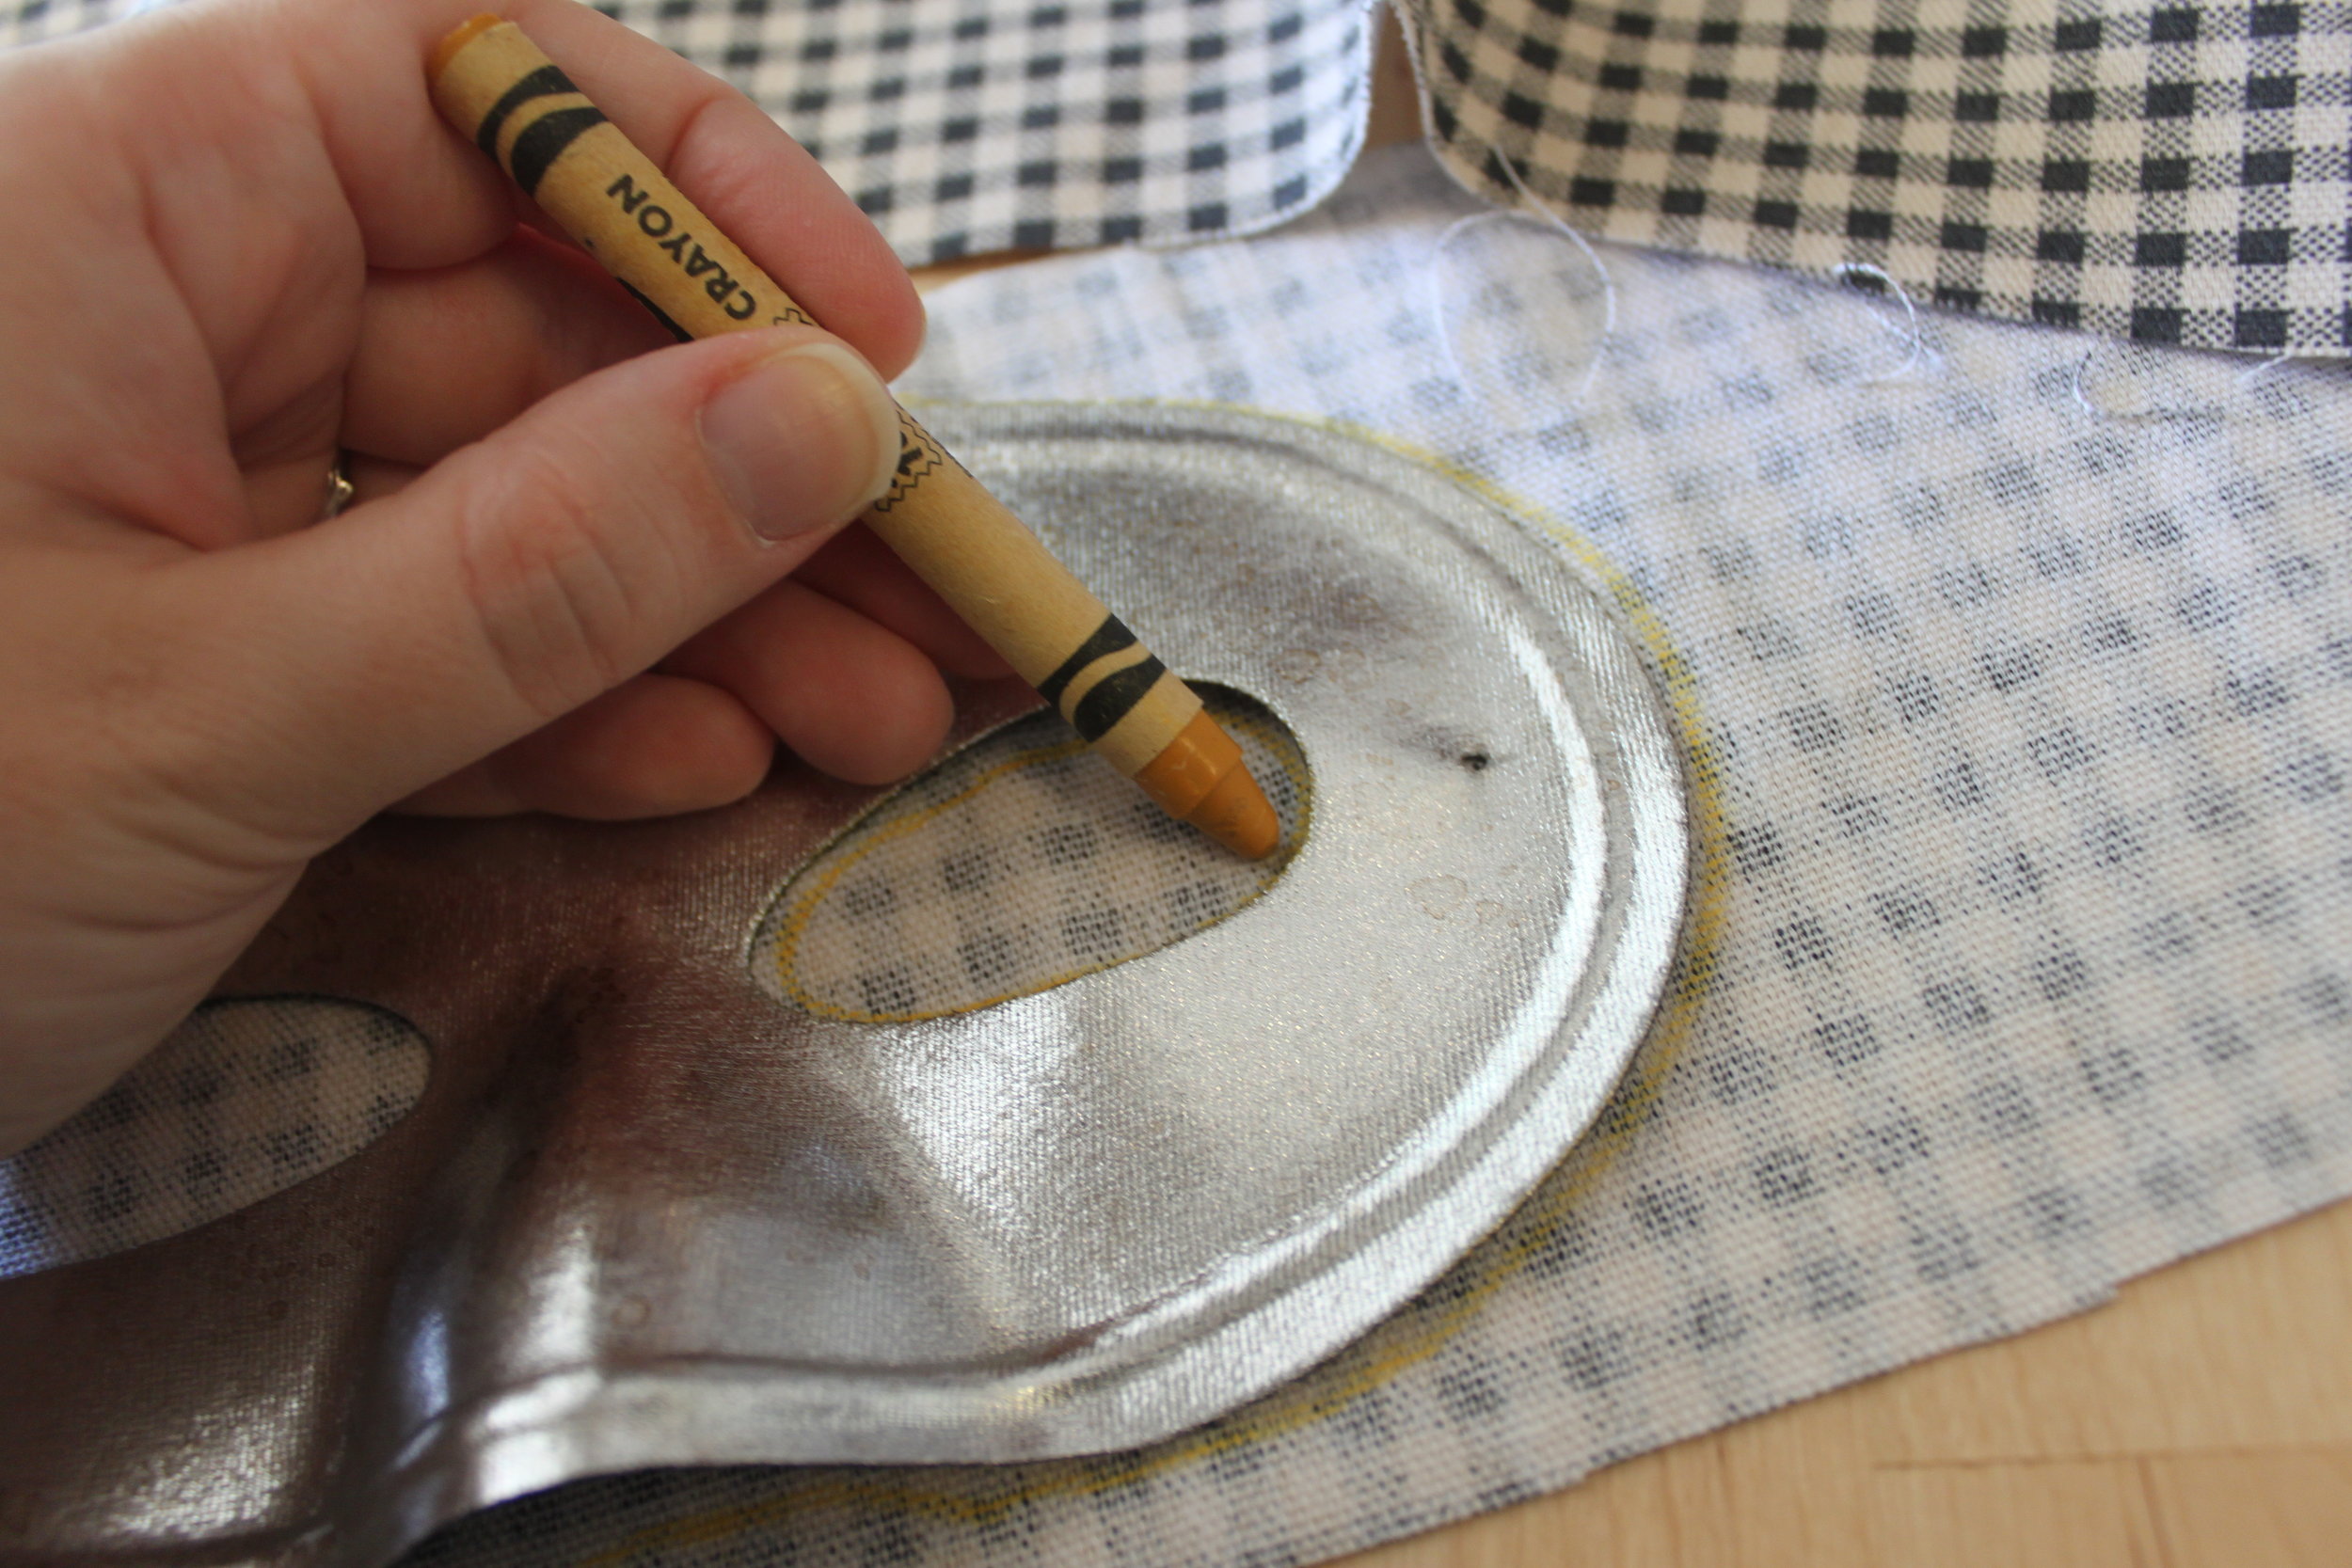 Here's what it should look like fully traced. Be sure to also mark where your holes are for re-attaching your elastic band.
- Cut inside the lines you've created for yourself. Cutting inside the lines ensures that your cloth won't stick out past your mask & be seen from the front.
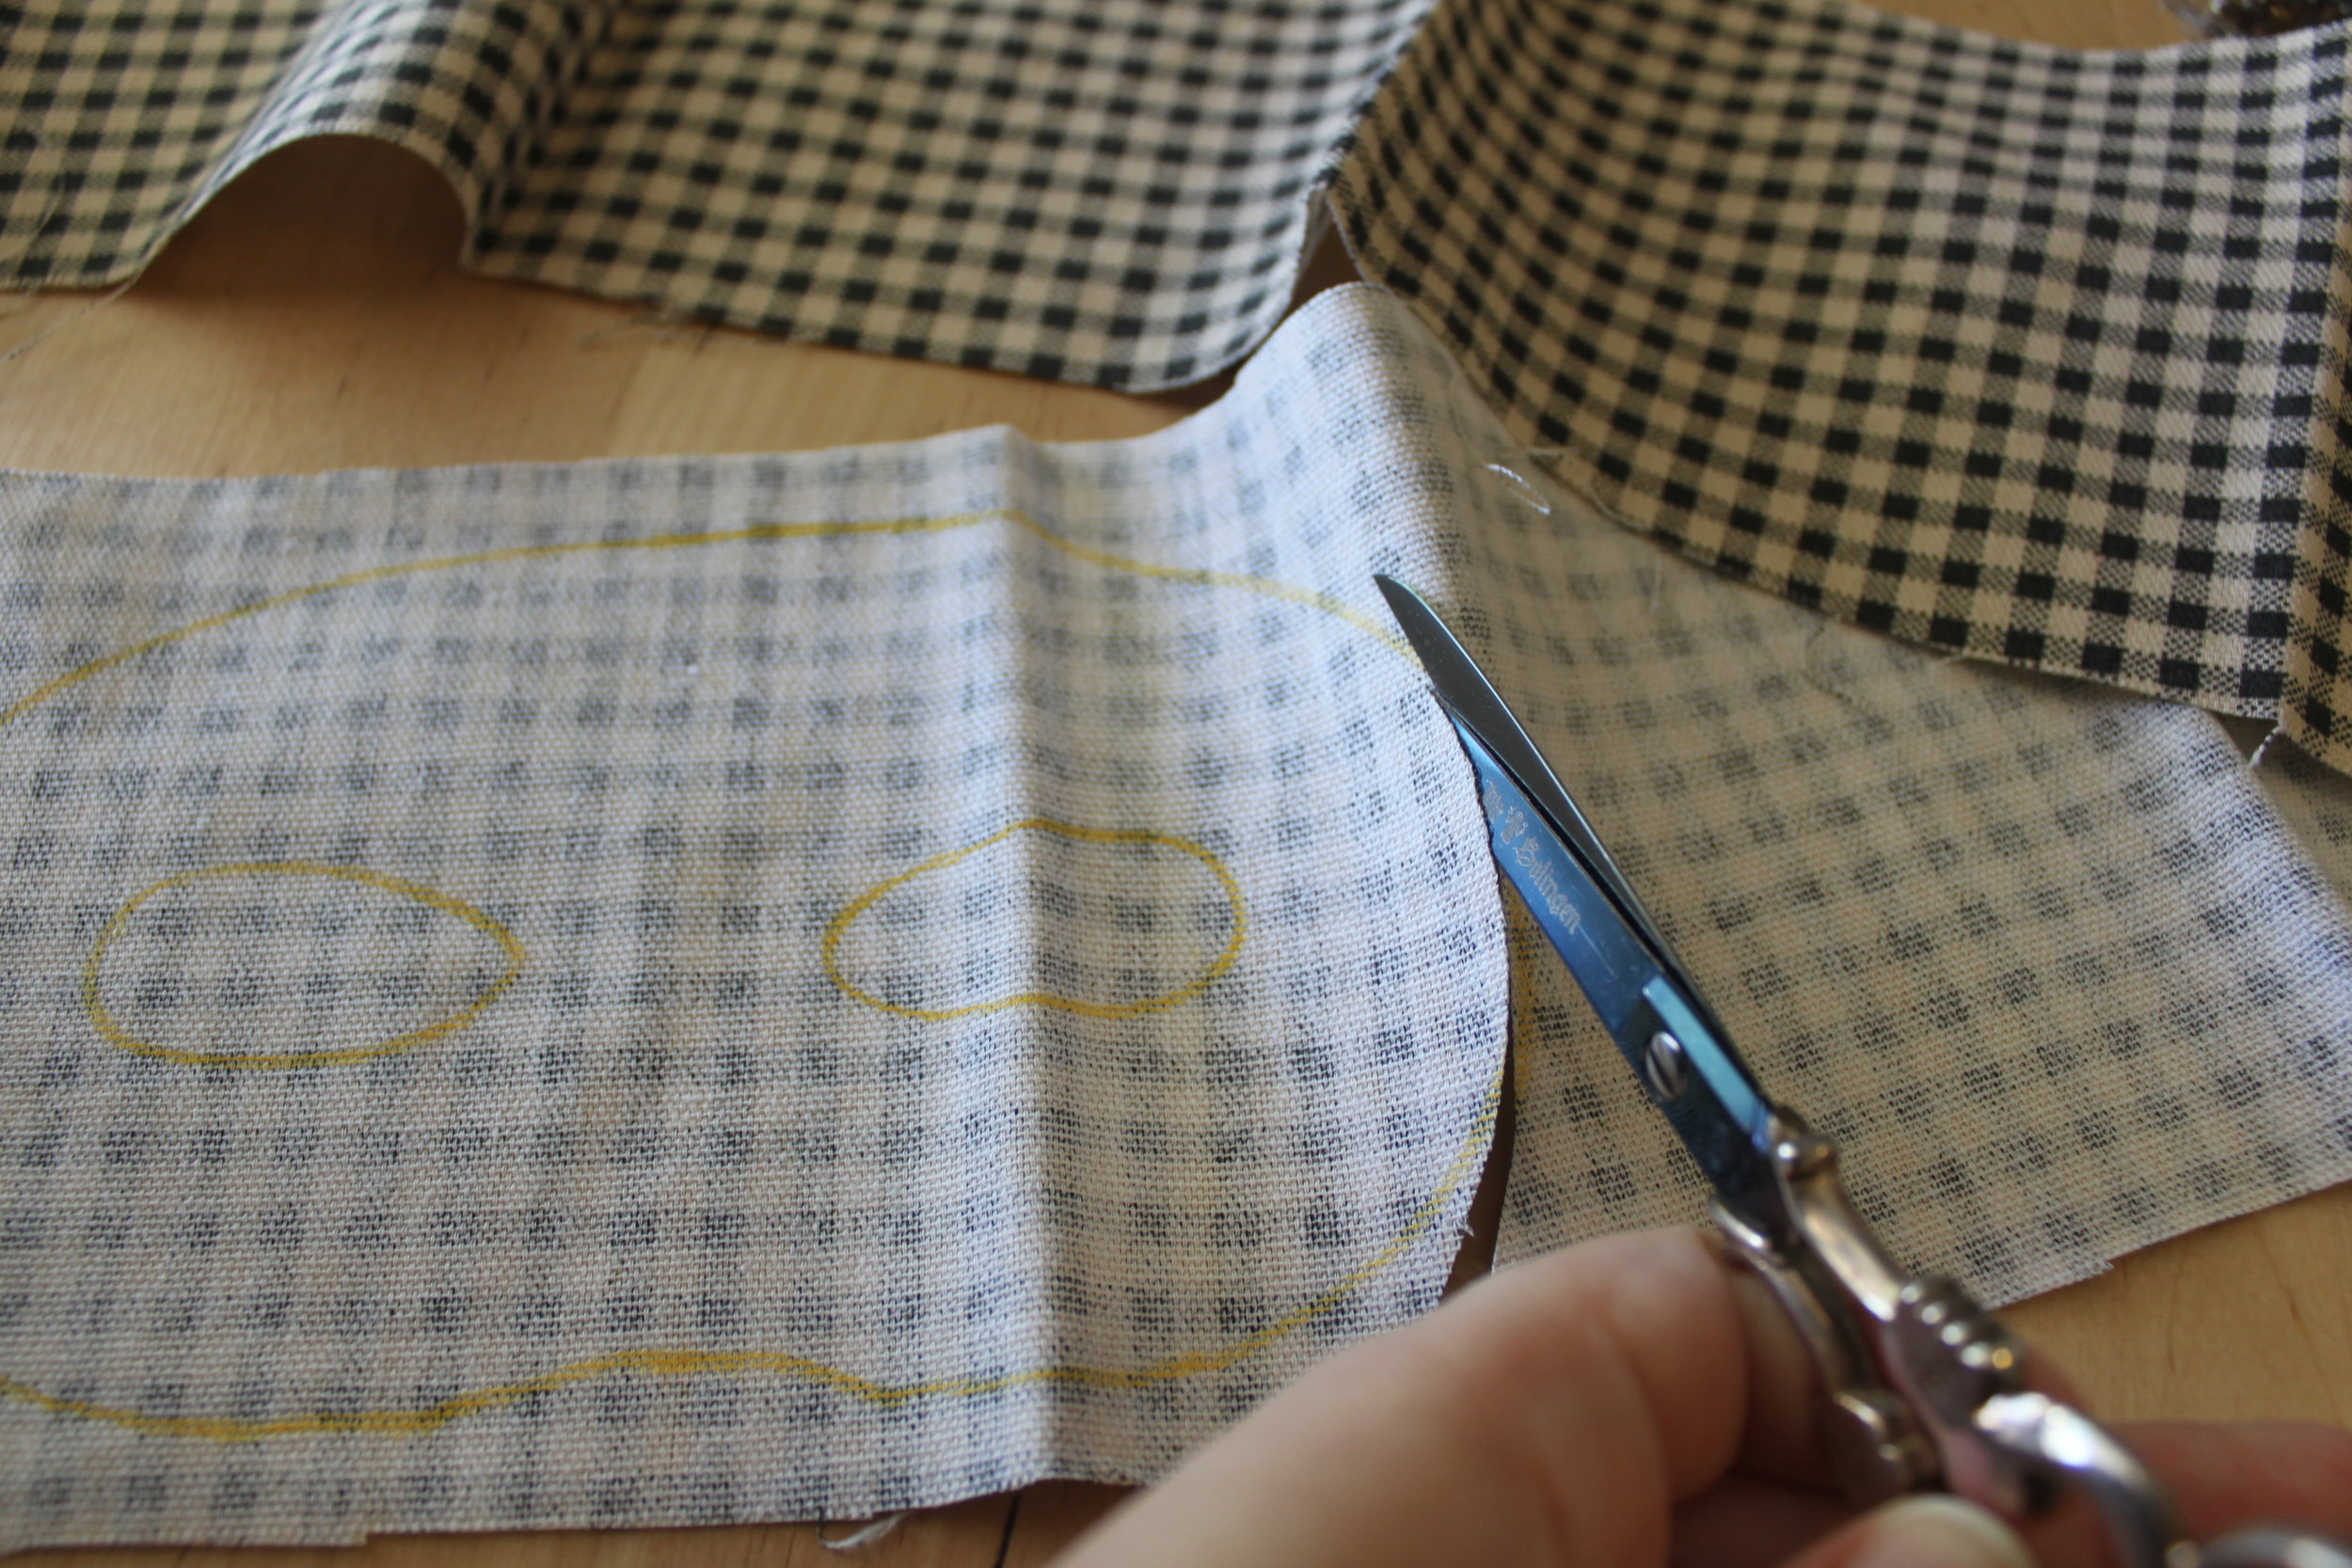
- Once you've finished cutting around the outside of your mask, it's time to cut out the eyes. Begin by partially folding your mask and cutting slits in the middle of the space for the eyes.

- After you've made these slits, it will be easier to maneuver your scissors to cut the holes for the eyes.

- Place your cut cloth (or felt) piece on the back of your mask. Trim any fabric that hangs over your mask. Set aside.

- Now you can begin placing your gears onto your mask. I like to figure out placement before permanently fixing the gears to the mask. Take a picture once you're done so that you can easily remember your gear placement.

- Once you're happy with the placement of your gears--mark where you'll need to place brads (or stitches) with a marker or piece of chalk. I suggest using a writing utensil that will either wash away or blend into your mask. (Please note that I have not done this & some of my markings do still show. I wanted this step to be clear and so I used a black sharpie instead of a silver one.)

- Remove all gears from your mask. On your work surface, begin poking small holes using your awl on the places you've marked. Be sure that your holes are not too big.
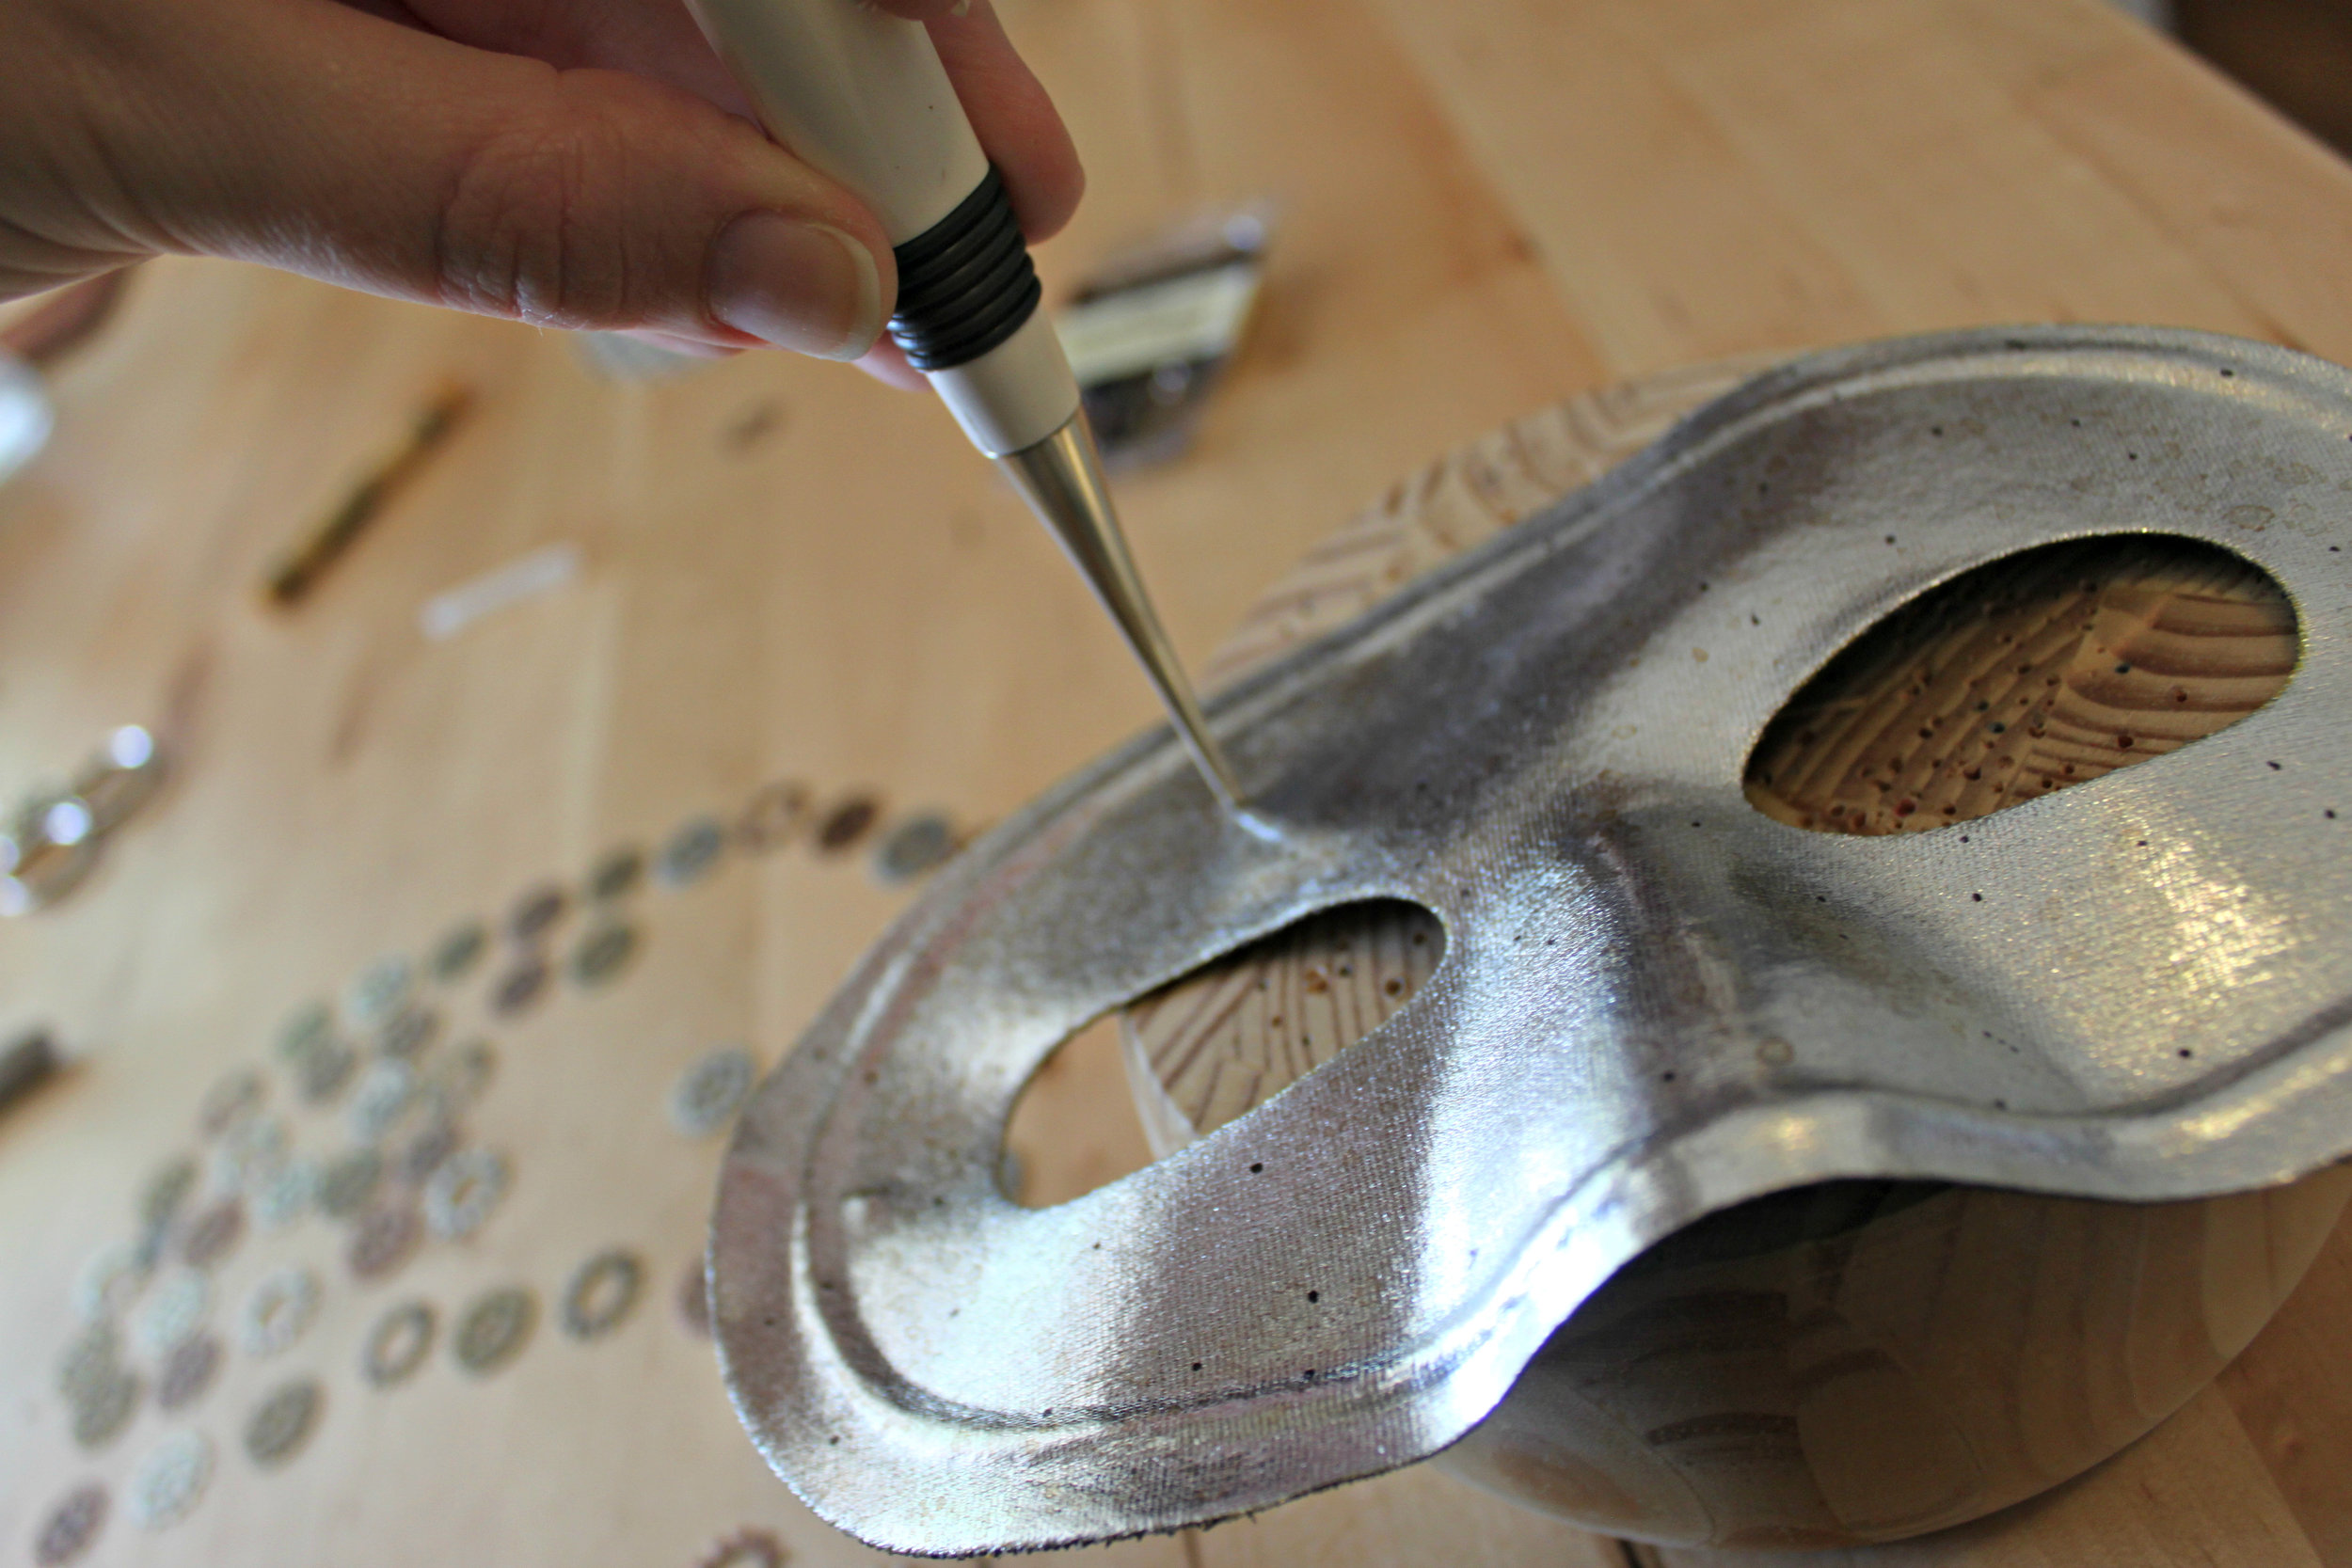 Here is the mask with all of its holes made.
- Now you can start attaching your gears in place! Pull up your picture to help you recall placement. Affix each gear using a small brad. Load your brad first with the gear and then the mask. Push the brad firmly in place.
 Flip over your mask to the back side and pull apart the brad's two prongs while holding the front of the brad firmly in place with your finger.
  You can also sew the brad onto your mask using a needle & matching thread. This is not as quick as using a brad, but for gears that cannot be affixed to your mask with a brad (i.e. a gear with a huge gap in the middle), this is the only method that works. Be sure to keep your stitches tiny & neat, tie sturdy knots on the back of your mask, and to place at least 2 stitches for each gear (on opposite side of each other to keep the gear from flapping around).
- Once you've attached all of your gears, flip over your mask to the back side. Using tacky glue (or any all-purpose glue), spread an even amount of glue over all of your cloth (or felt) mask piece.

- Press the cloth piece in place. Smooth out any air bubbles. Let the glue dry completely (approximately 10-15 minutes; and for felt, 15-20 minutes).

- Grab your elastic that you set aside earlier. To re-attach it, thread it onto an embroidery needle & pull it through the existing hole. Be sure to pull the elastic from the front of the mask to the back.
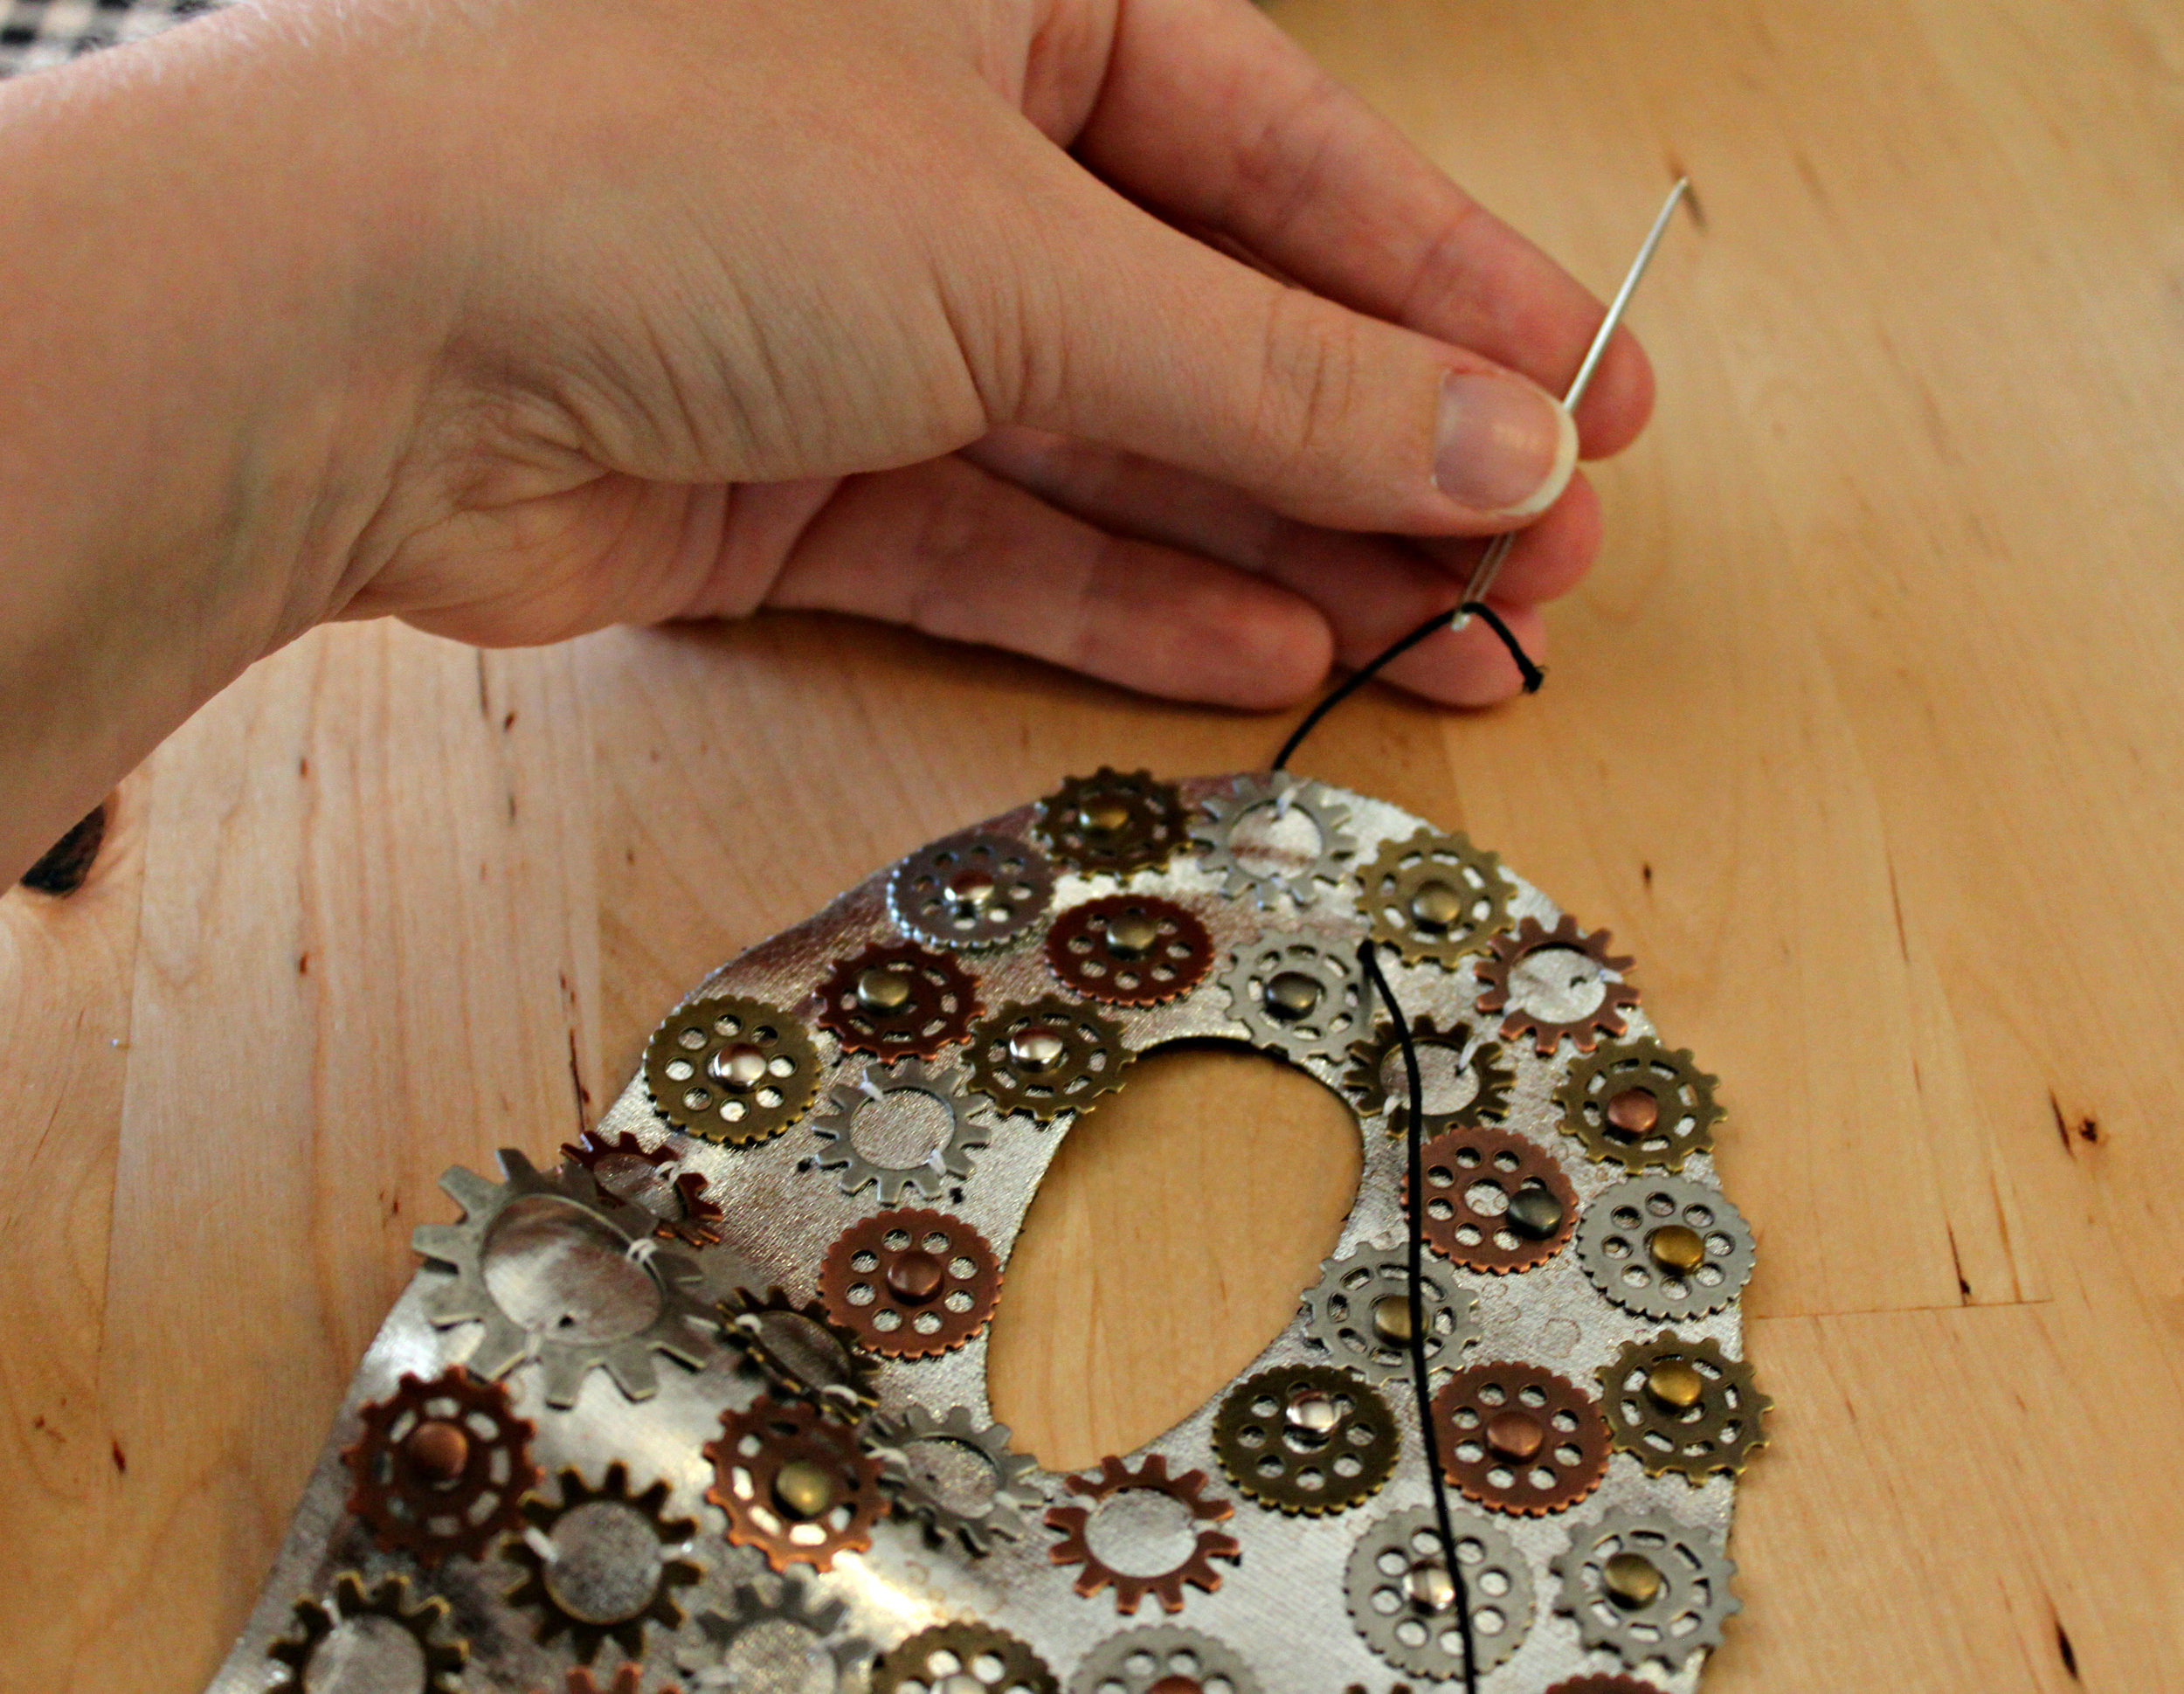
- Remove the elastic from the embroidery needle & knot it.

- Repeat steps 14 & 15 for the other side.
- Wear proudly!
 As always, Merry Making! I am also excited to announce that I will be teaching a class on how to make this very mask at the Schusterman-Benson Library on October 21st! Check out more details here! I am also co-organizing Swap-o-Rama-Rama again & this year it's better than ever! We're swapping & re-vamping Halloween costumes! RSVP on Facebook. Also tune in to Good Day Tulsa on Tuesday (Oct. 14th) between 9-10 am to hear more about our fun projects!
Junkin Tips & Tricks: 42
UncategorizedComment As always, Happy Junkin'!
Junkin Tips & Tricks: 41
UncategorizedComment As always, Happy Junkin'!
DIY Steampunk Filigree Halloween Mask
Uncategorized1 CommentHere is my last DIY Halloween mask for this season...and it may just be my favorite. I love the gleam of metal once light touches it and this mask gleams brightly!  The wonderful thing about a detailed accessory such as this is that your costume can be more subdued (paired with a simple dress, gloves, and jewelry) and still be breathtaking & memorable.
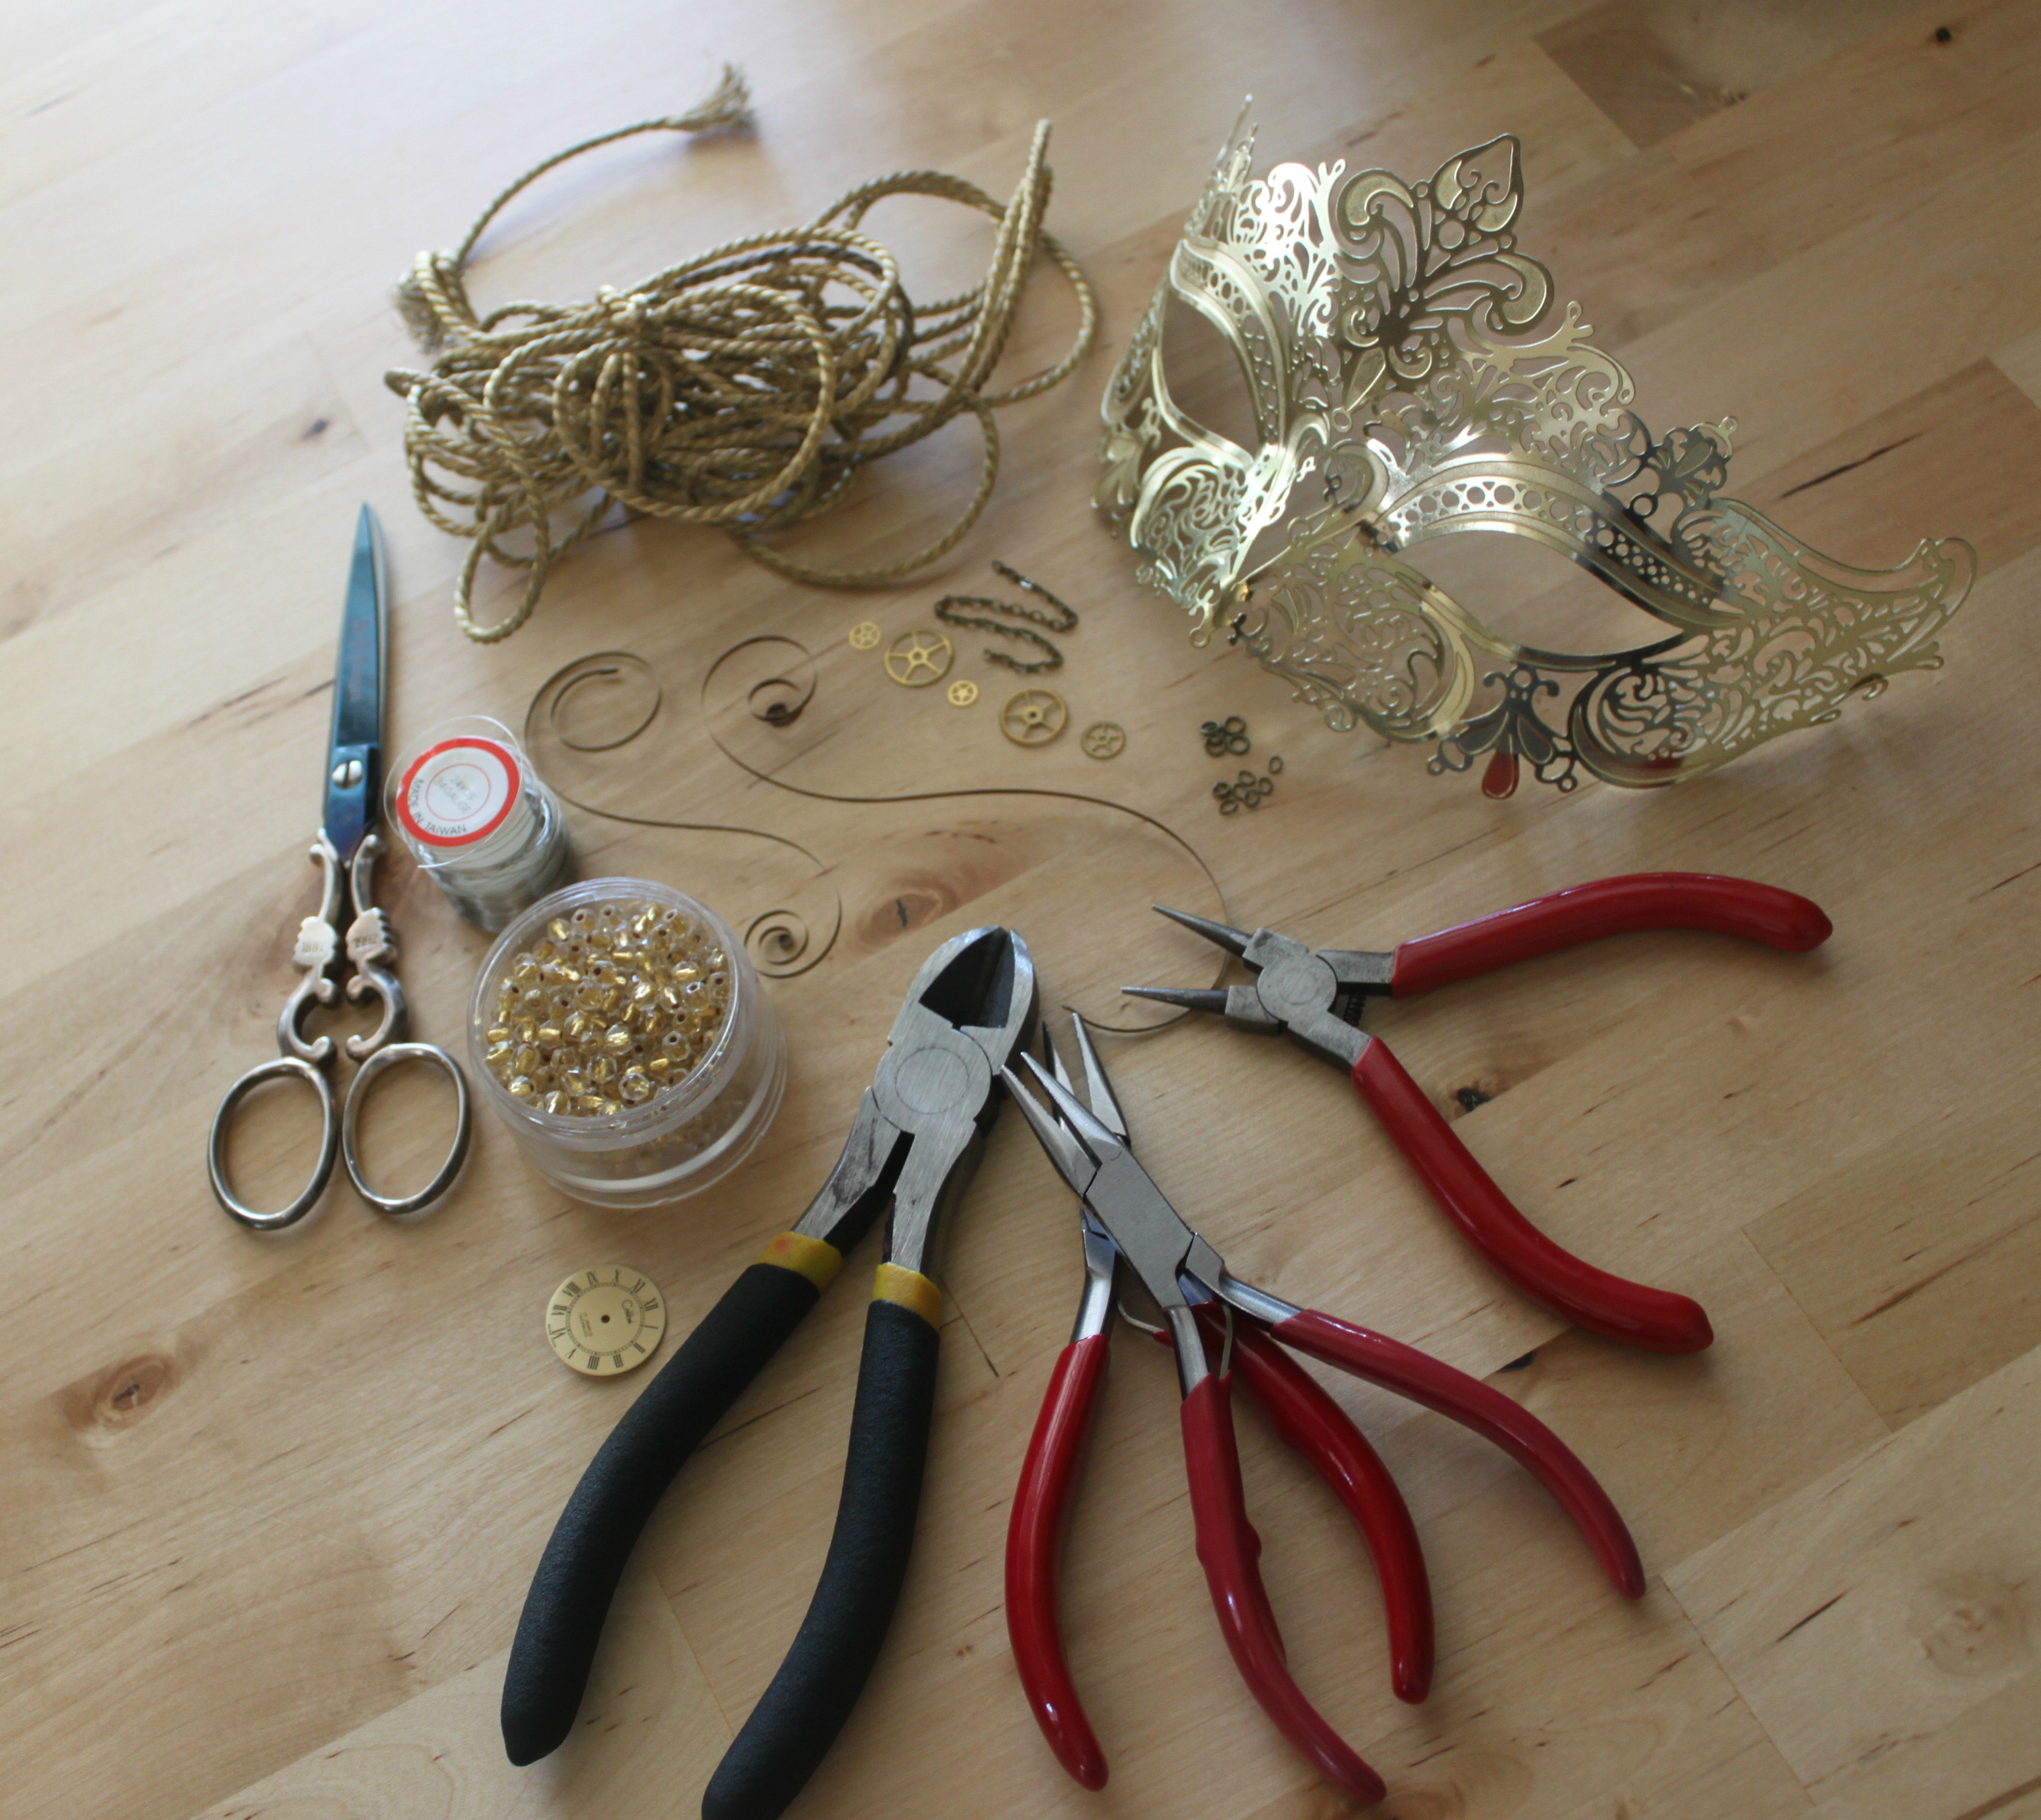 Here's what you'll need:
- Metal Filigree Mask (I purchased mine from Party City for $14.99)
- Gold Ribbon
- 1-2 inches of gold or brass chain
- Jump rings (assorted sizes)
- Gold foil beads (or any beads that suit your taste)
- Headpins
- Clock Face
- 1 brad (preferably matching the color of your clock face)
- 2 clock springs (preferably from a wristwatch--they are the easiest to manipulate & cut)
- Clock gears (I used 5; you can use more if desired)
- 34 gauge jewelry wire (or any fine wire)
- Scissors
- Wire cutters
- Flat nosed pliers
- Needle nosed pliers
Steps:
- Begin by adding your chain to your mask. To attach the chain, use your flat nosed pliers & jump rings.
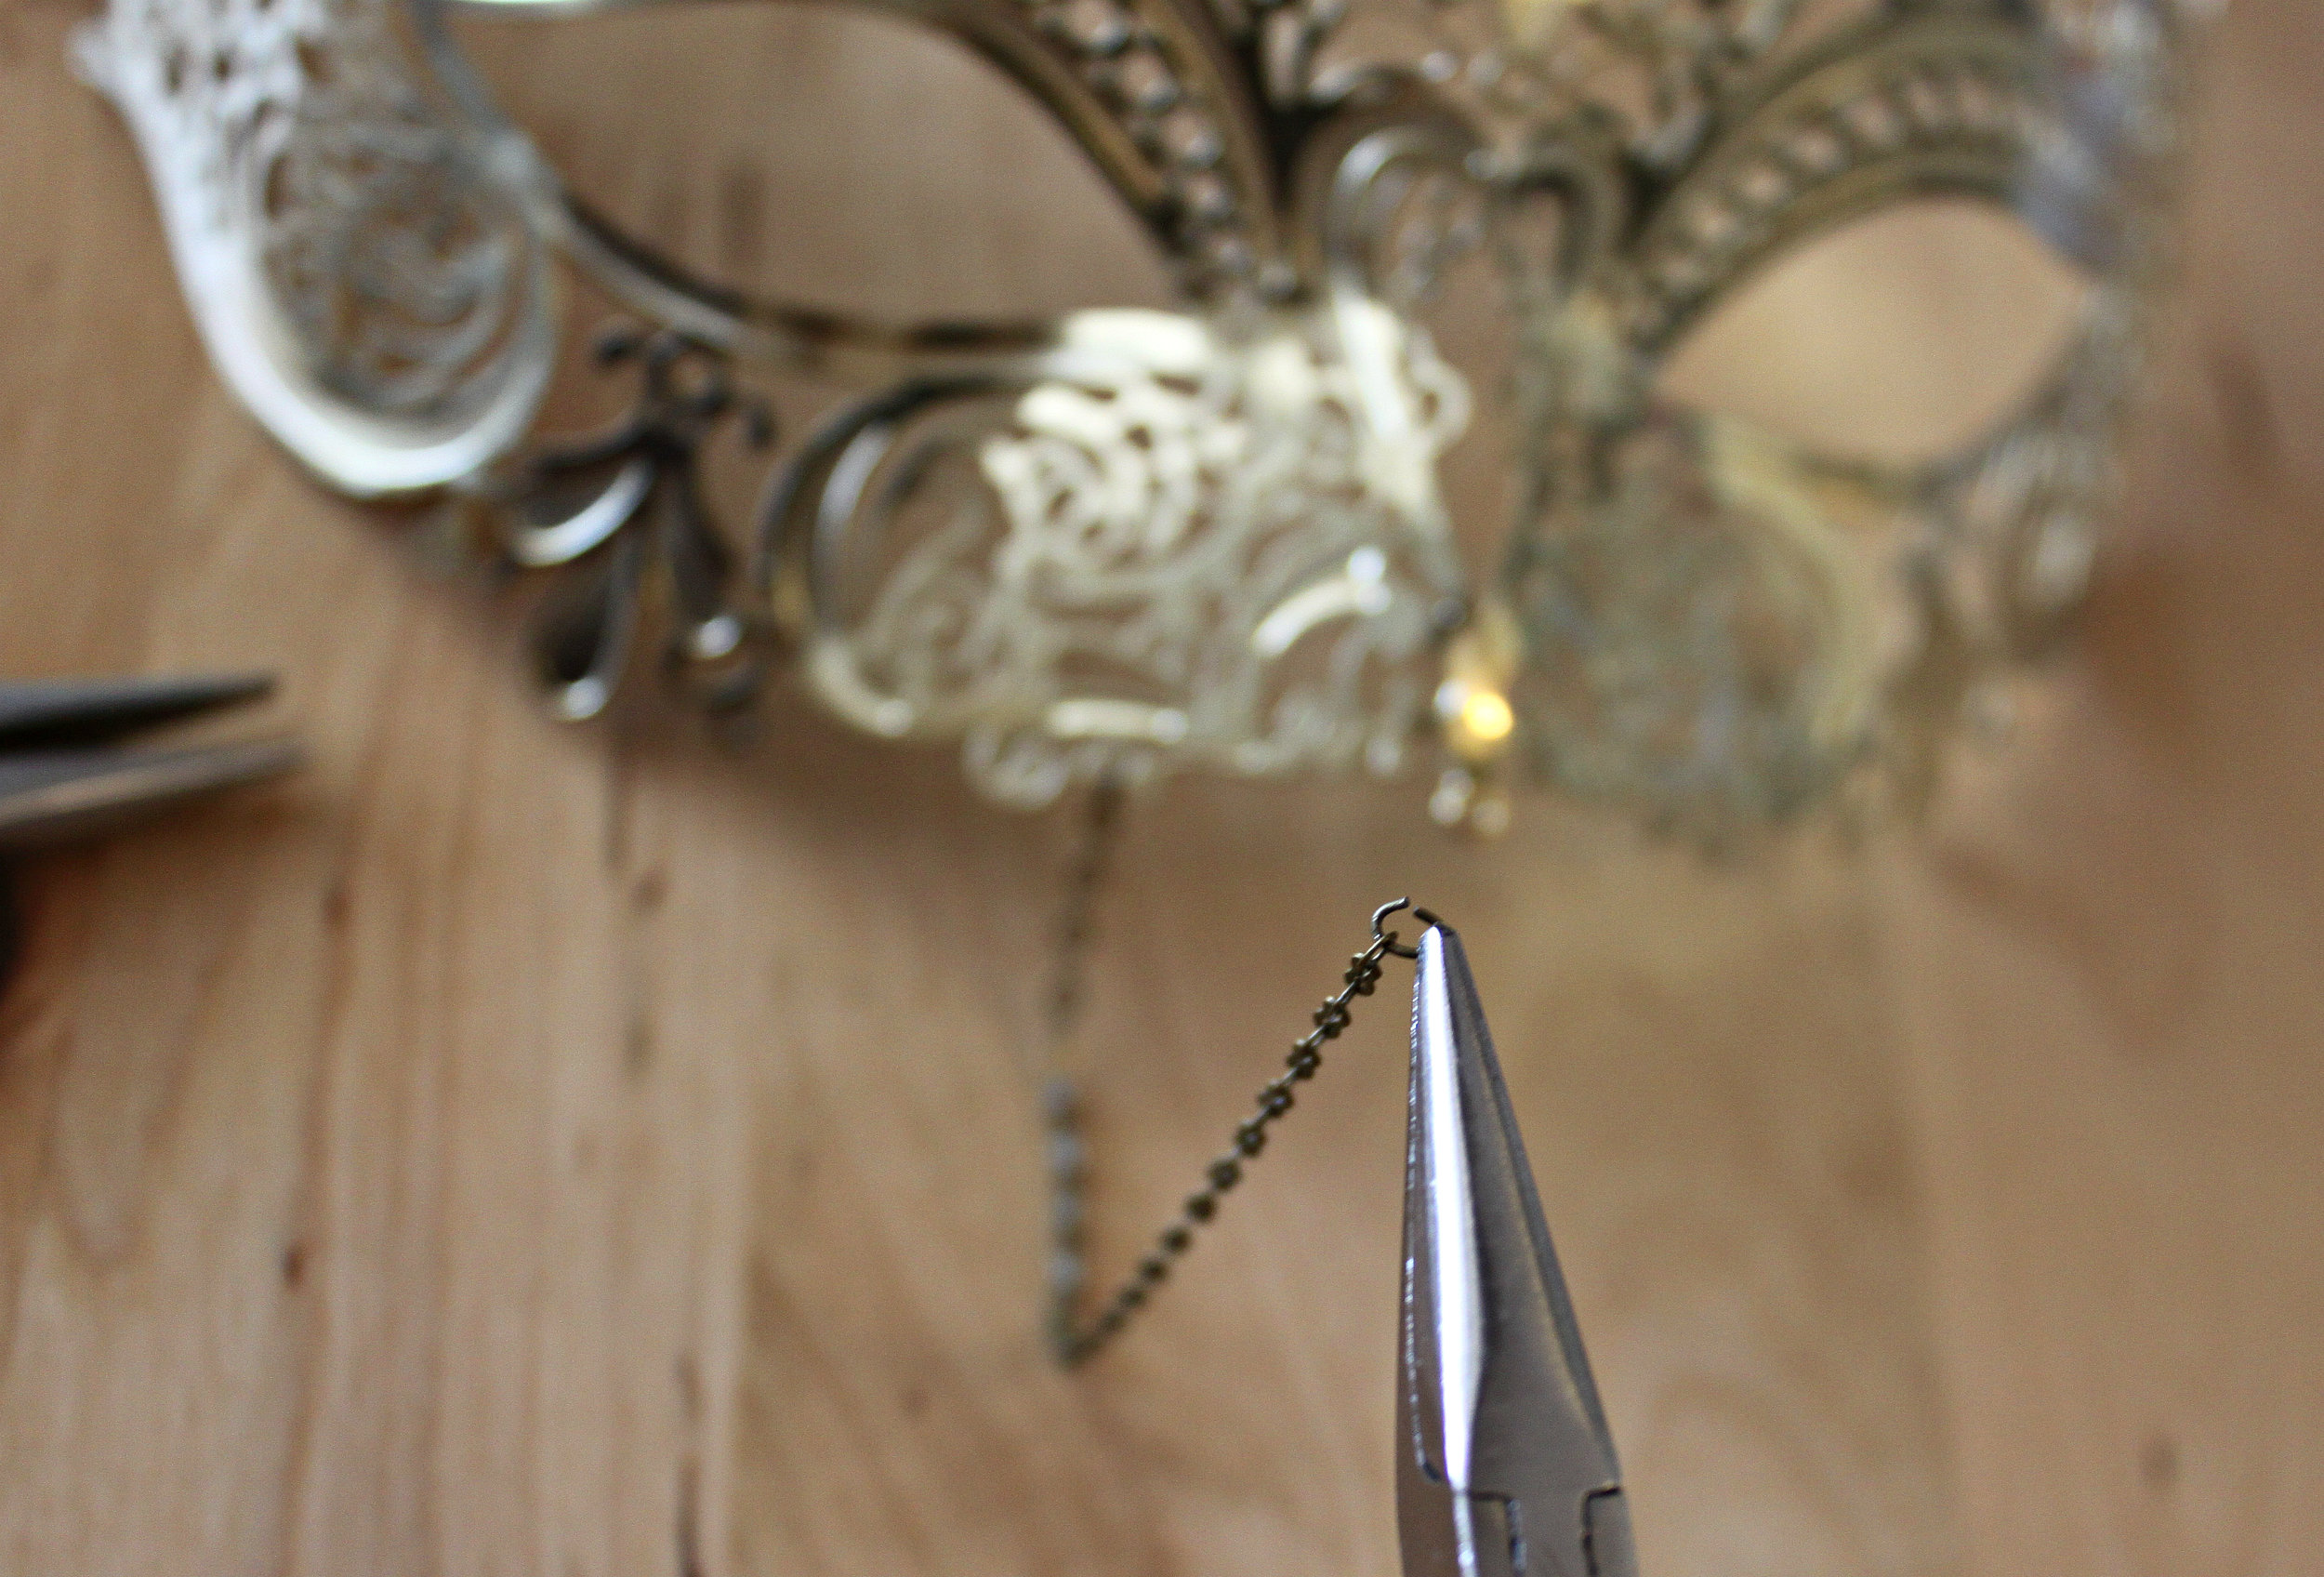
- If desired, add a gear to the chain too using your flat nosed pliers and a jump ring.
 Then attach the gear to the mask.
- Next attach the rest of your gears to the bottom of your mask. Use preexisting holes (this is what's so great about working with filigree!).
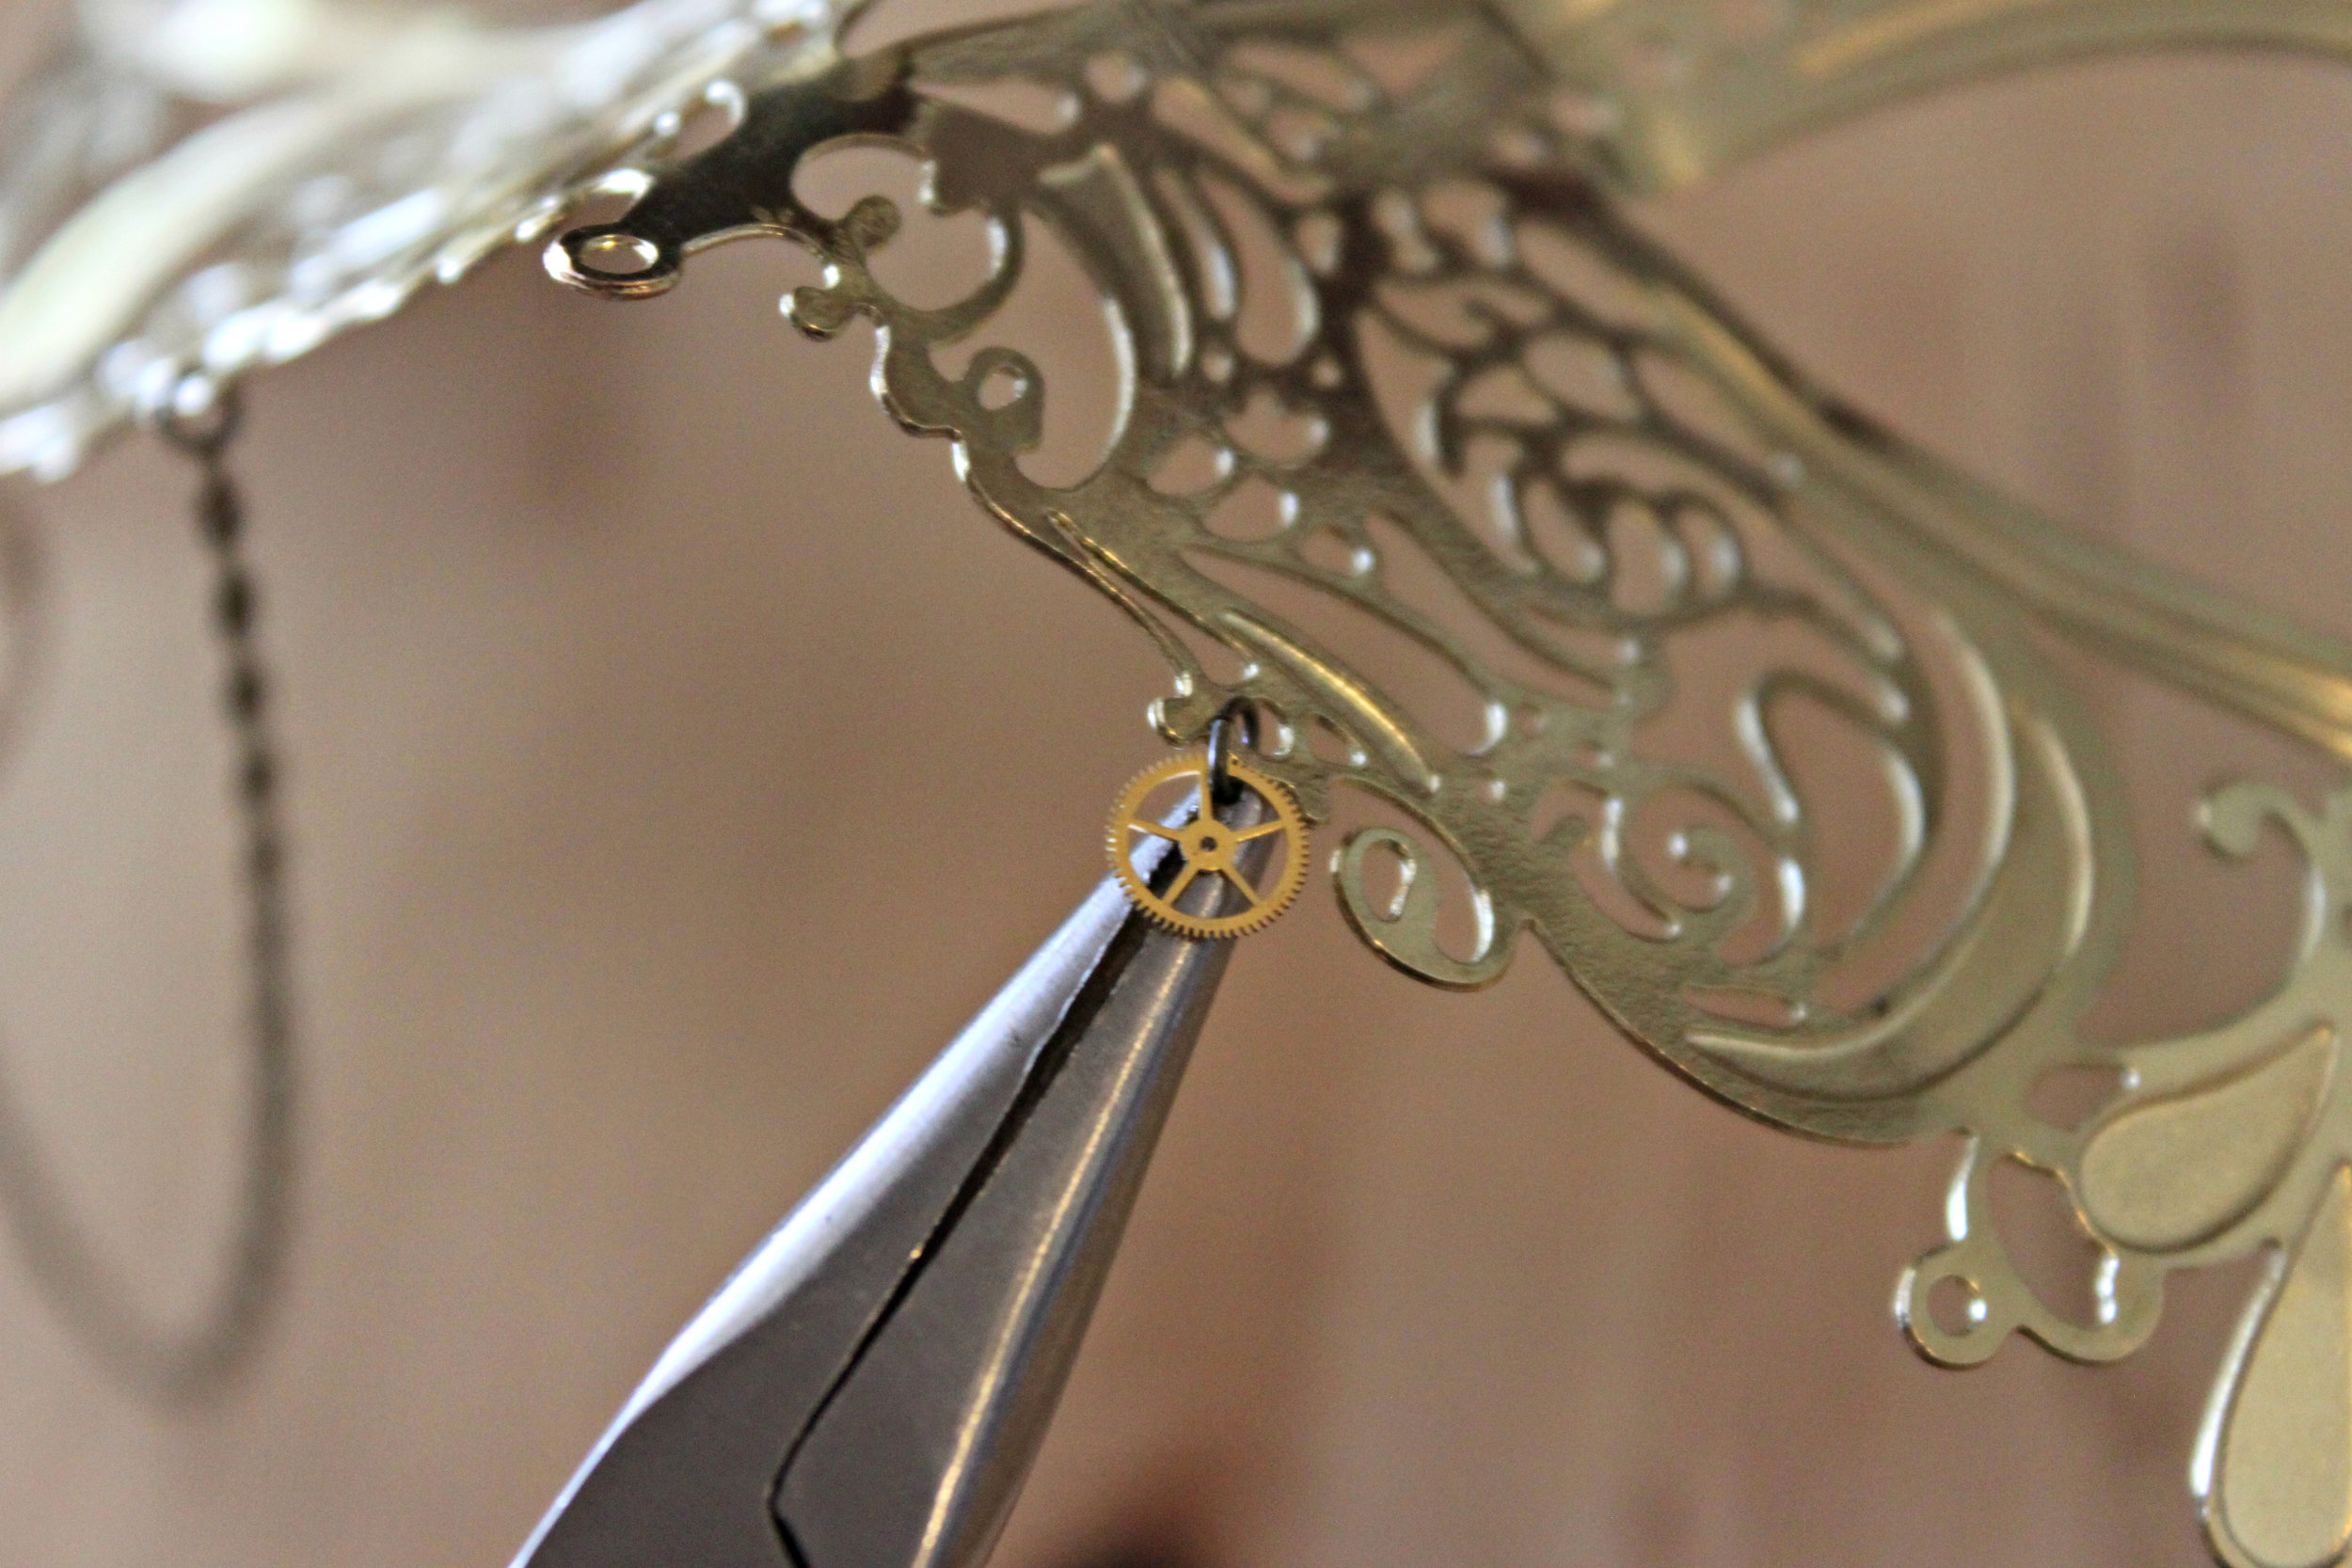
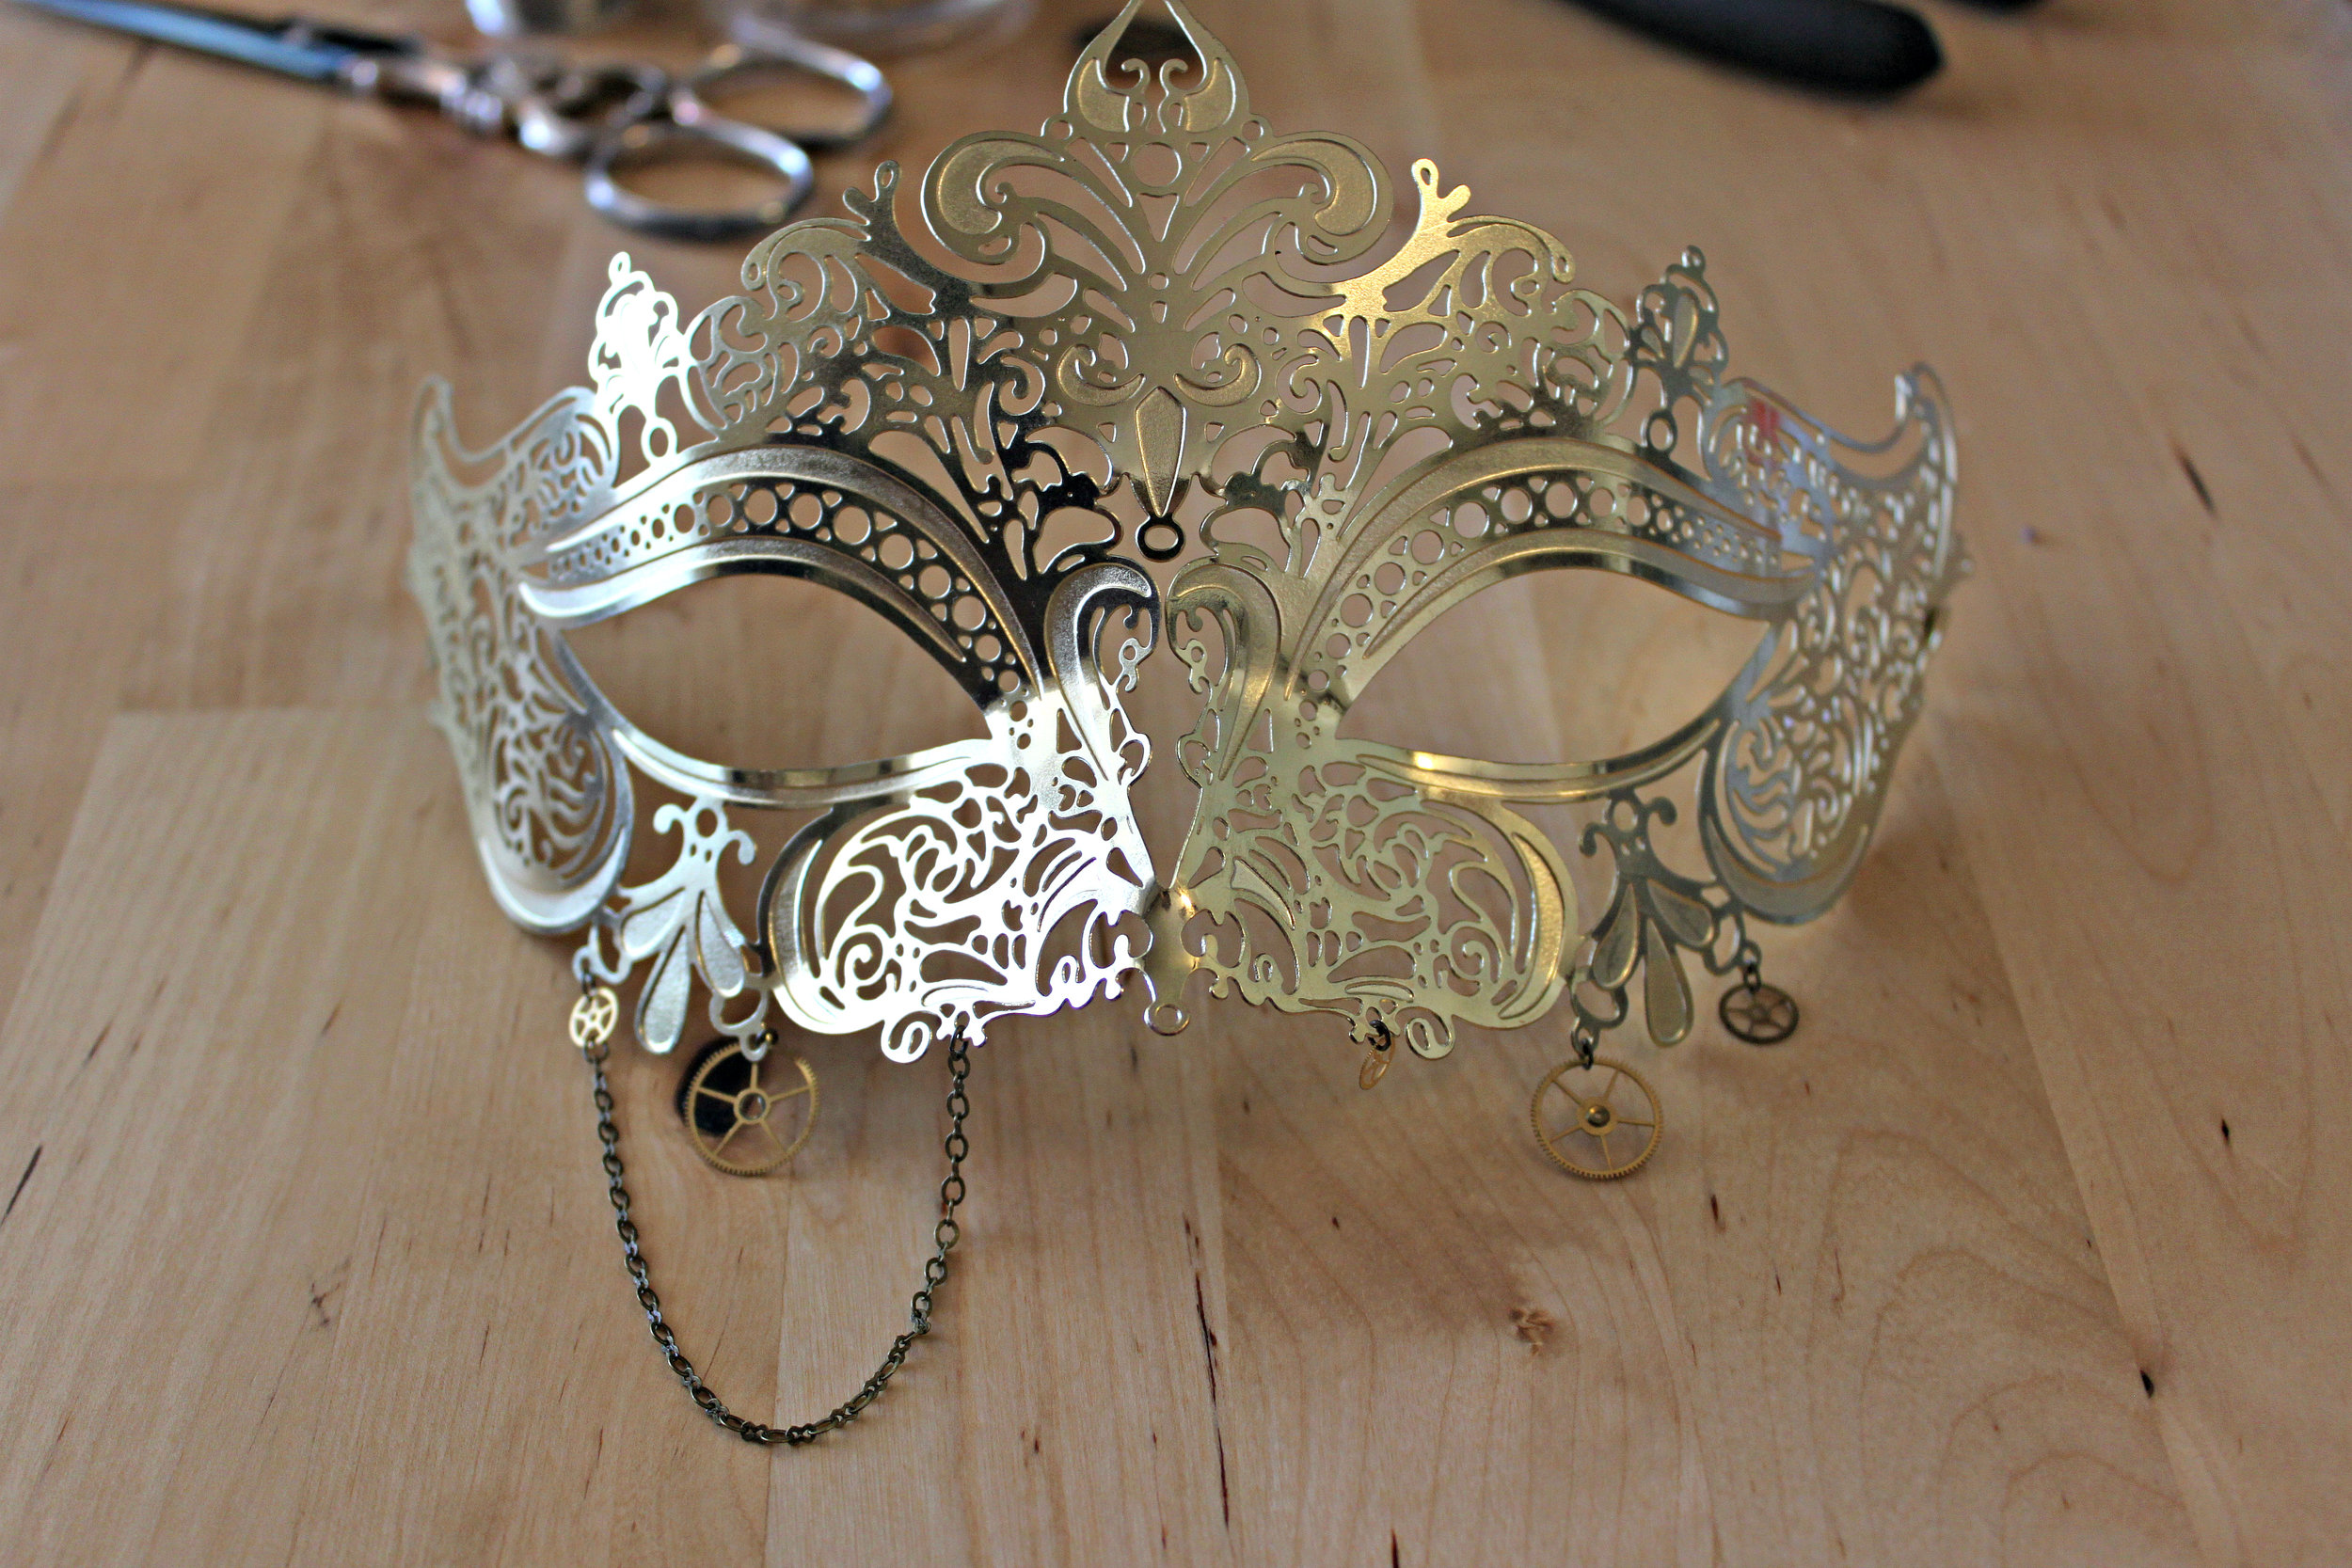 Be sure to close your jump rings well as many gears are paper thin and can easily fall out of even the slightest of gaps.
- For added elegance & sparkle, add gold foil beads to your gears (or other areas of your mask).
 For each bead, you need a headpin.
  Place the bead on the headpin. Be sure to slide the bead all the way down to the end. Make sure there is no space left over or you'll have an excess of the headpin showing.
  Using your flat nosed pliers, bend the headpin wire 45 degrees (so that the headpin wire is horizontal).
 Using your finger as a measure, cut off the excess headpin wire (the amount that sticks out past your finger) with your wire cutters. Discard the excess wire.
  Using your needle nosed pliers, create a loop on top of your bead. To do this, hold your bead in one hand. With the other, grip the very end of your headpin wire with your pliers and twist upward and around to the top of your bead. (Think of a making a motorcycle revving motion.)
 Once your loop is made, open it with your flat nosed pliers (like you would a jump ring).
 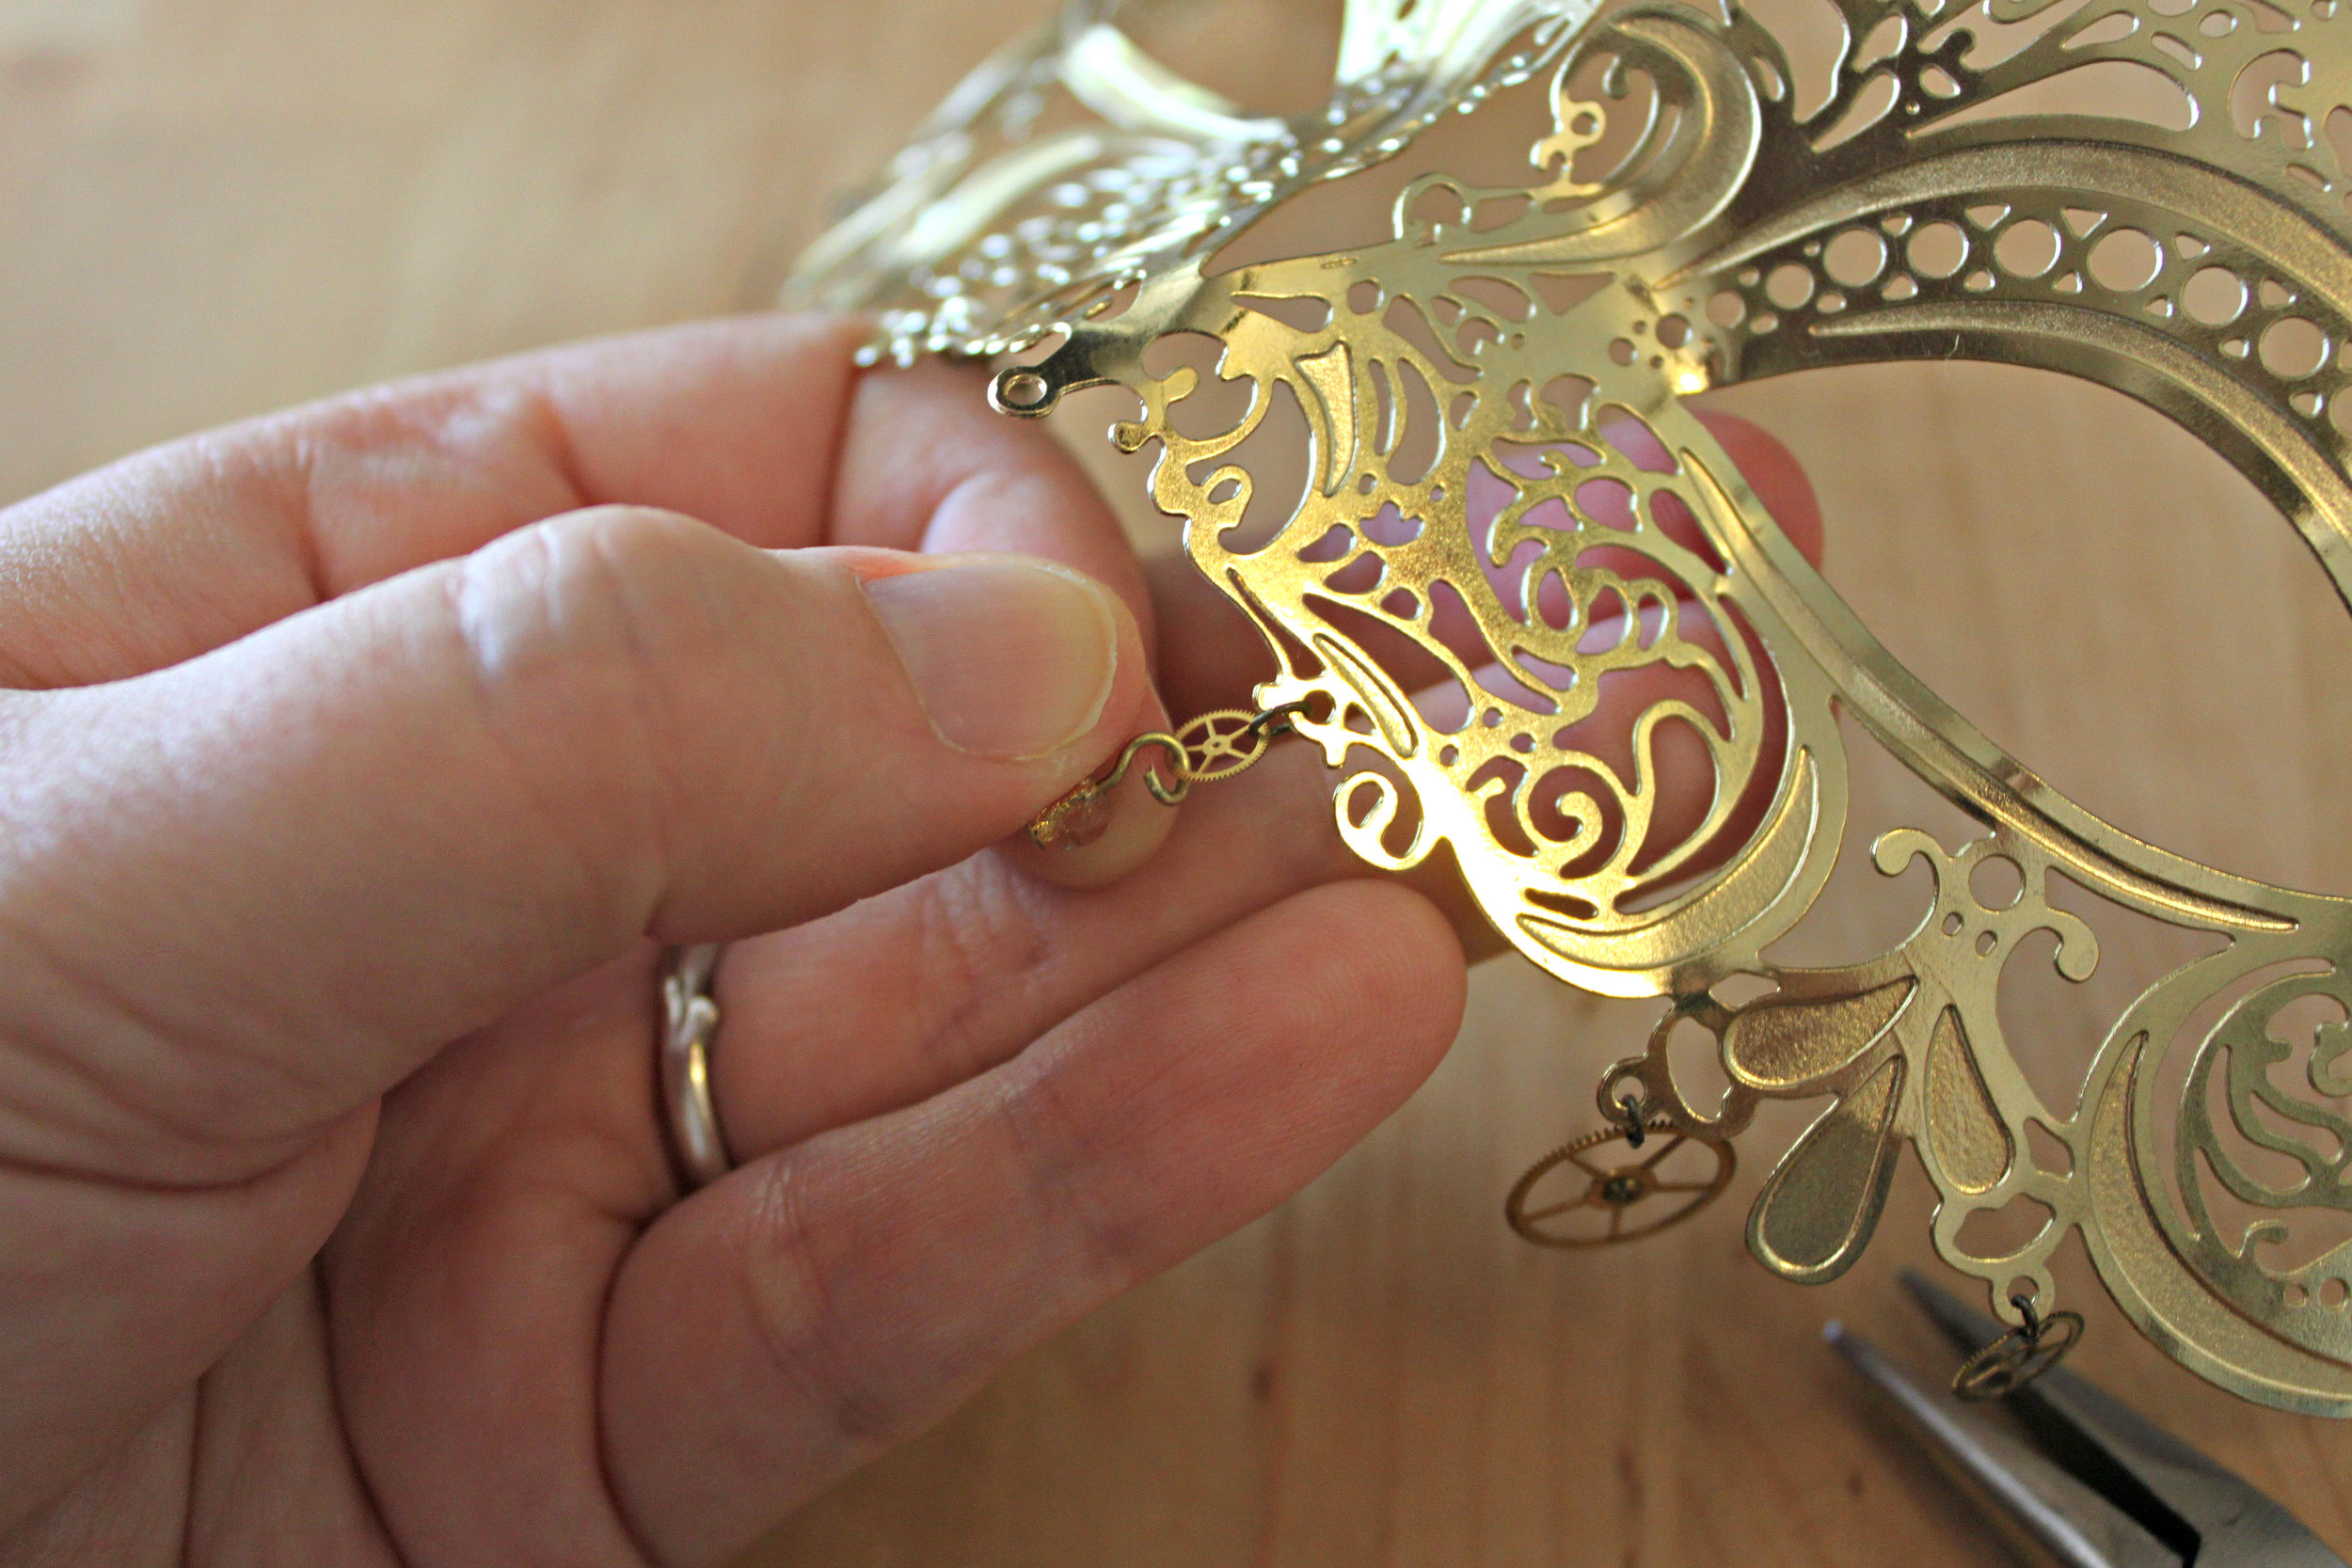 Place your bead into your gear (or mask). Close your loop again, using your flat nosed pliers.
  Repeat the above process for each bead.
 - Now it's time to create our "clock spring eyelashes." This is what makes this a really different, ultra feminine DIY. First figure out the placement of your clock springs over the eyes of your mask.
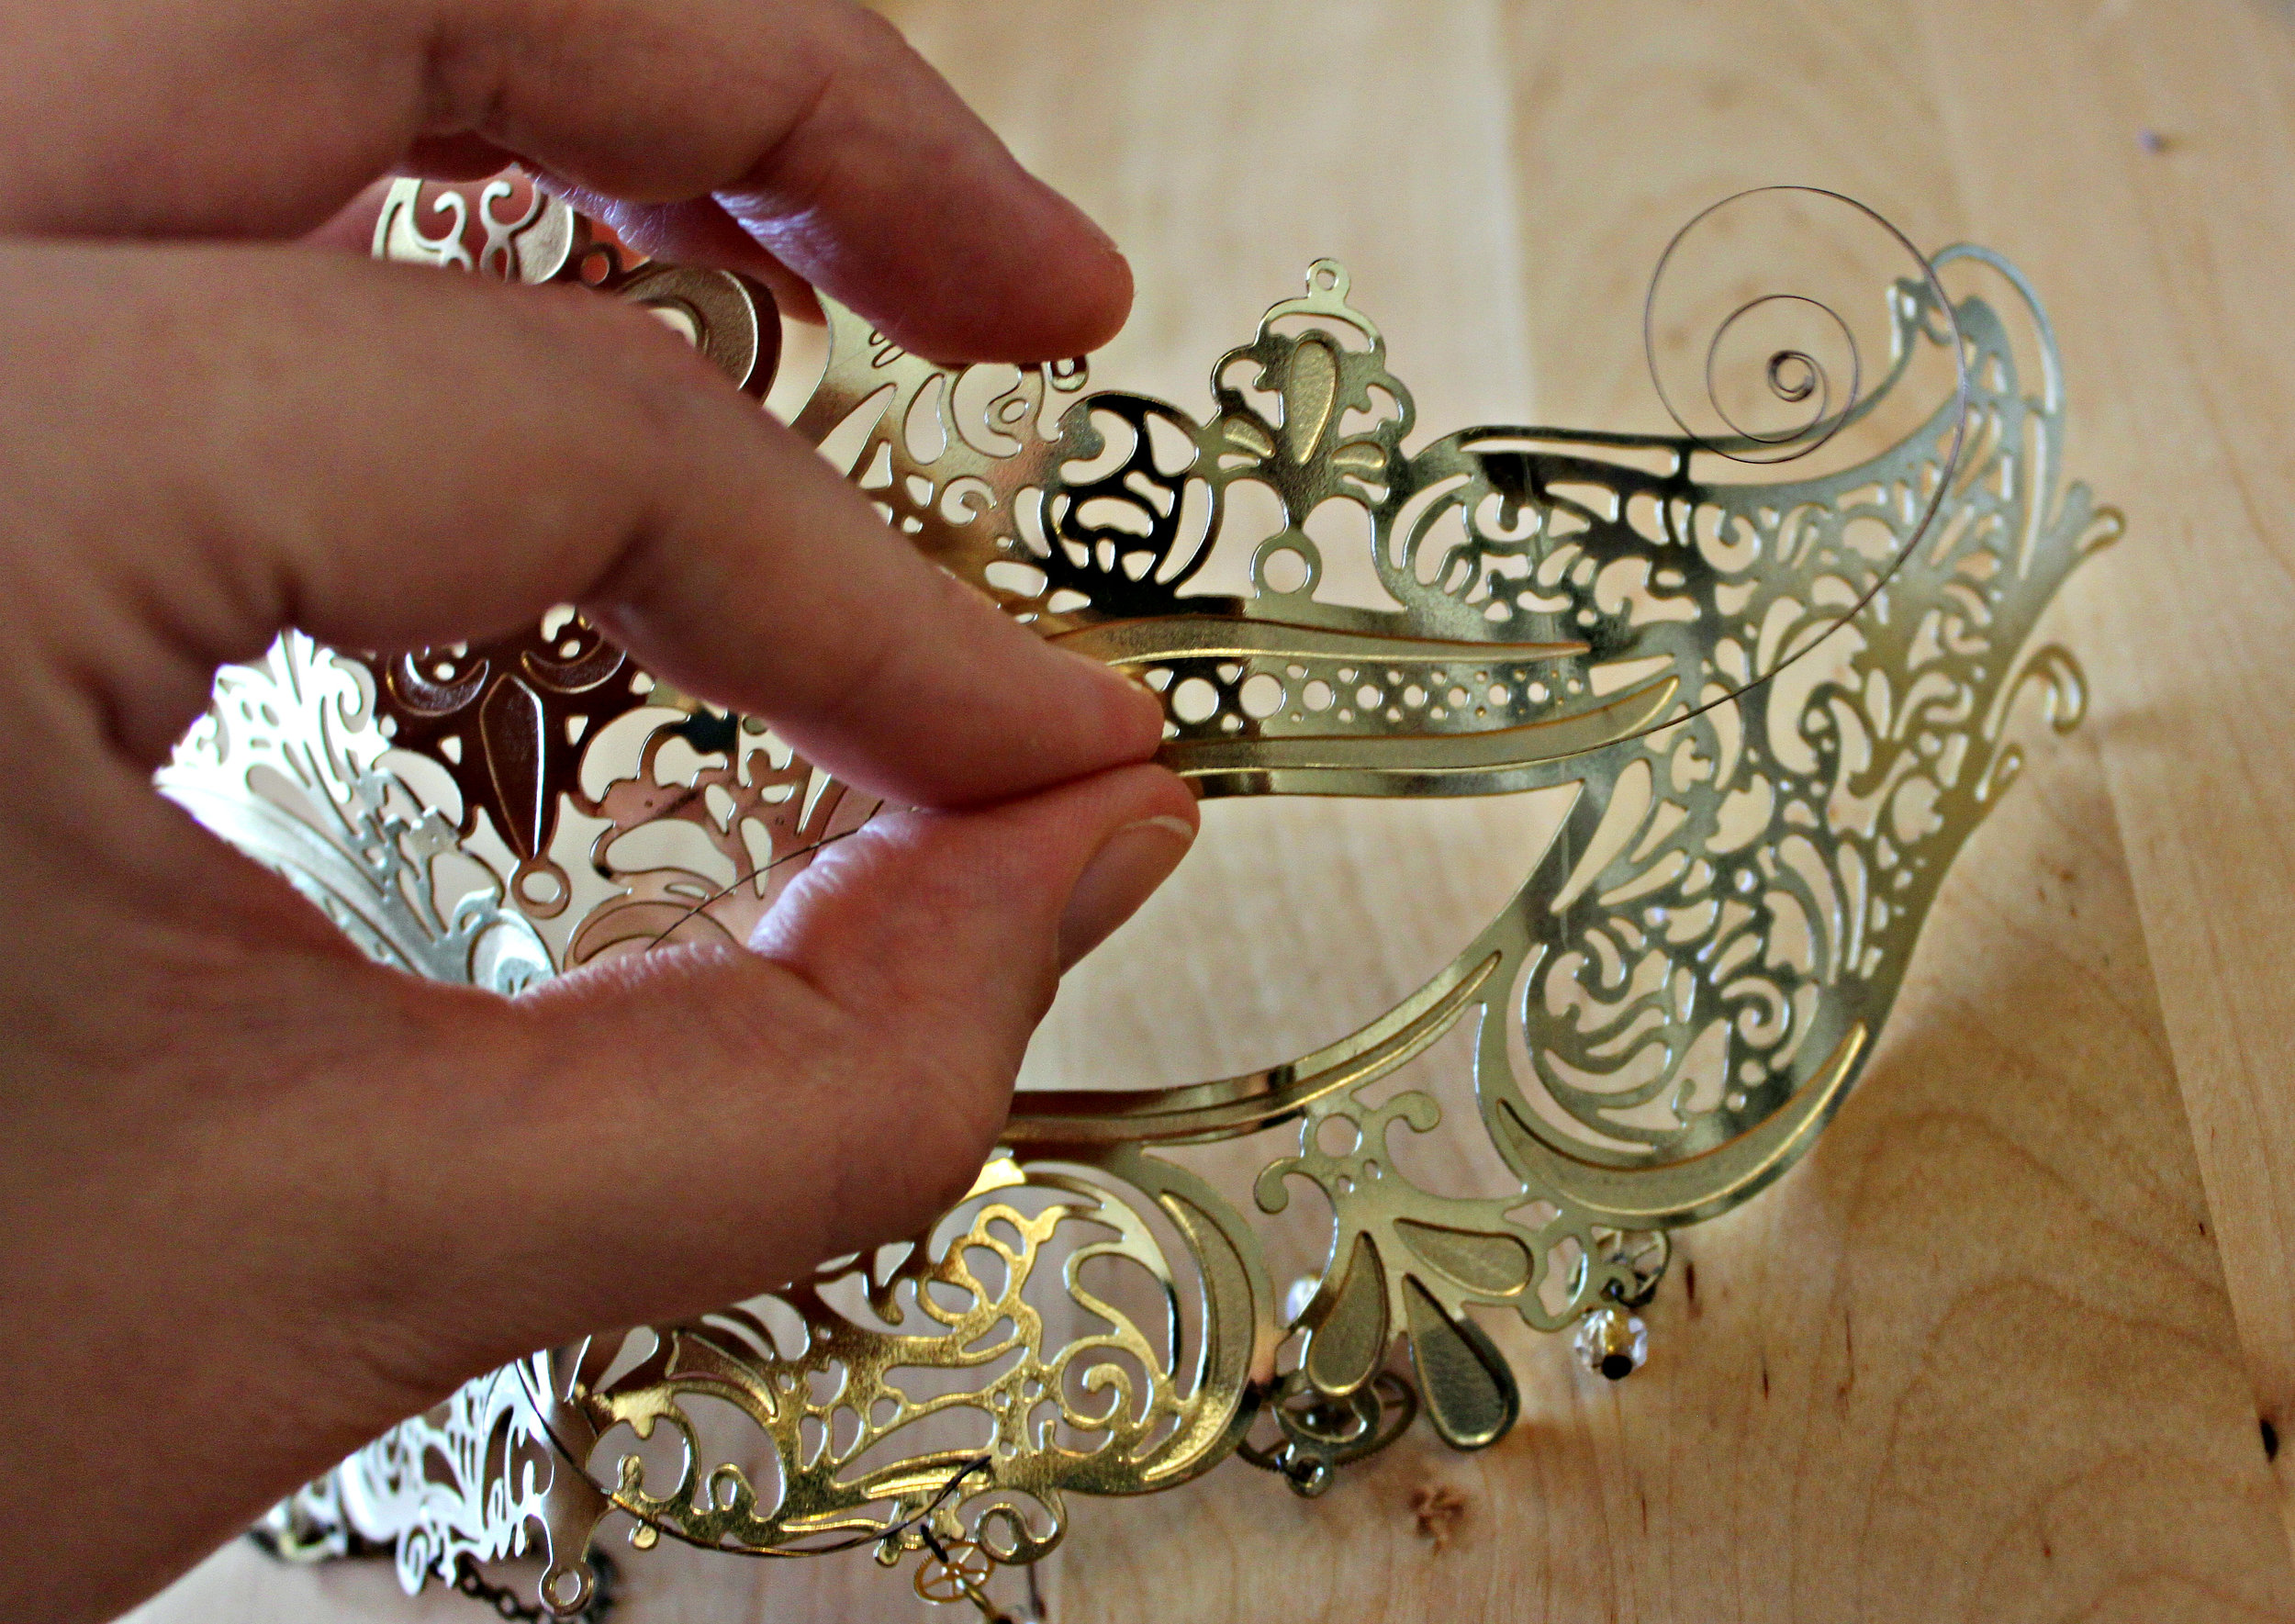 Once you've figured out placement, cut down your springs. To cut your clock springs, use your wire cutters, and also gently move the spring back and forth.
 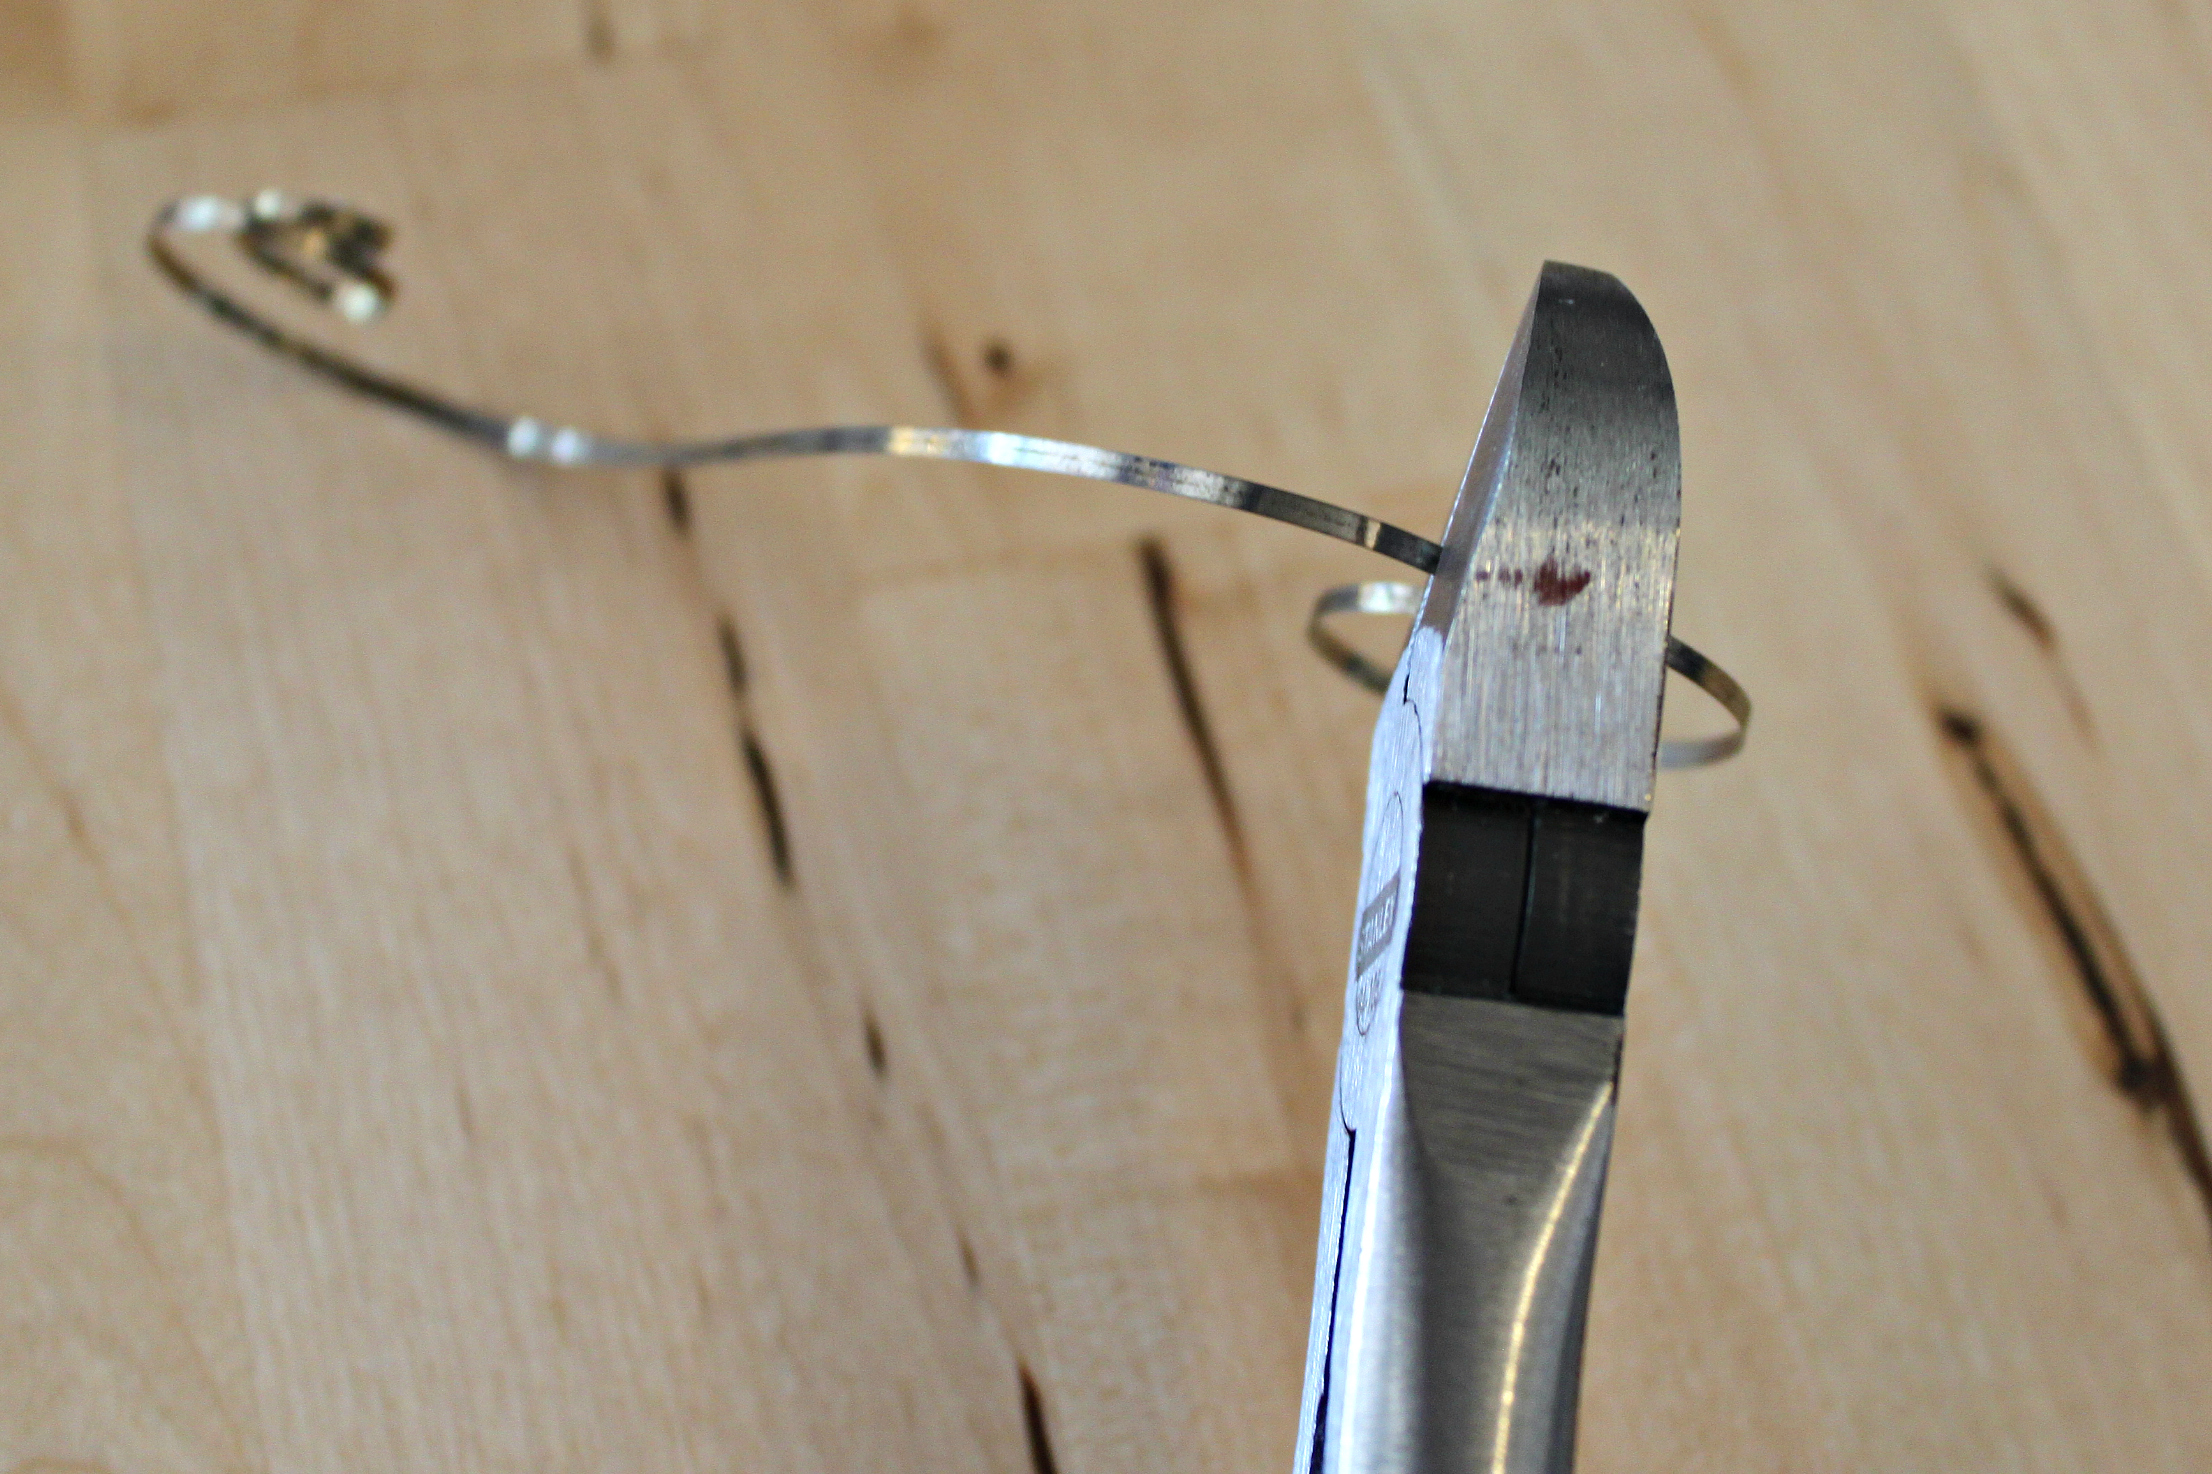 This allows for an easier, cleaner break. Once you've cut your springs you may need to file them down a bit. Sandpaper or a metal file is preferable.
- Now you can begin attaching your clock springs over the eyes of your mask. Cut a medium length piece of your 34 gauge wire.
 Using this wire, wire wrap the spring in place by weaving through the preexisting holes in the filigree mask. Be sure that your clock spring does not twist as you are wire wrapping it in place.
 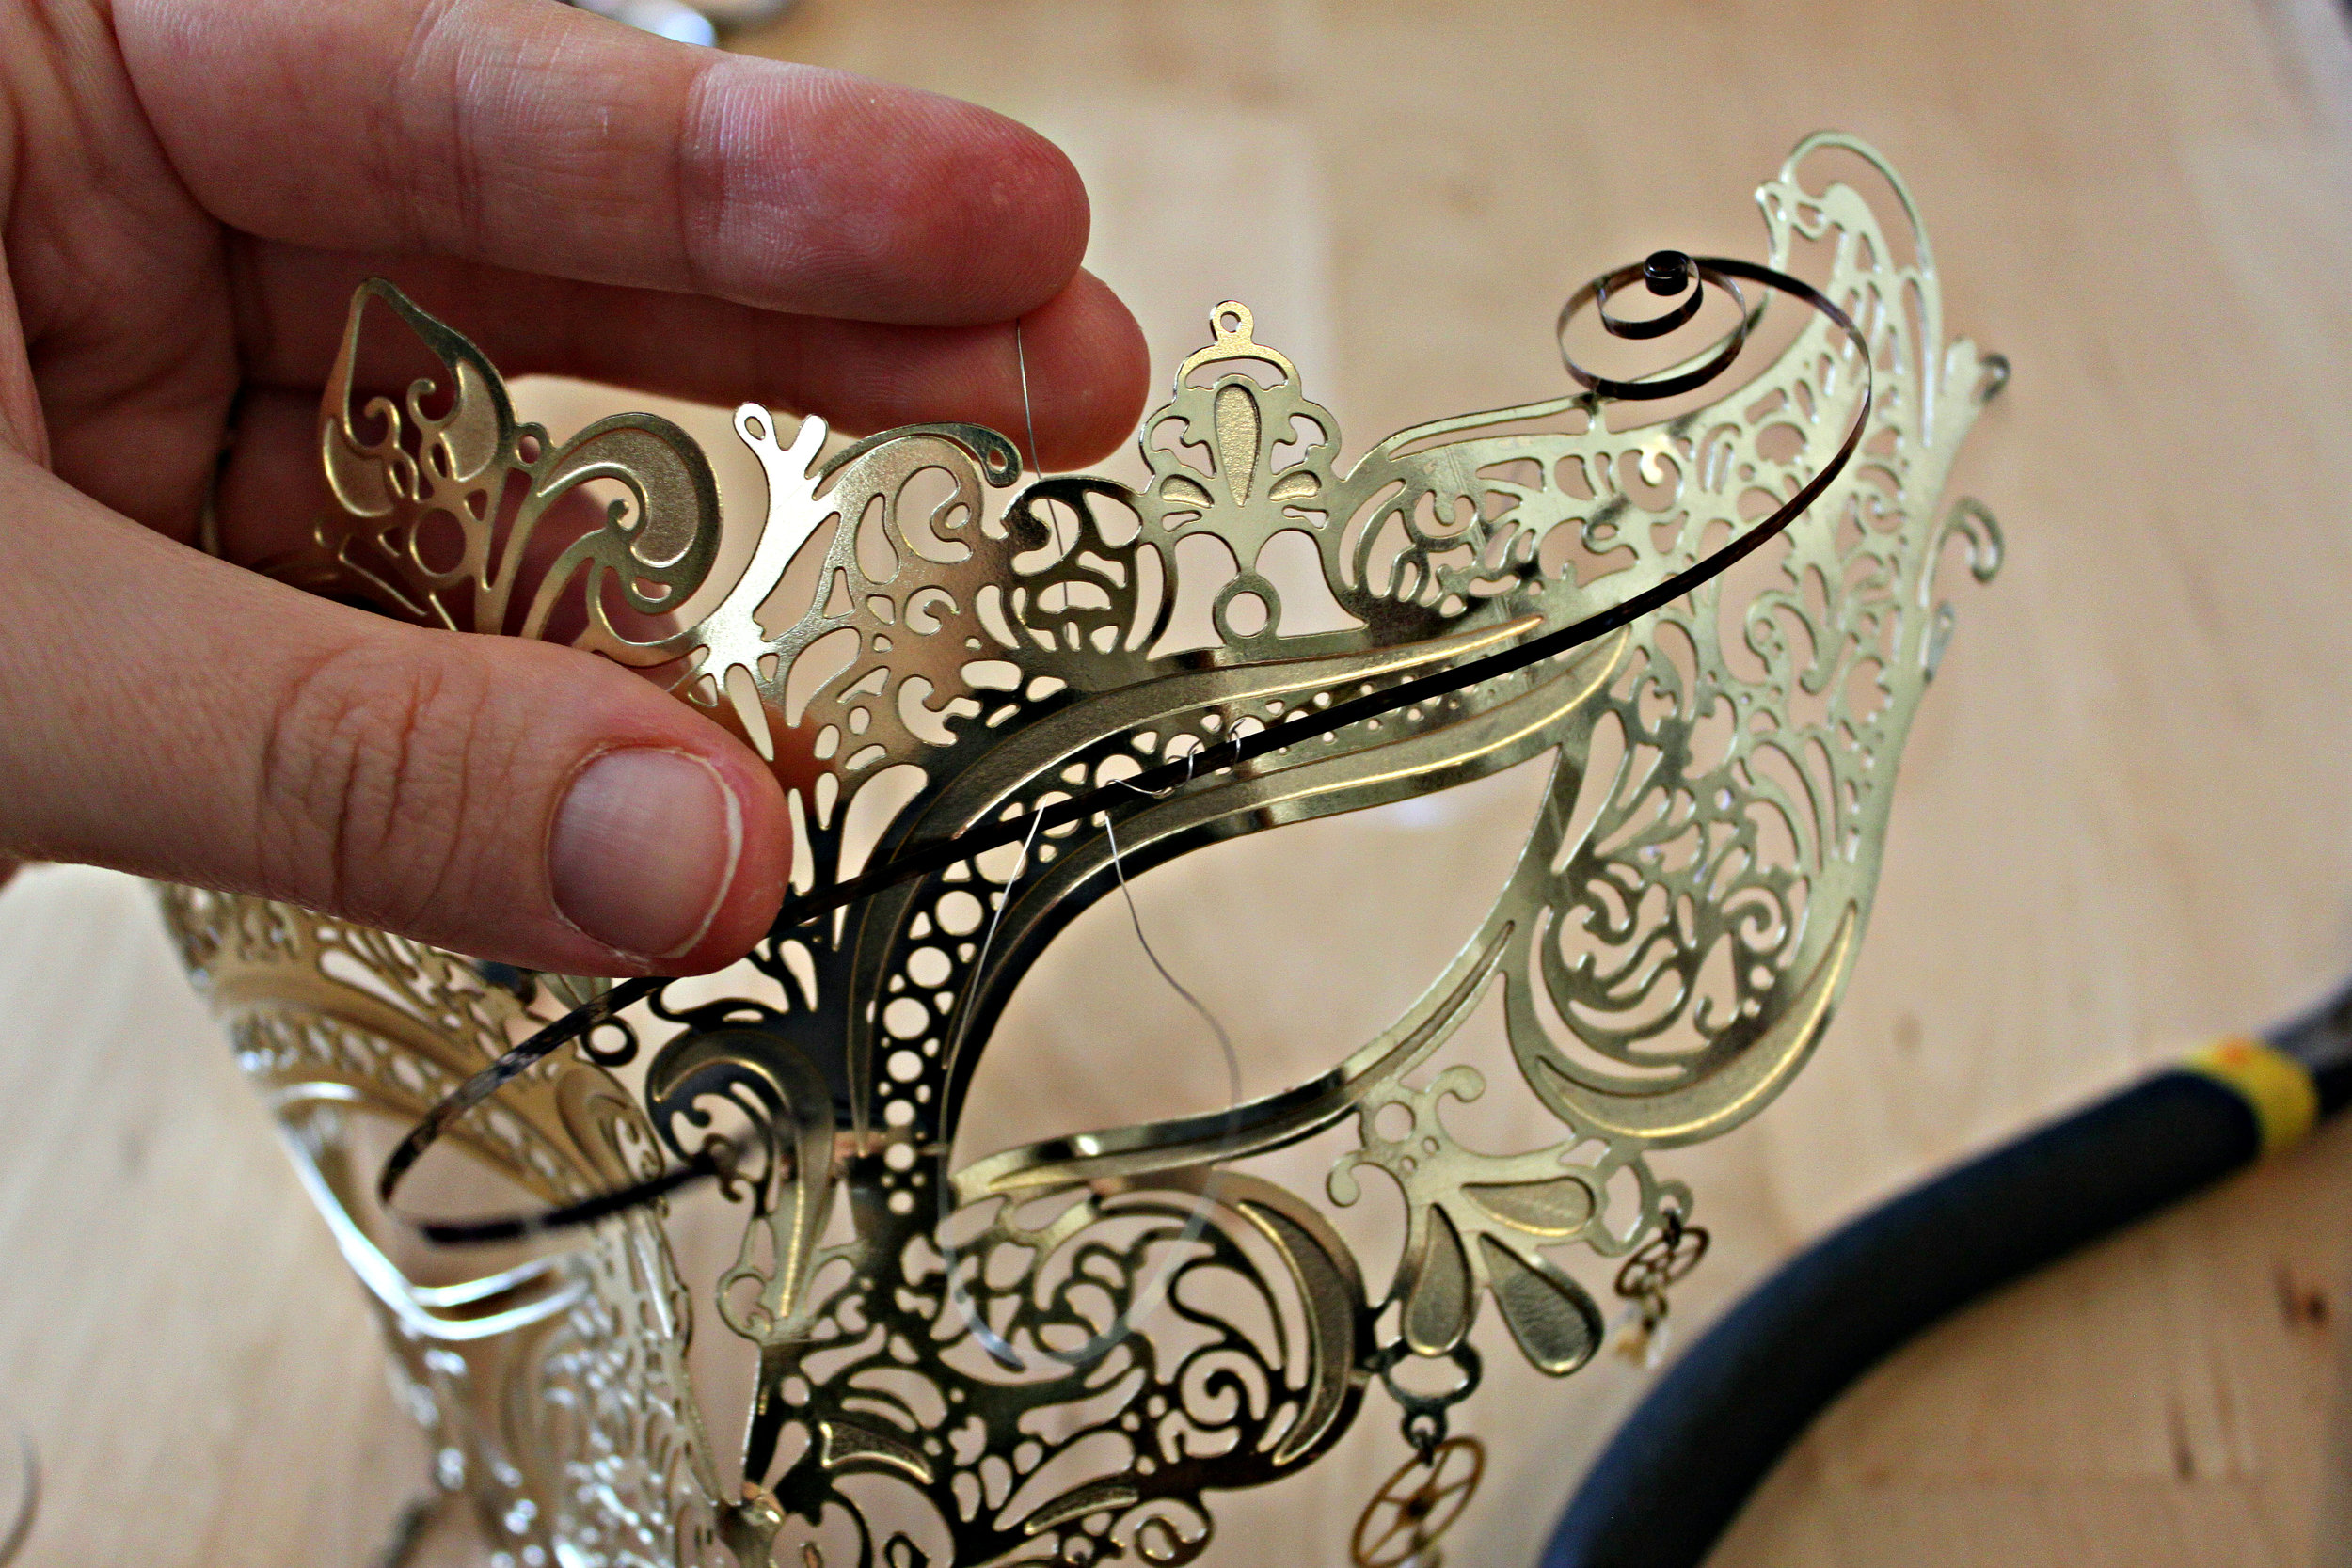 Remember to pull the wire taut. Twist the wire together & around each other to "tie" it off. Cut off any excess wire. Be sure to push all raw edges of the wire away from your eyes & face.
- (Optional) Add a clock face to the top of your mask using a brad. First, load the clock face onto the brad.
 Then push it the brad through a hole in the mask. Flip the mask over to the back, and pull apart the brad's prongs to secure the clock face in place.
 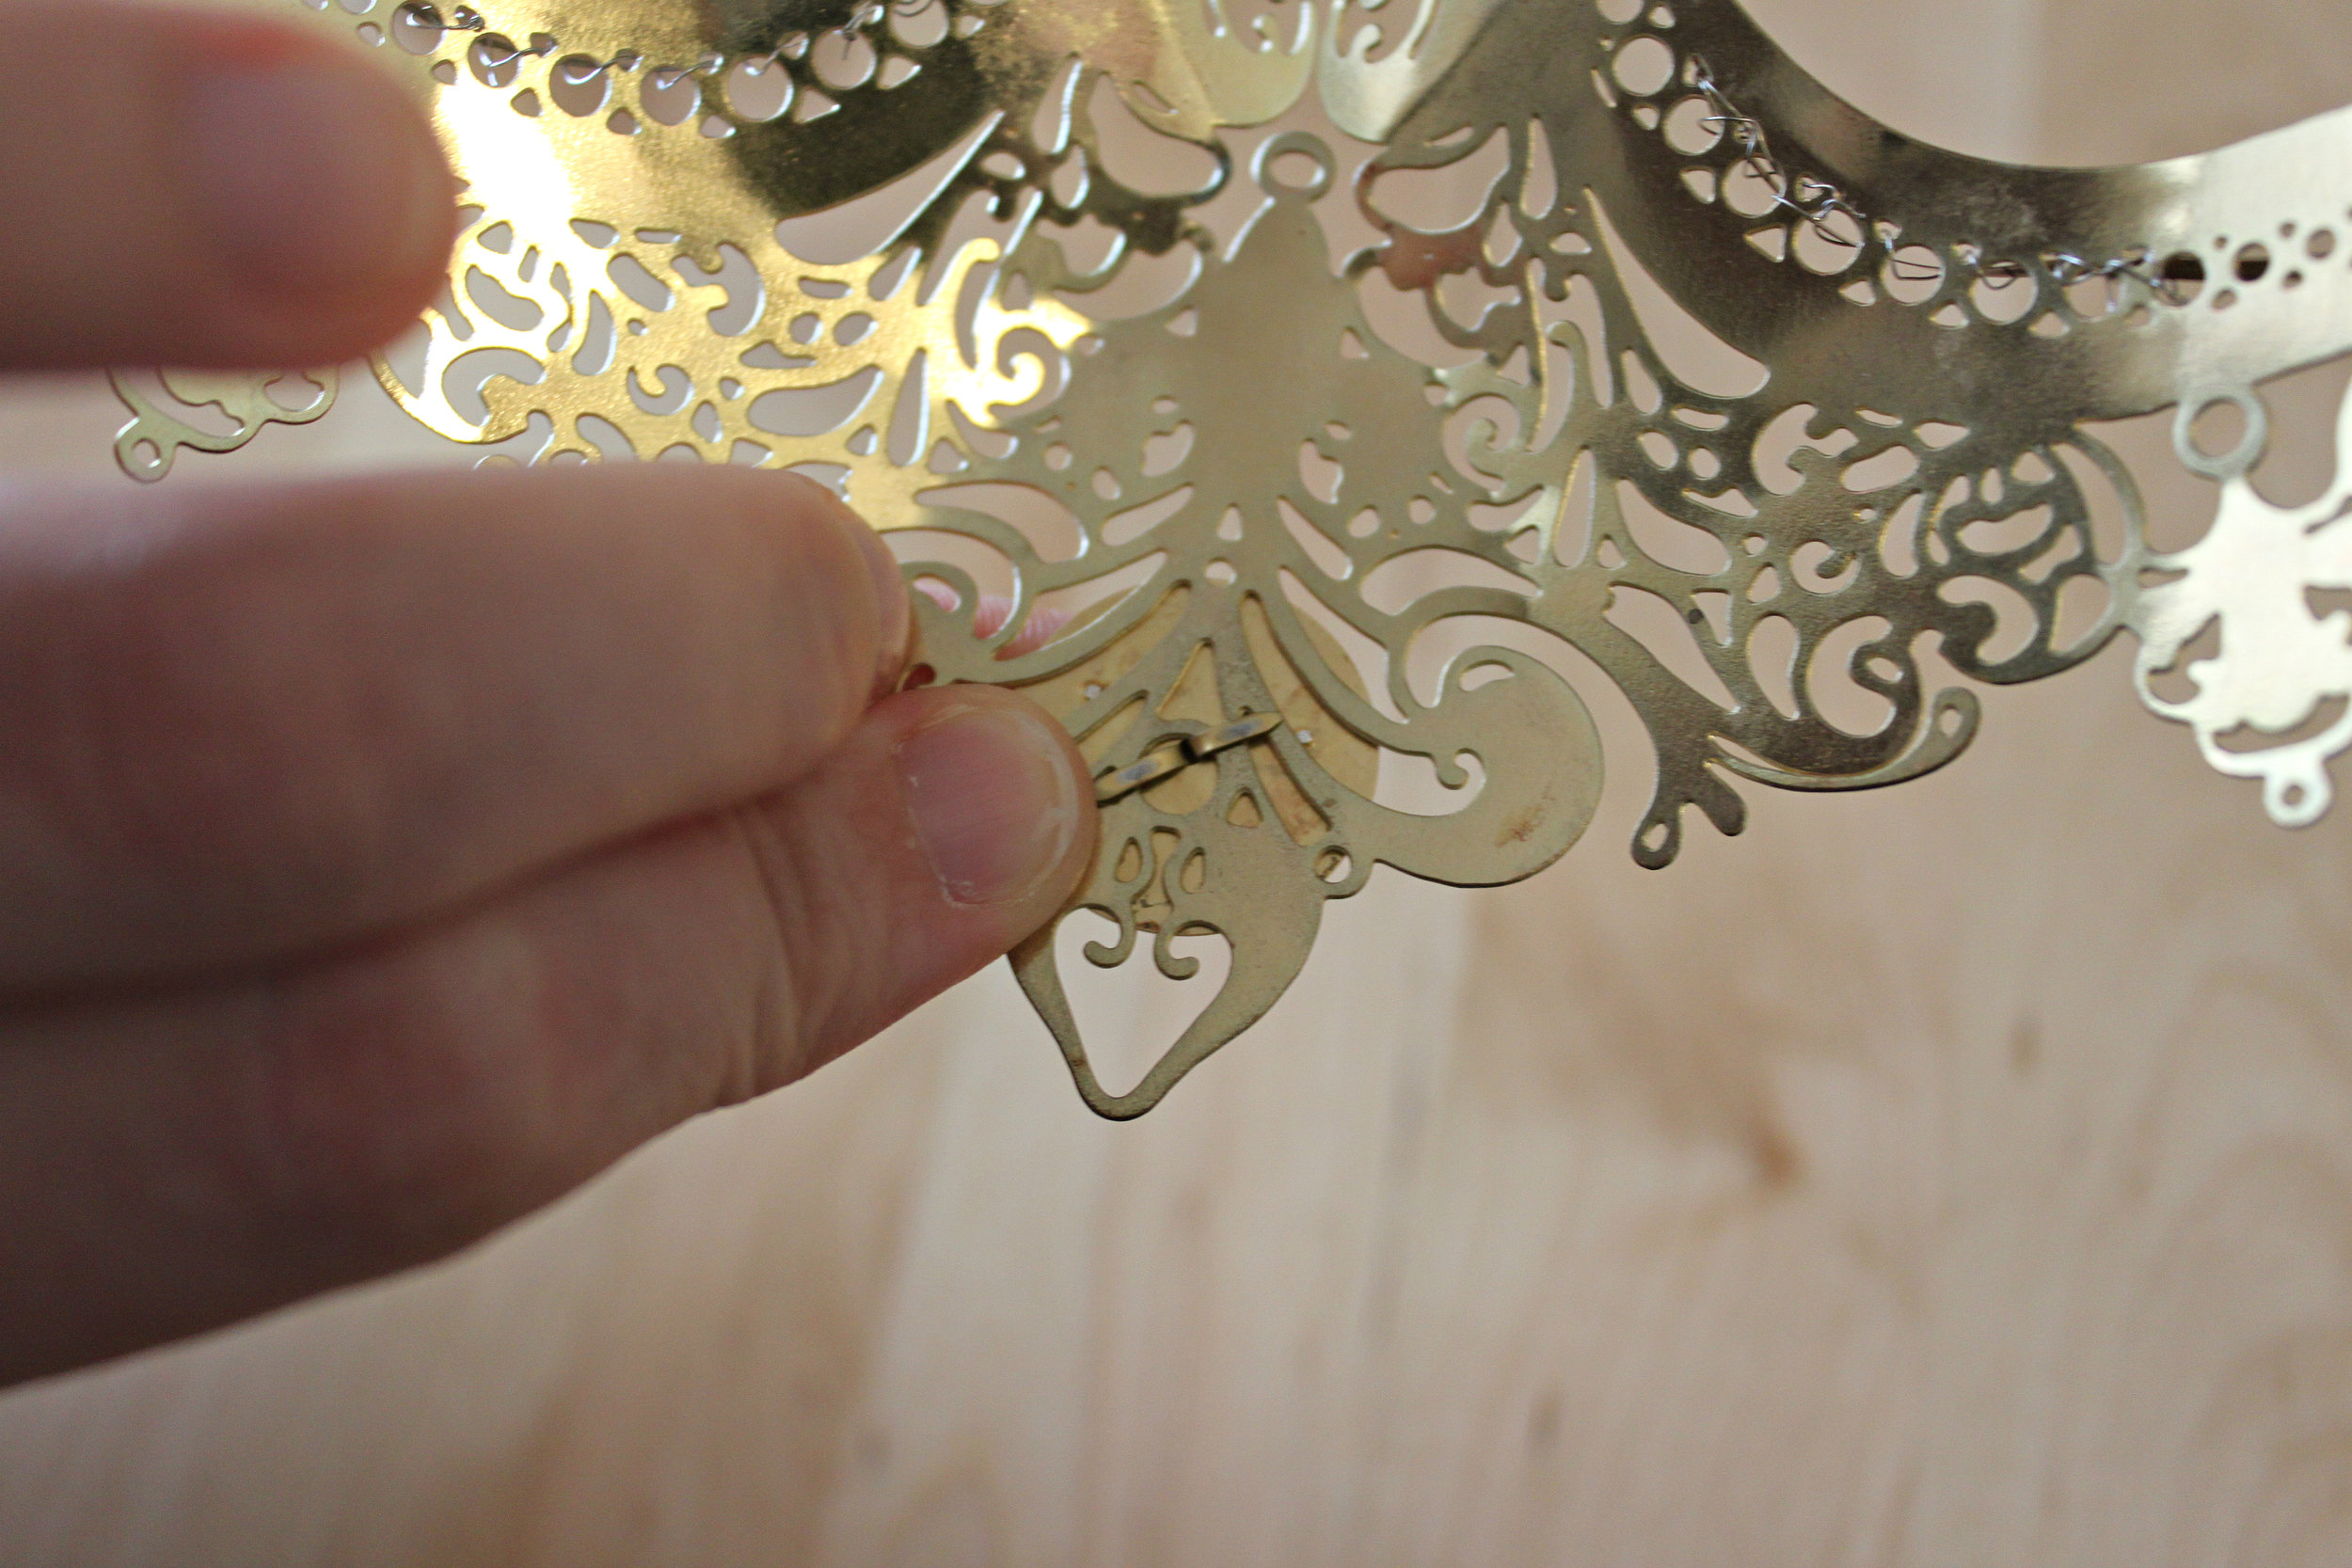 Be sure that when you pull apart the brad's prongs that you firmly hold the clock face in place on the front side of the mask. Otherwise, you may have a slight gap in between all of your layers which will cause your clock face to slide out of place.
- Now all that is left is to attach the ribbon that will hold your mask onto your face. (You can also use elastic. An elastic band came with this mask but it was really cheap looking & flimsy so I decided to replace it). Measure the amount of ribbon you'll need--take into account knotting both sides of the mask, knotting the ends (if your ribbon is prone to fraying), and the amount you'll need to tie the ribbon in a bow.
 Once you've measured the amount you need, cut the ribbon with your scissors. Then cut the ribbon in half (one for each side of your mask). Take the first piece of ribbon and tie it to your mask. I used a simple knot. Knot the end as well.
 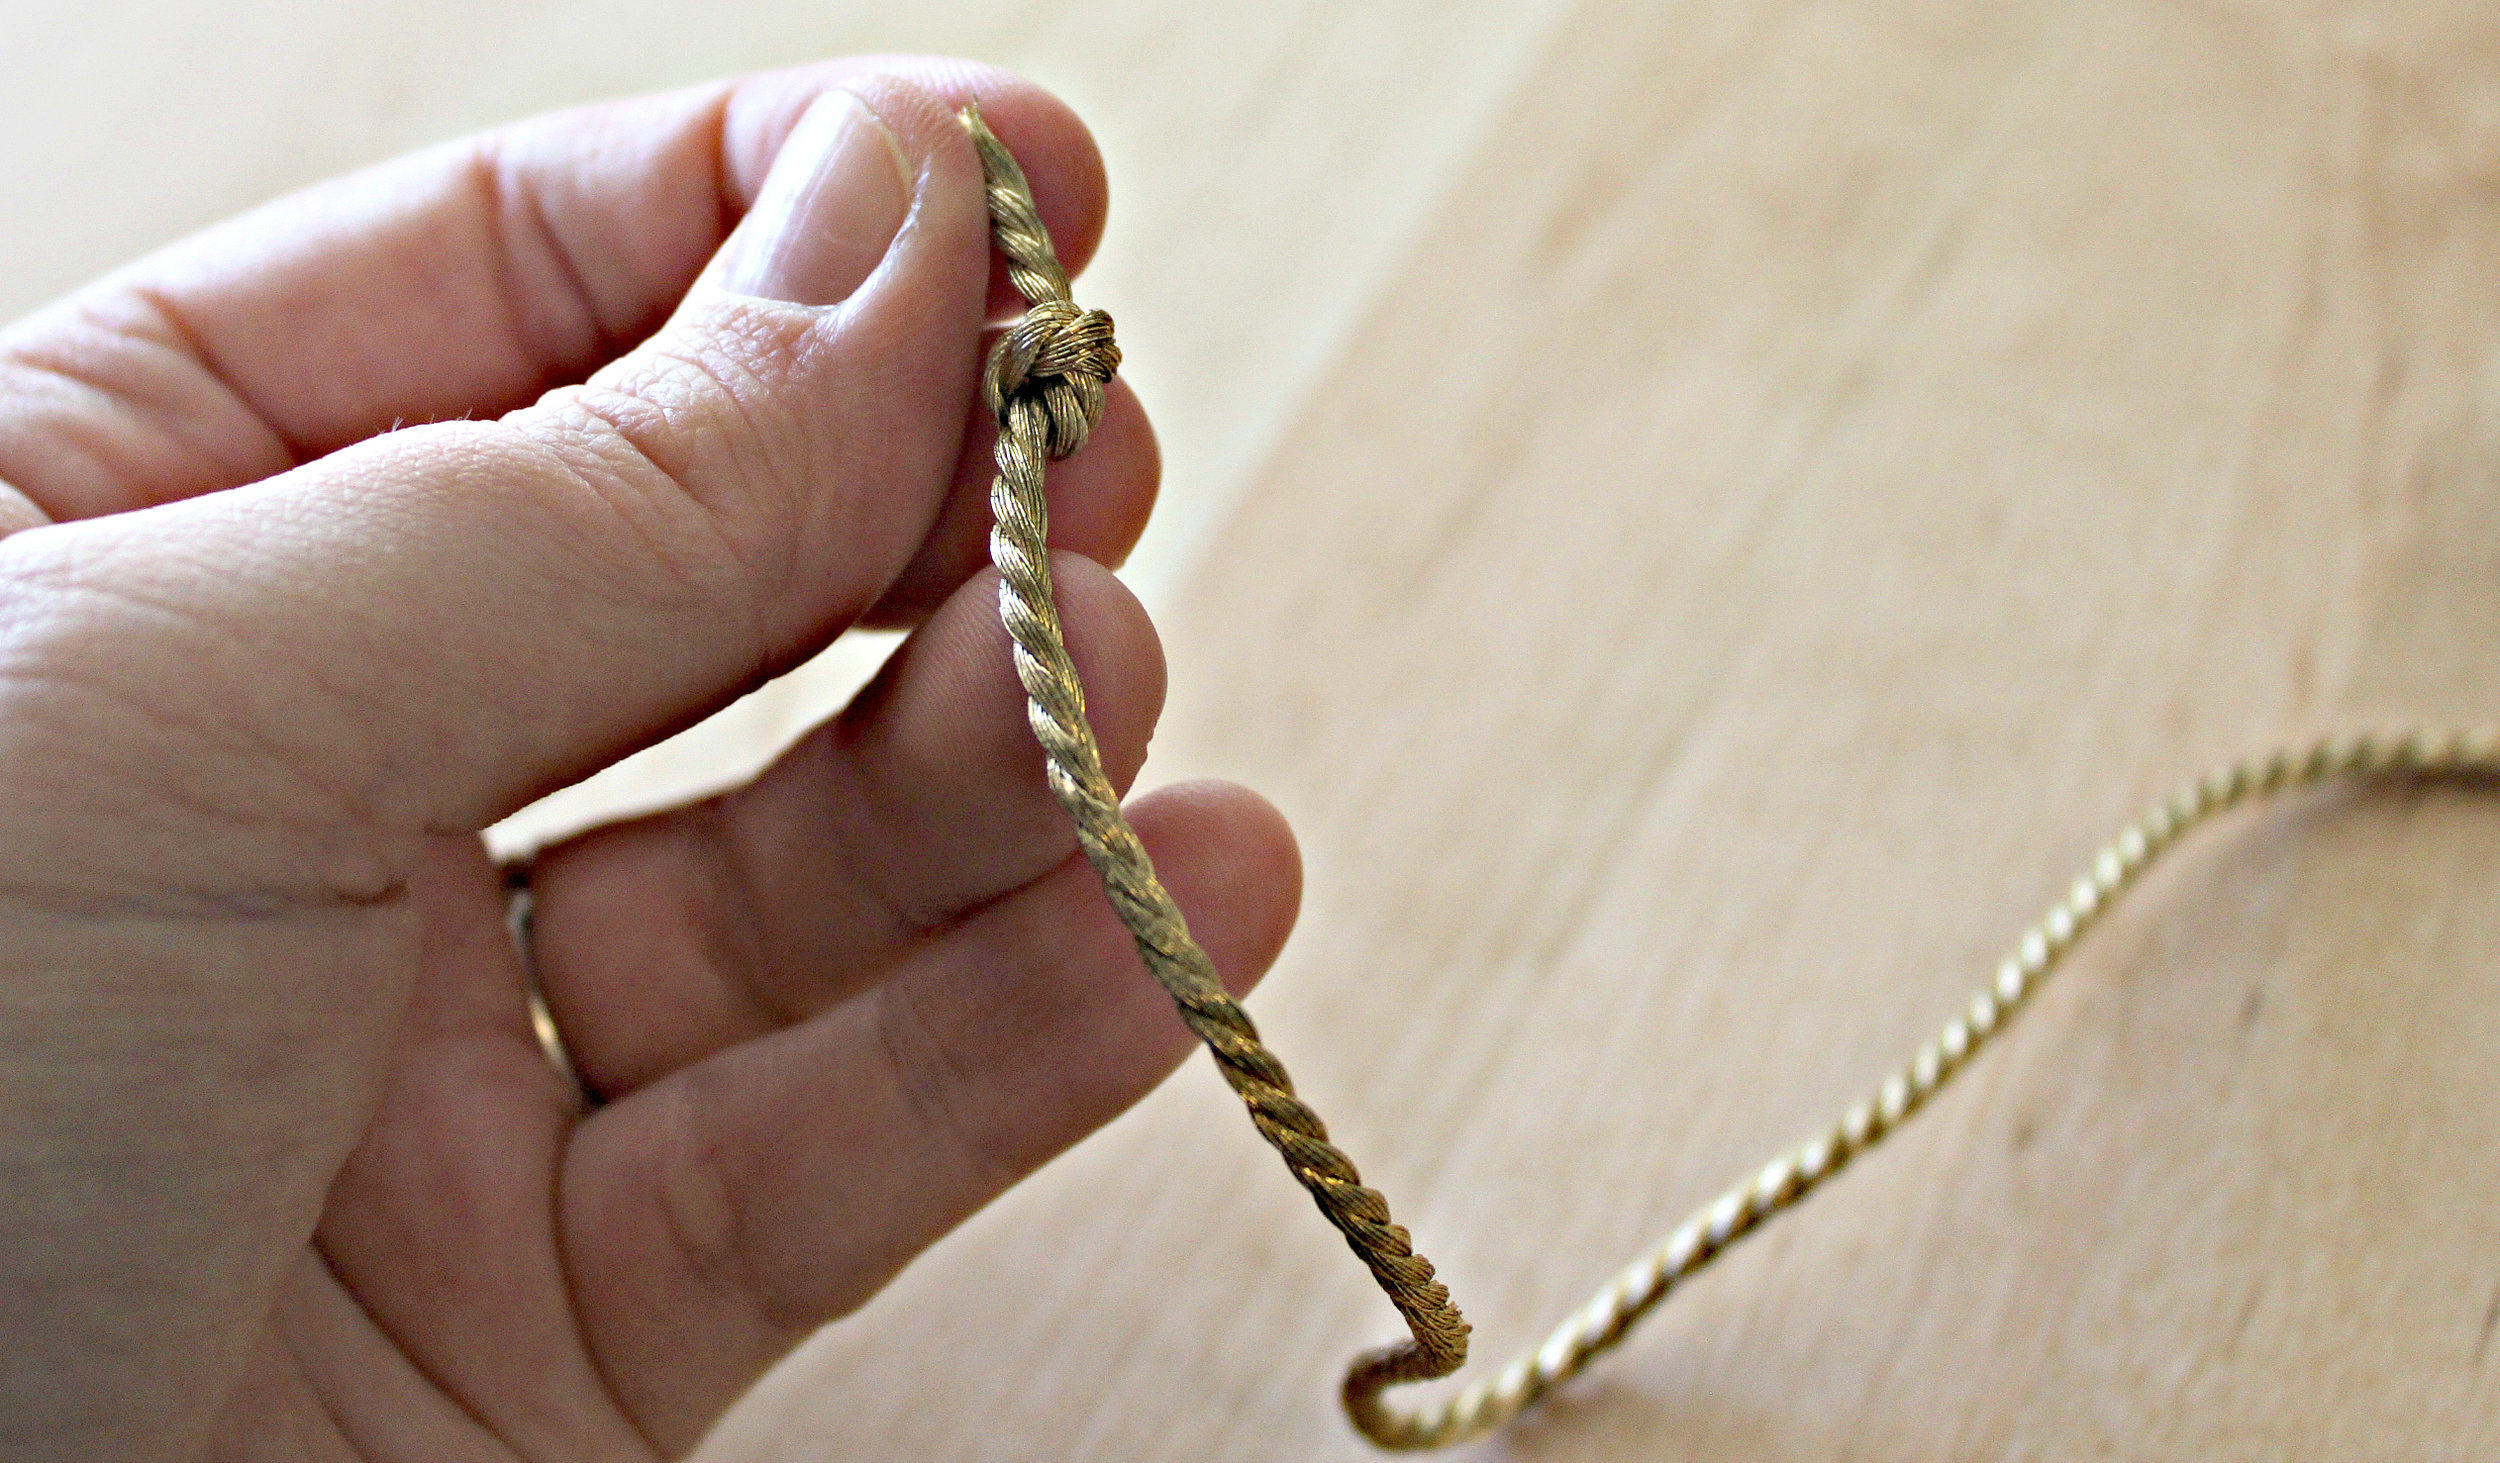 Repeat for the other side. Cut off any excess ribbon.
  You now have a completed mask! Pair with an elegant dress, pair of long gloves, and some fabulous jewelry for a posh Steampunk Halloween costume!
 Thanks to Rhys for the amazing pictures!
  As always, Merry Making! I hope you've enjoyed my Halloween DIYs this month! Check out some of my past steampunk costume & Halloween Decor DIYs for further inspiration!
- Steampunk Pirate Costume
- Steampunk Medals
- Steampunk Crown
- Steampumpkin Carving
- Steampunk Candelabra
- Steampunk Gun Holster
- Steampunk Monocle Bowler
- Update an Old Pair of Gloves
- Lace & Rhinestone Mask
- Steampunk Gear Mask
 For websites where I find costume inspiration, visit: A Mighty Girl and also Take Back Halloween (which I blogged about last Halloween). Both sites have excellent ideas & costumes for girls & women that empower & celebrate what it means to be an imaginative, creative woman--which for me, is what Halloween is all about!
Junkin Tips & Tricks: 40
UncategorizedComment As always, Happy Junkin'!
Junkin Tips & Tricks: 39
UncategorizedComment As always, Happy Junkin'!
Each One A Little Different...
UncategorizedComment I love using upcycled materials. It keeps my designs fresh having different materials that present new challenges and inspiration. Sometimes, I have enough materials to make more than one of an item but where is the fun in that?
Thought I'd share with you 5 sets of earrings, each a little different than the next, all made with the same materials.
Materials:
- Gray plastic watch plate part
- Clock hand
- Chain
- Washer
Some have pearls and an extra clock gear.


Weekend in the Studio
UncategorizedCommentSmall business owners wear all the "hats"--we're designers, accountants, drivers, marketers, spokespeople, and more. One hat I dislike having to put on is photographer. Lucky for me, I married one. This weekend, I finally asked Rhys for his help with product photography. We looked at some example photos online, product photos I wanted to emulate. Mainly, I wanted to finally be able to showcase what I love about my jewelry--it's intricacy. For me, it's been near impossible to capture just how dainty or how many interesting, separate parts are in one piece. I'm happy to say, that I finally have photos that do just that!

Rhys transformed our beloved built-in bookshelf into a jewelry studio. This part of the house gets plenty of natural light and is already kind of like a light box.

We taped a sheet of paper behind the area in view and hung my earrings on a wire hanger. Simple yet effective. For those of you wearing multiple hats too--reach out to the people or photographers you know for their help. You'll be glad you asked...or in my case, asked & bribed.

I baked Rhys some chocolate thumbprint cookies as a thank you.
The results were fantastic! 


After a successful photography shoot, I puttered around the house finishing up a couple of other handmade gifts. I whipped up this super cute pie-pincushion. I have been on a felt kick lately.

It's in a little mason jar lid, which looks so much like a pie tin! This will make a nice stocking stuffer for all my crafty friends & family.

I also got a little reading in this weekend. Today was the perfect day to read since it was wonderfully rainy. I've delved into this new book by Junk Gypsy! It's great for inspiration. I highly recommend it. It has a few cool DIYS inside, but mainly it's an inspiration style book for upcycled dwelling spaces and parties.
I'll be adding more new earrings to the shop soon too, now that I have oodles of new pictures! Hope you've all had a lovely, crafty weekend!
Junkin Tips & Tricks: 38
UncategorizedComment As always, Happy Junkin'!
Junkin Tips & Tricks: 37
UncategorizedComment As always, Happy Junkin'!
Junkin Tips & Tricks: 36
UncategorizedComment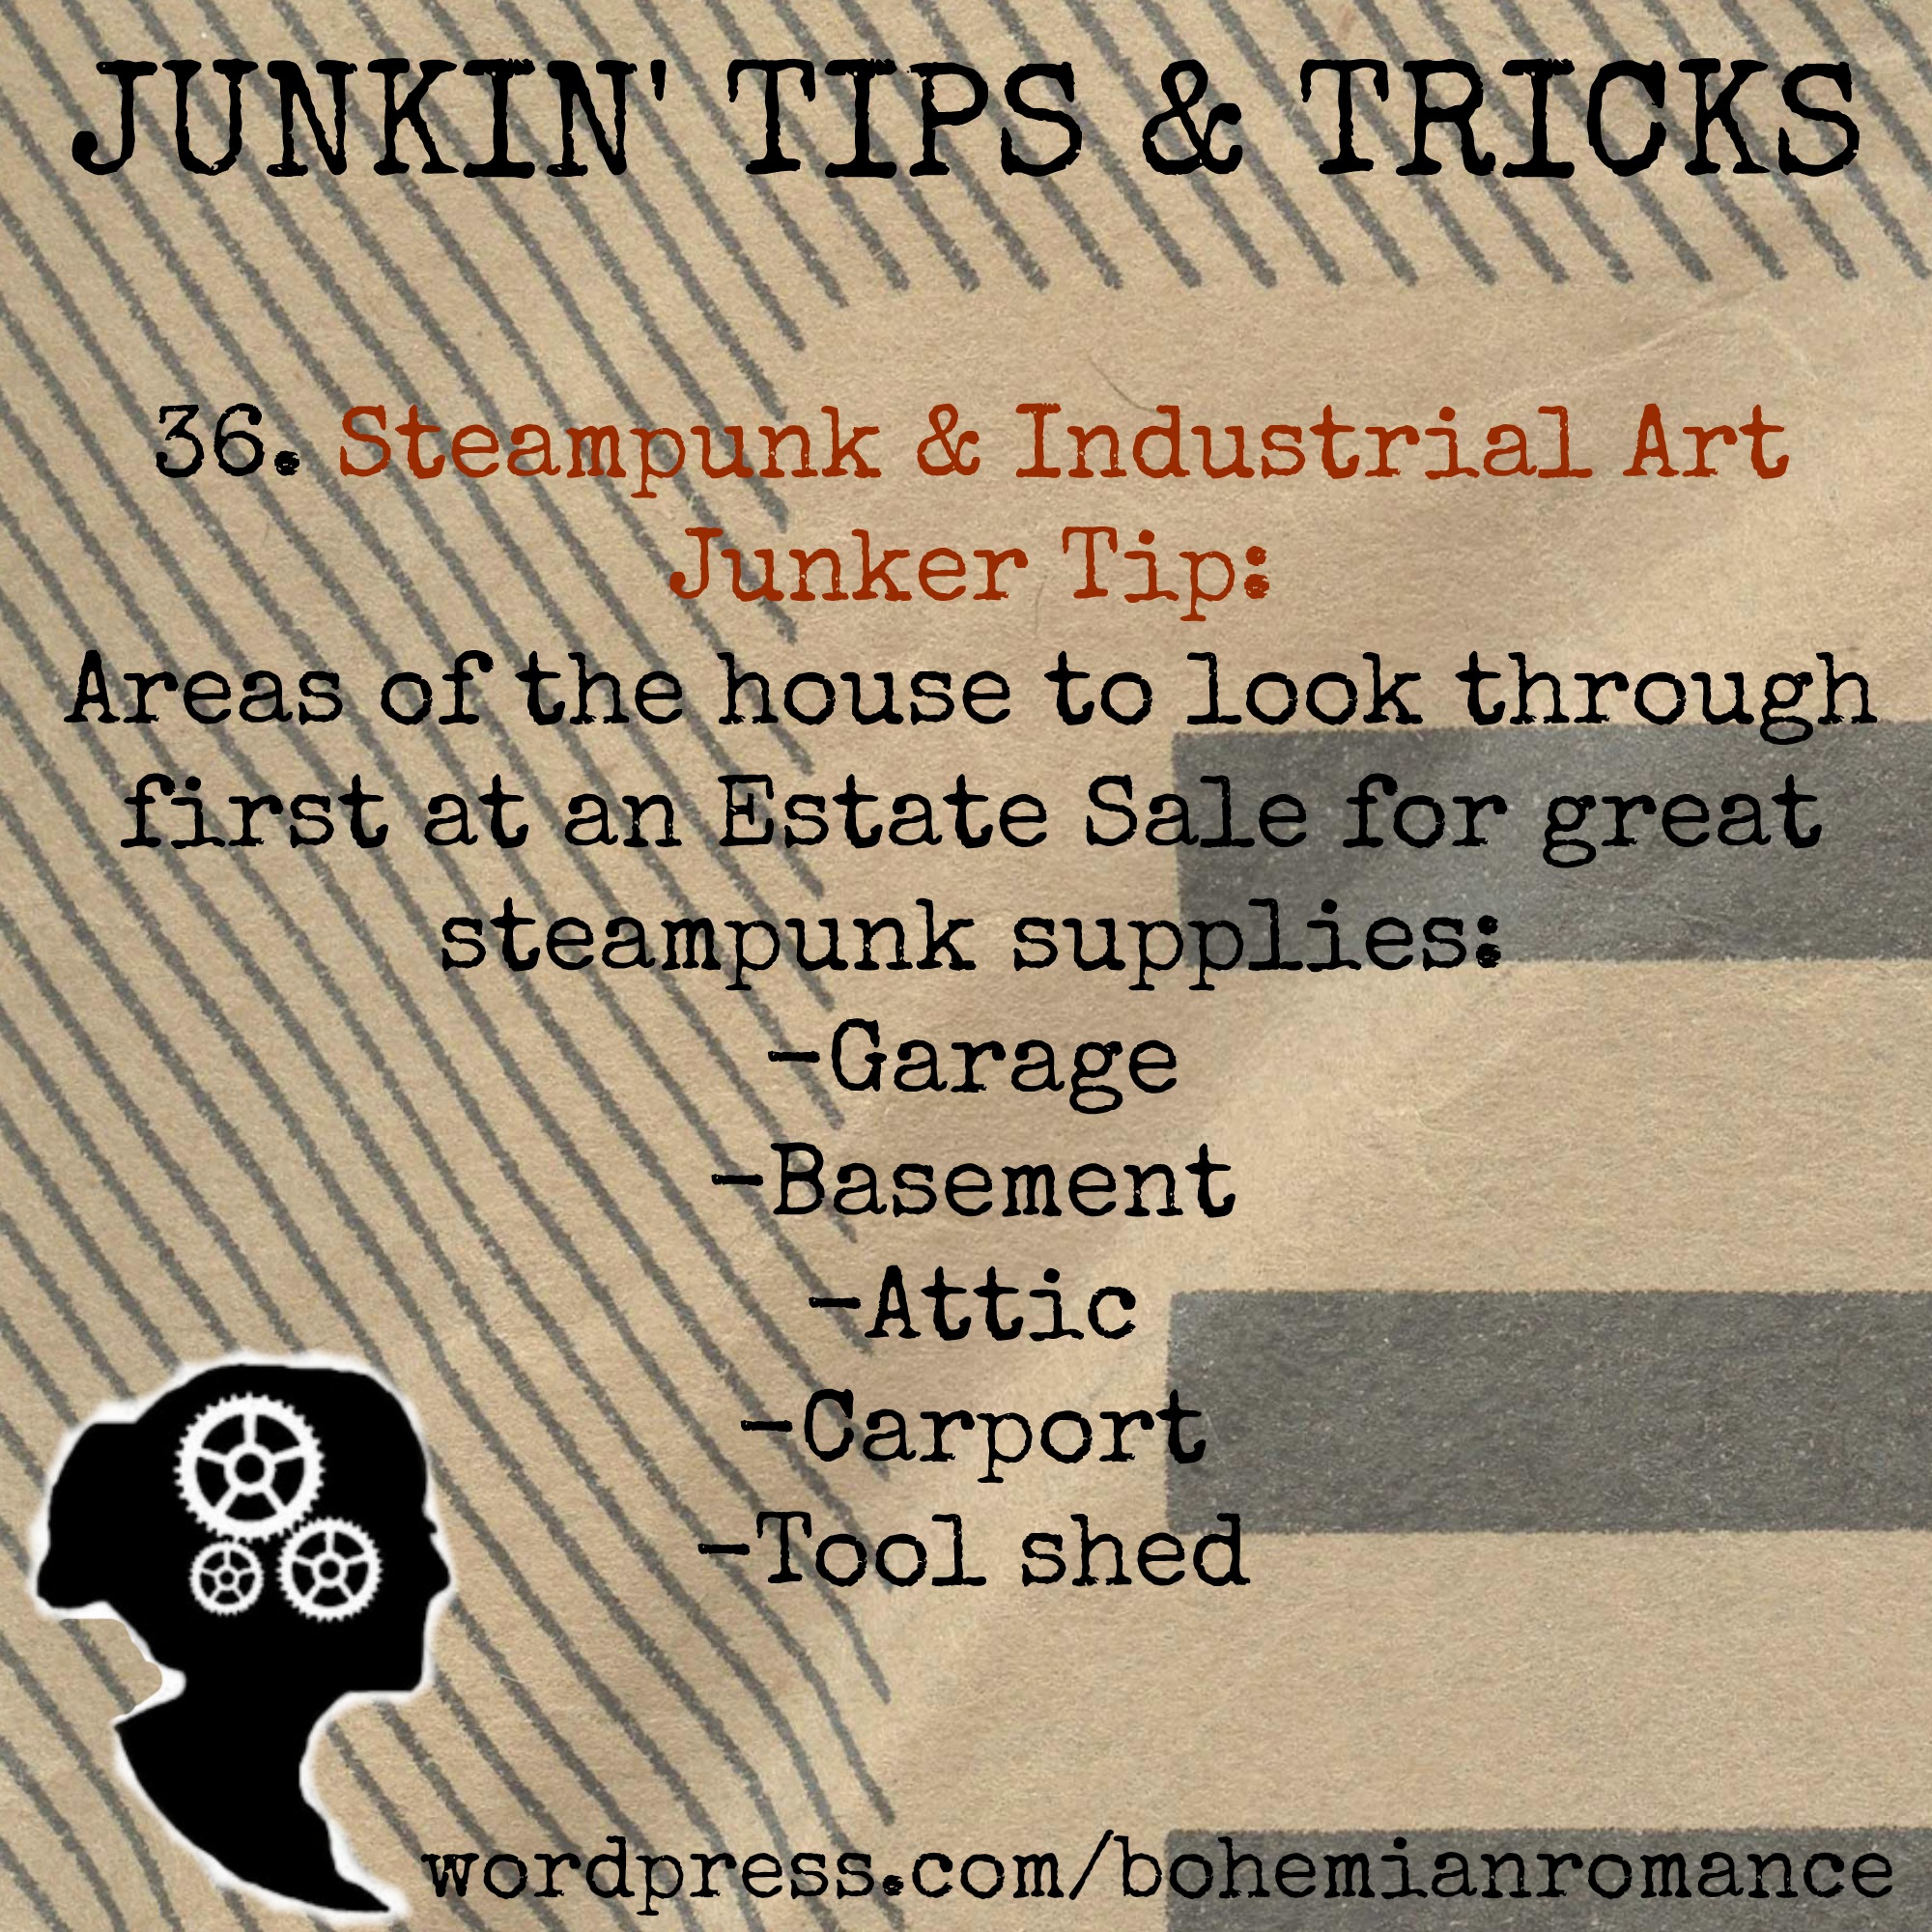 As always, Happy Junkin'!
Junkin Tips & Tricks: 35
UncategorizedComment As always, Happy Junkin'!
Junkin Tips & Tricks: 34
UncategorizedComment As always, Happy Junkin'!
Junkin Tips & Tricks: 33
UncategorizedComment As always, Happy Junkin'!
Junkin Tips & Tricks: 32
UncategorizedComment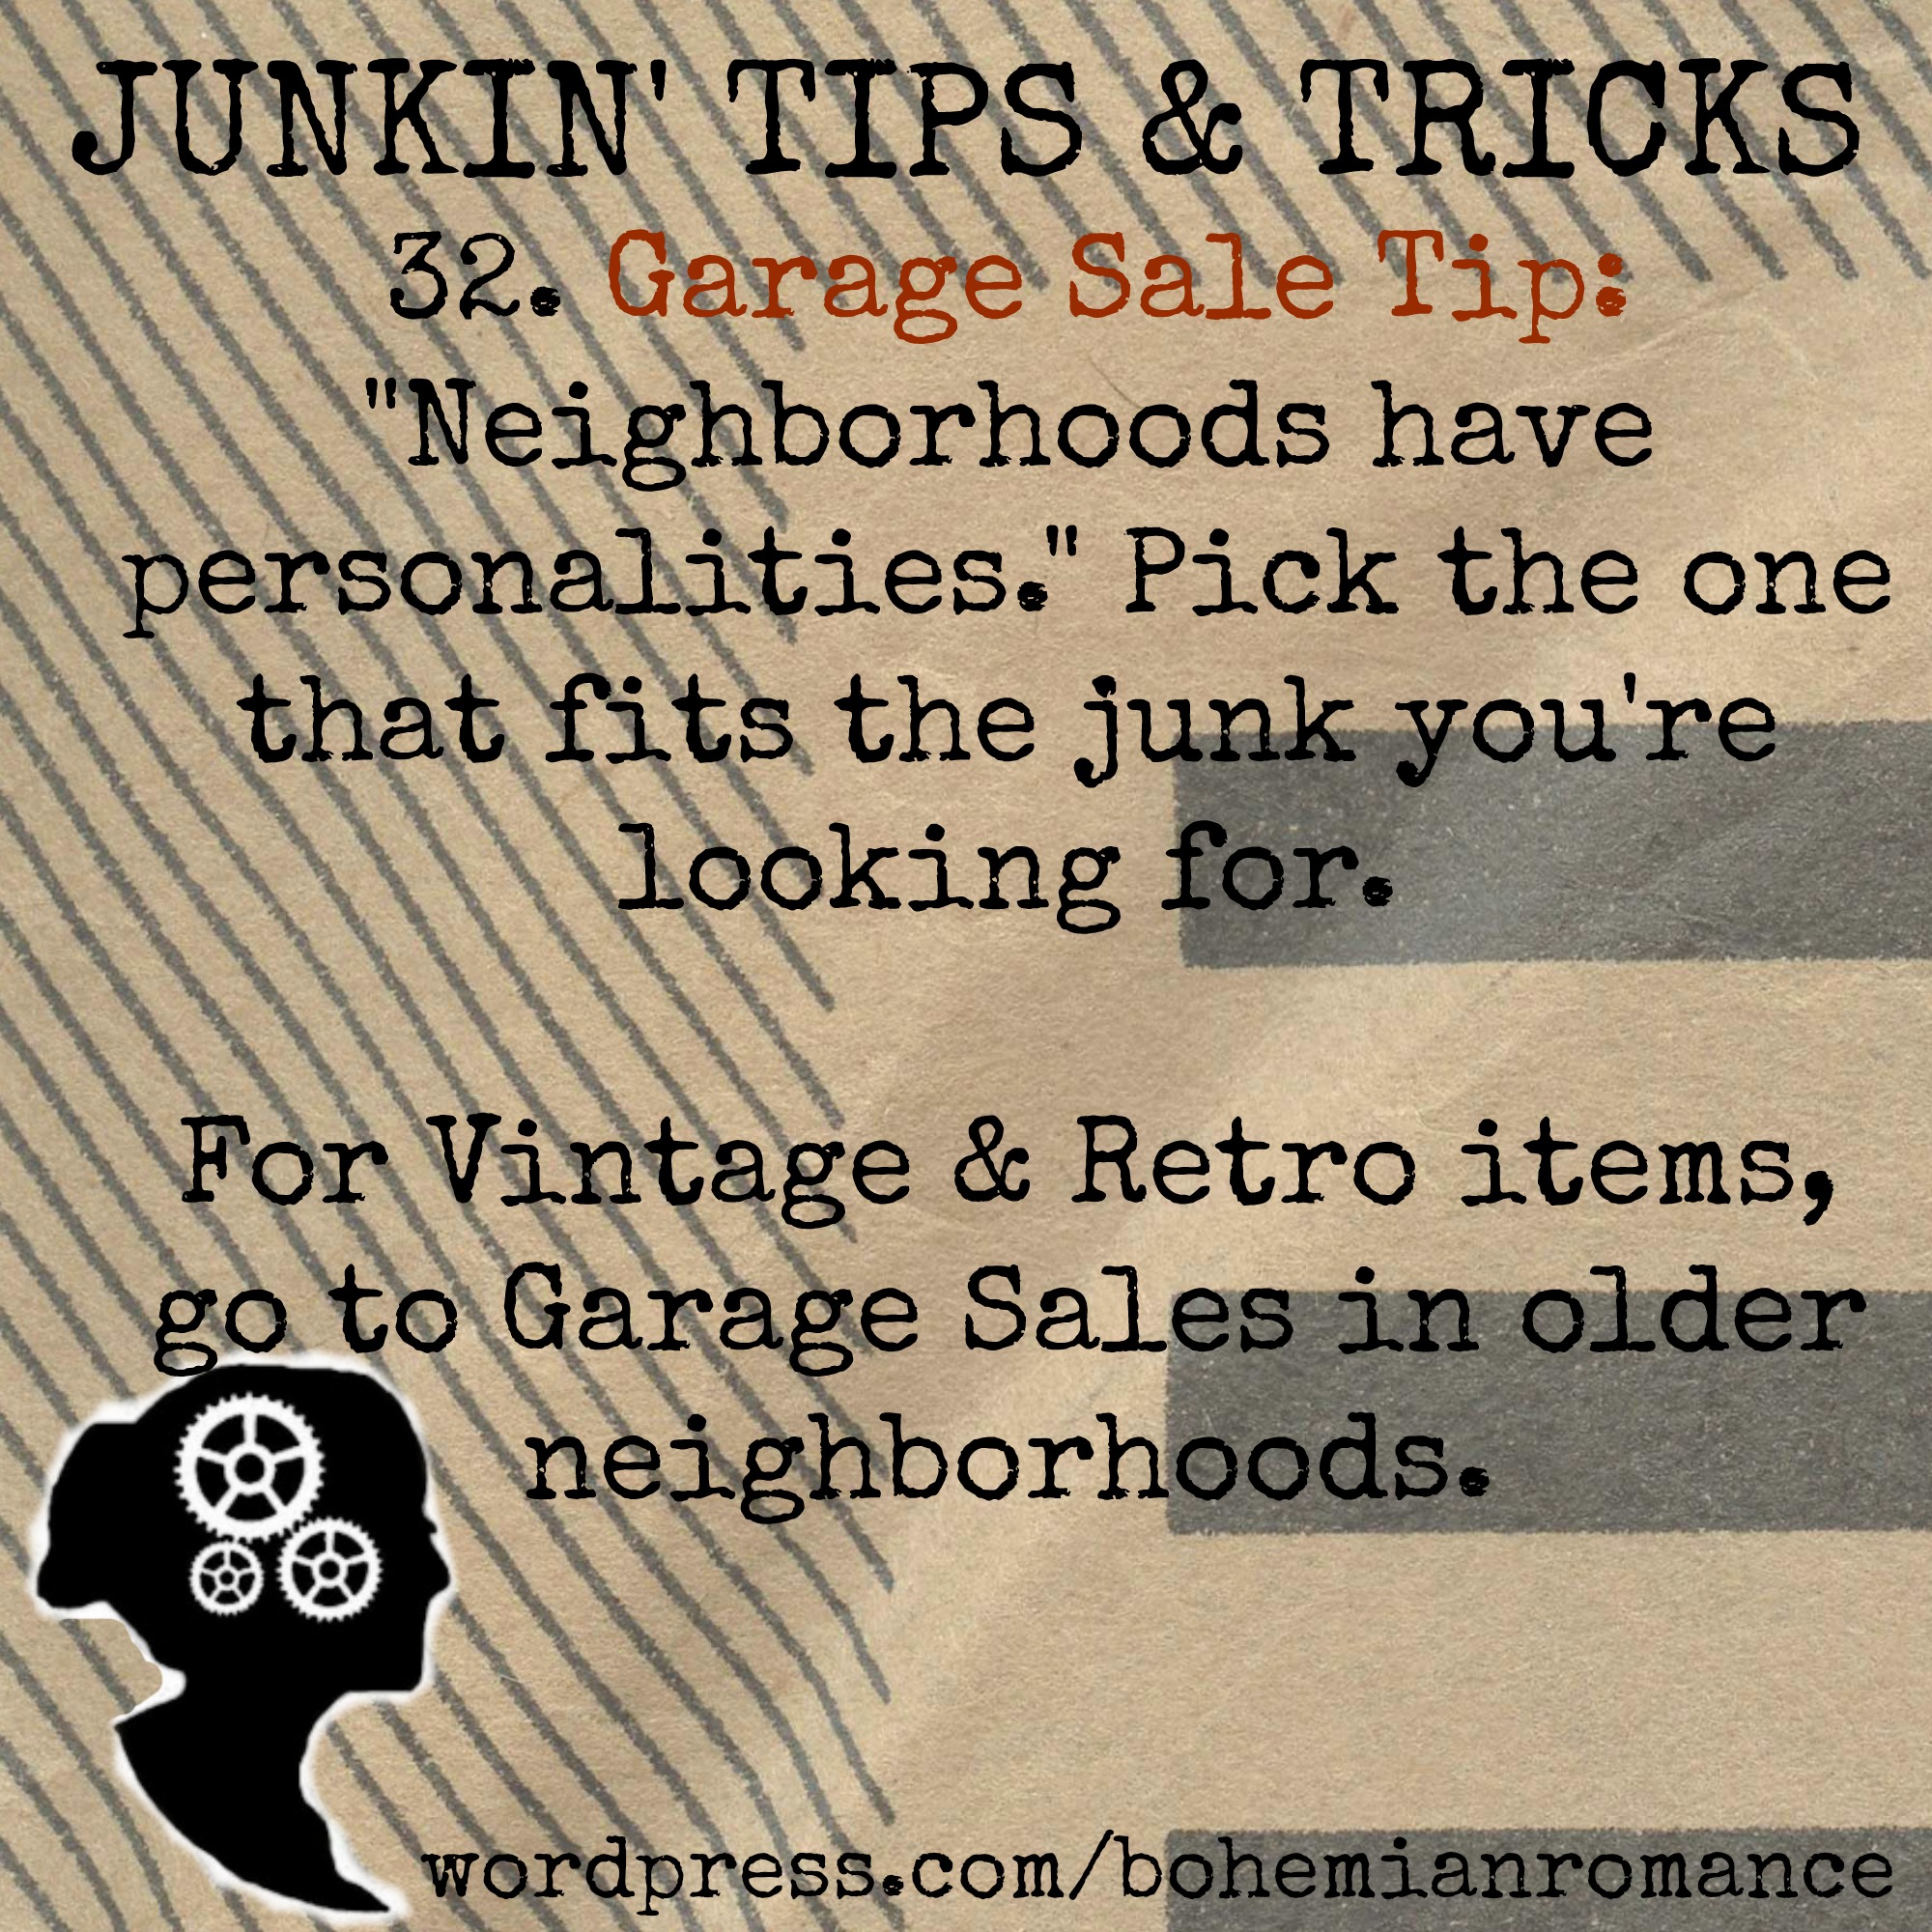 As always, Happy Junkin'!
Junkin Tips & Tricks: 31
UncategorizedComment As always, Happy Junkin'!
