I love Halloween! I look forward to it every year because it is such a source of creative energy. Perhaps that is because Halloween is more transparently handmade. Here is the first of 3 Halloween mask DIYs that I have dreamed up for this year! It's elegant, inexpensive, and can be made with a majority of salvaged materials! 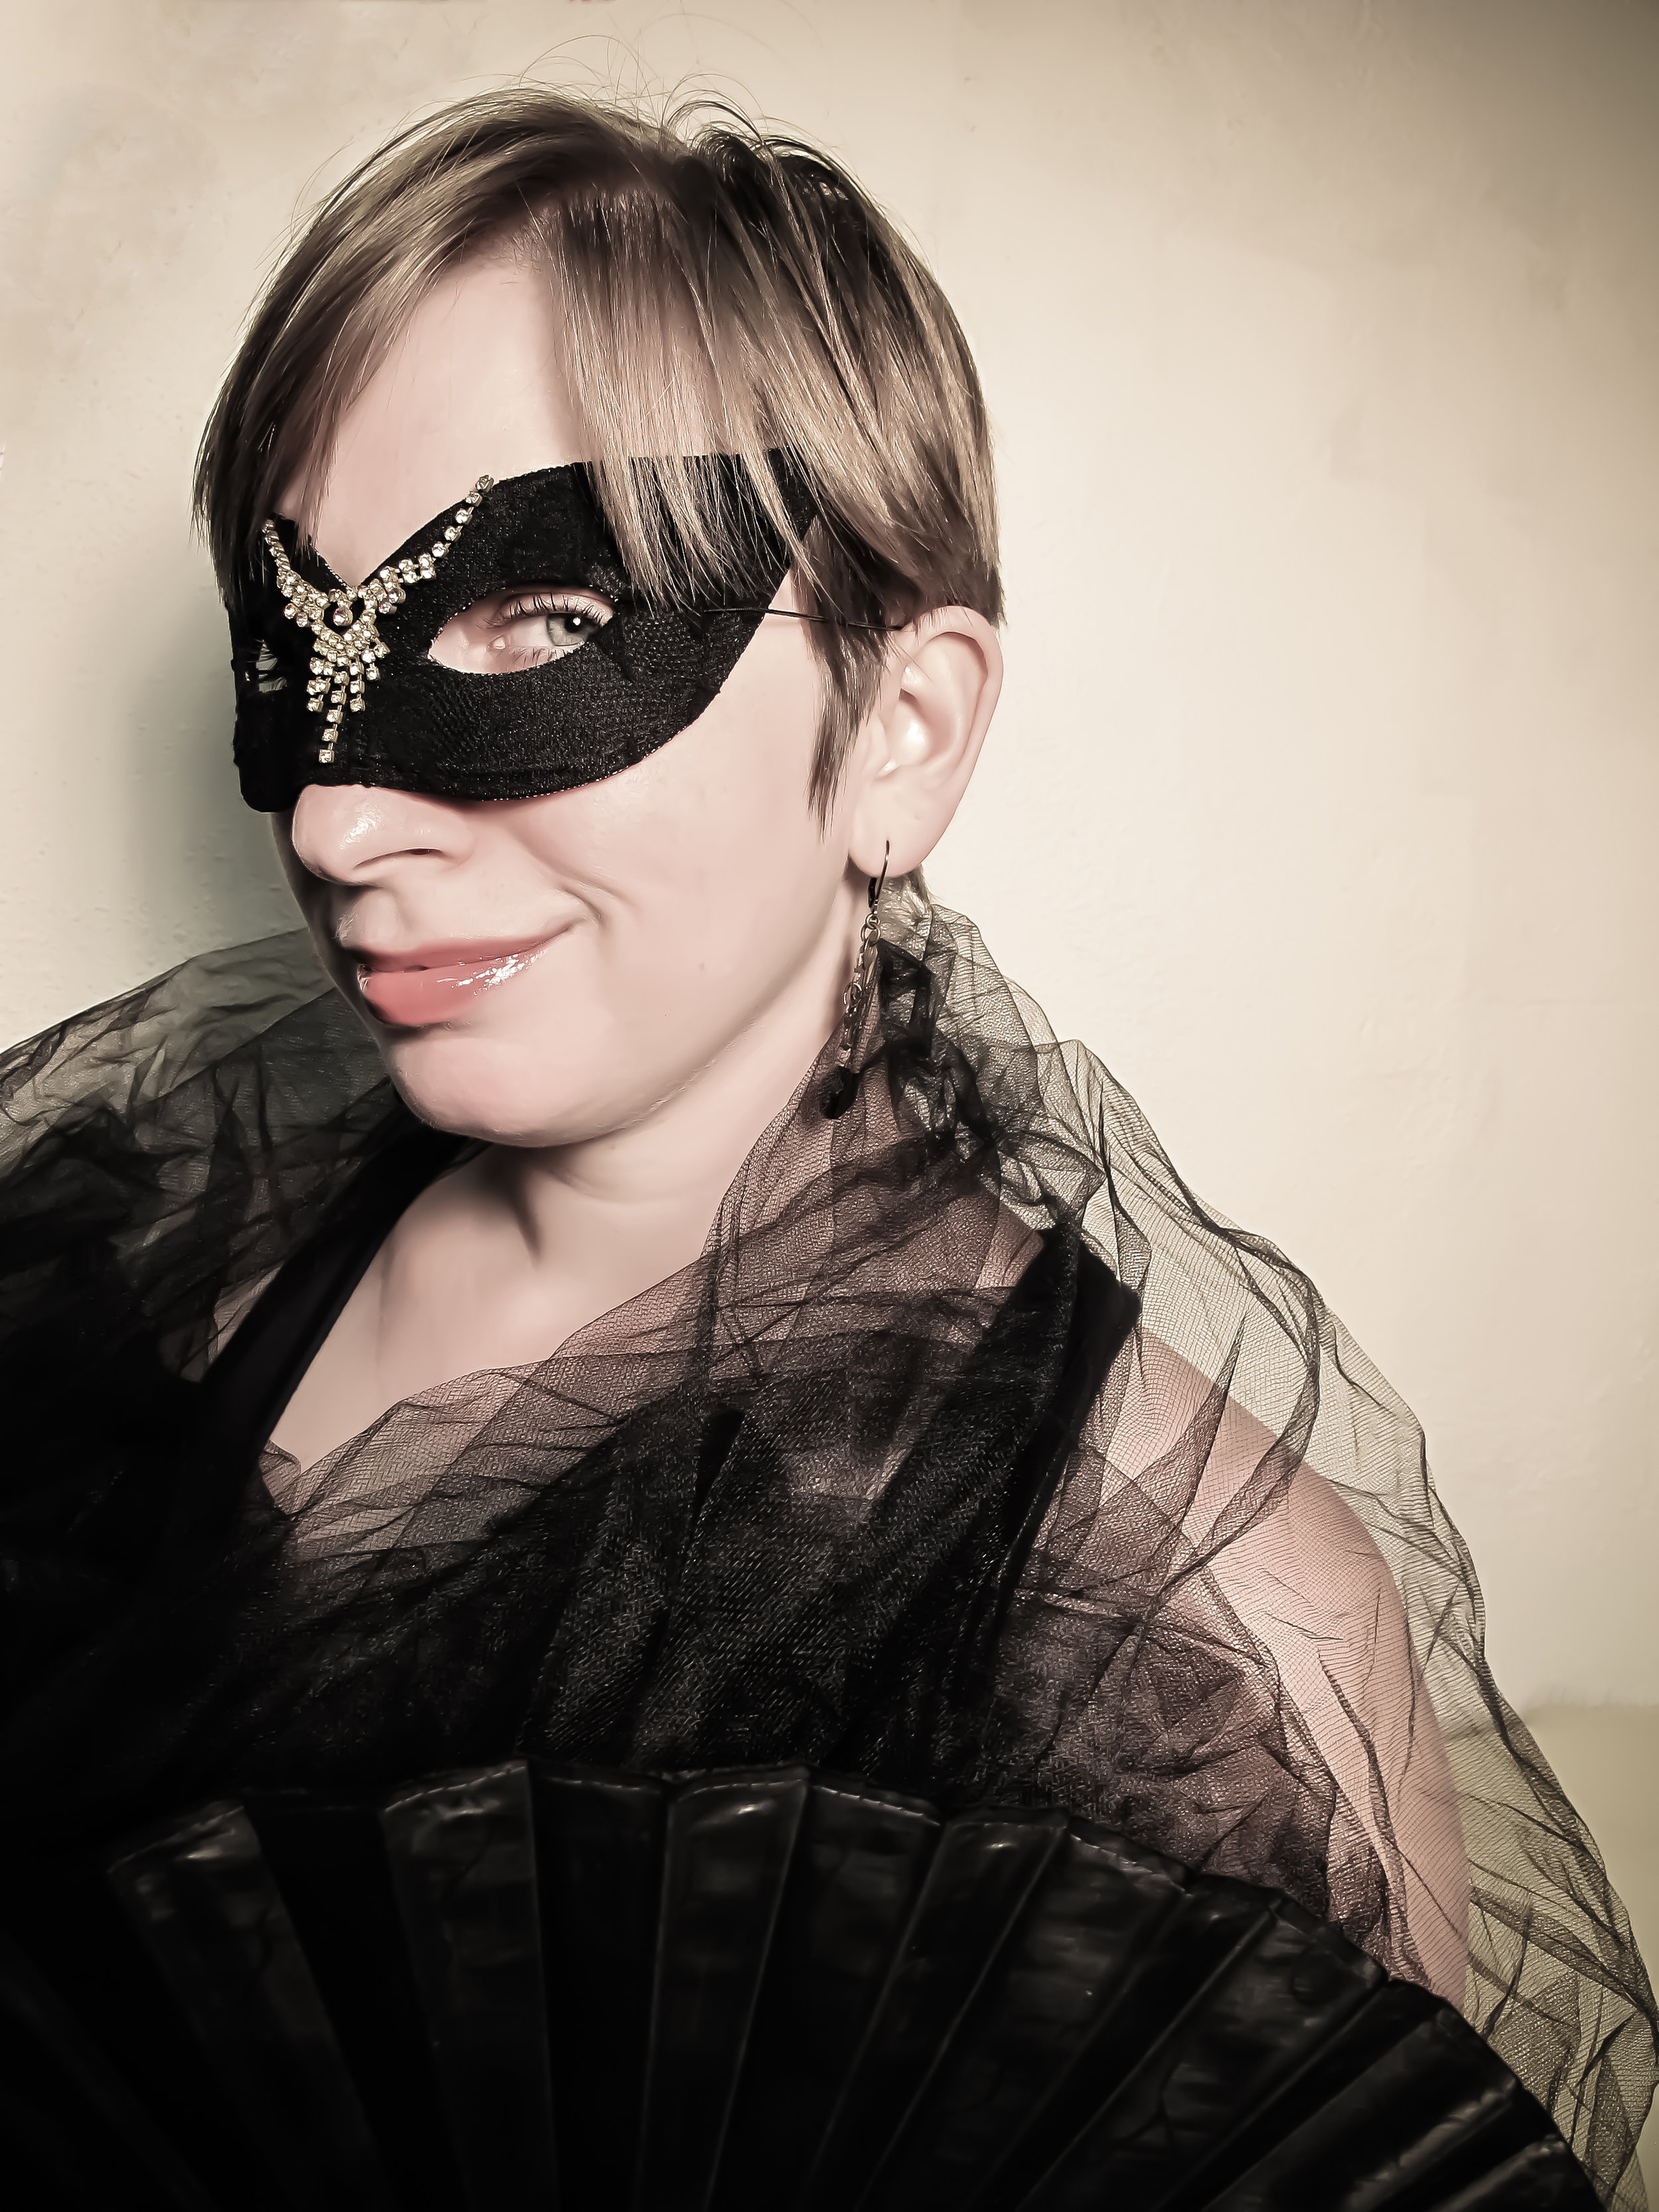 Here's what you'll need:
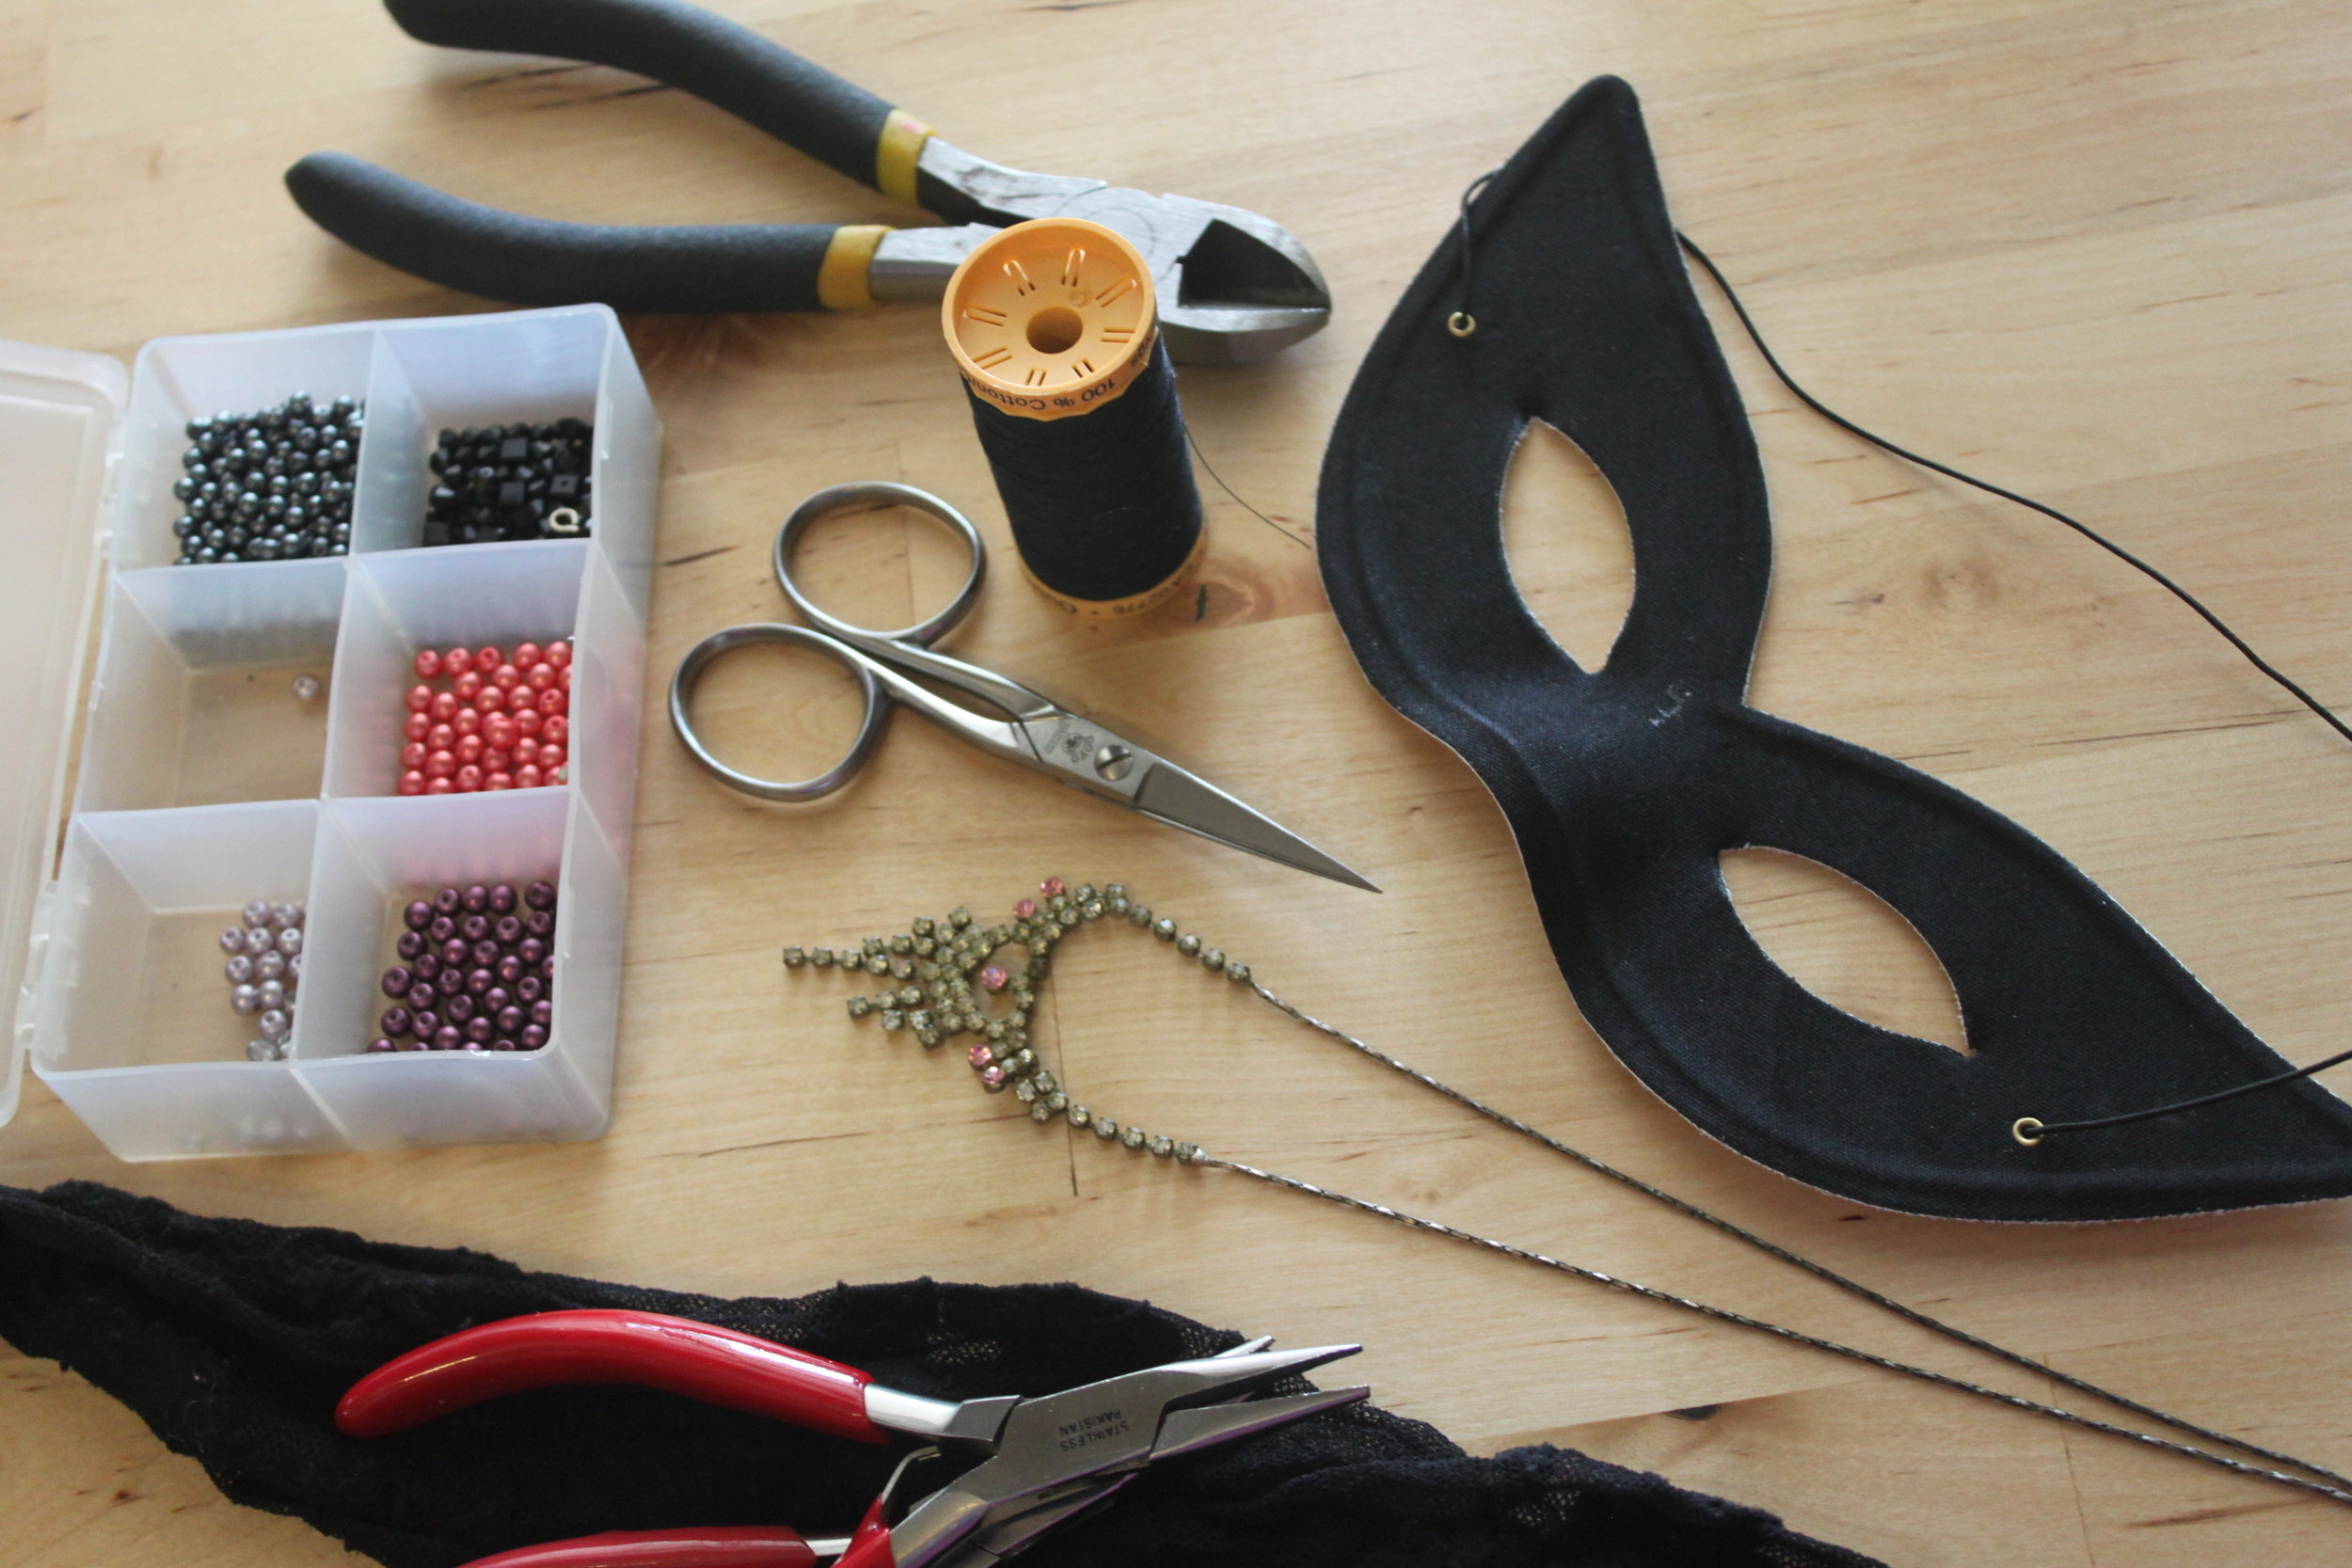
- Mask (mine was $2.99 from Party City)
- Lacy tights (mine were a pair that I had to stop wearing because of a huge tear--this is a great DIY for reusing ruined fancy/patterned tights)
- An old rhinestone necklace
- Needle & thread (in a color that matches)
- Wire cutters (or toenail clippers)
- Pliers (if needed)
- Embroidery needle
- Pins
- Scissors
- Beads (optional, if desired)
- Untie your elastic head strap from your mask. Set elastic aside for later.

- Next, cut a hole in the foot of your tights. The foot & lower leg areas are the best spots because they are smaller and less stretched out.
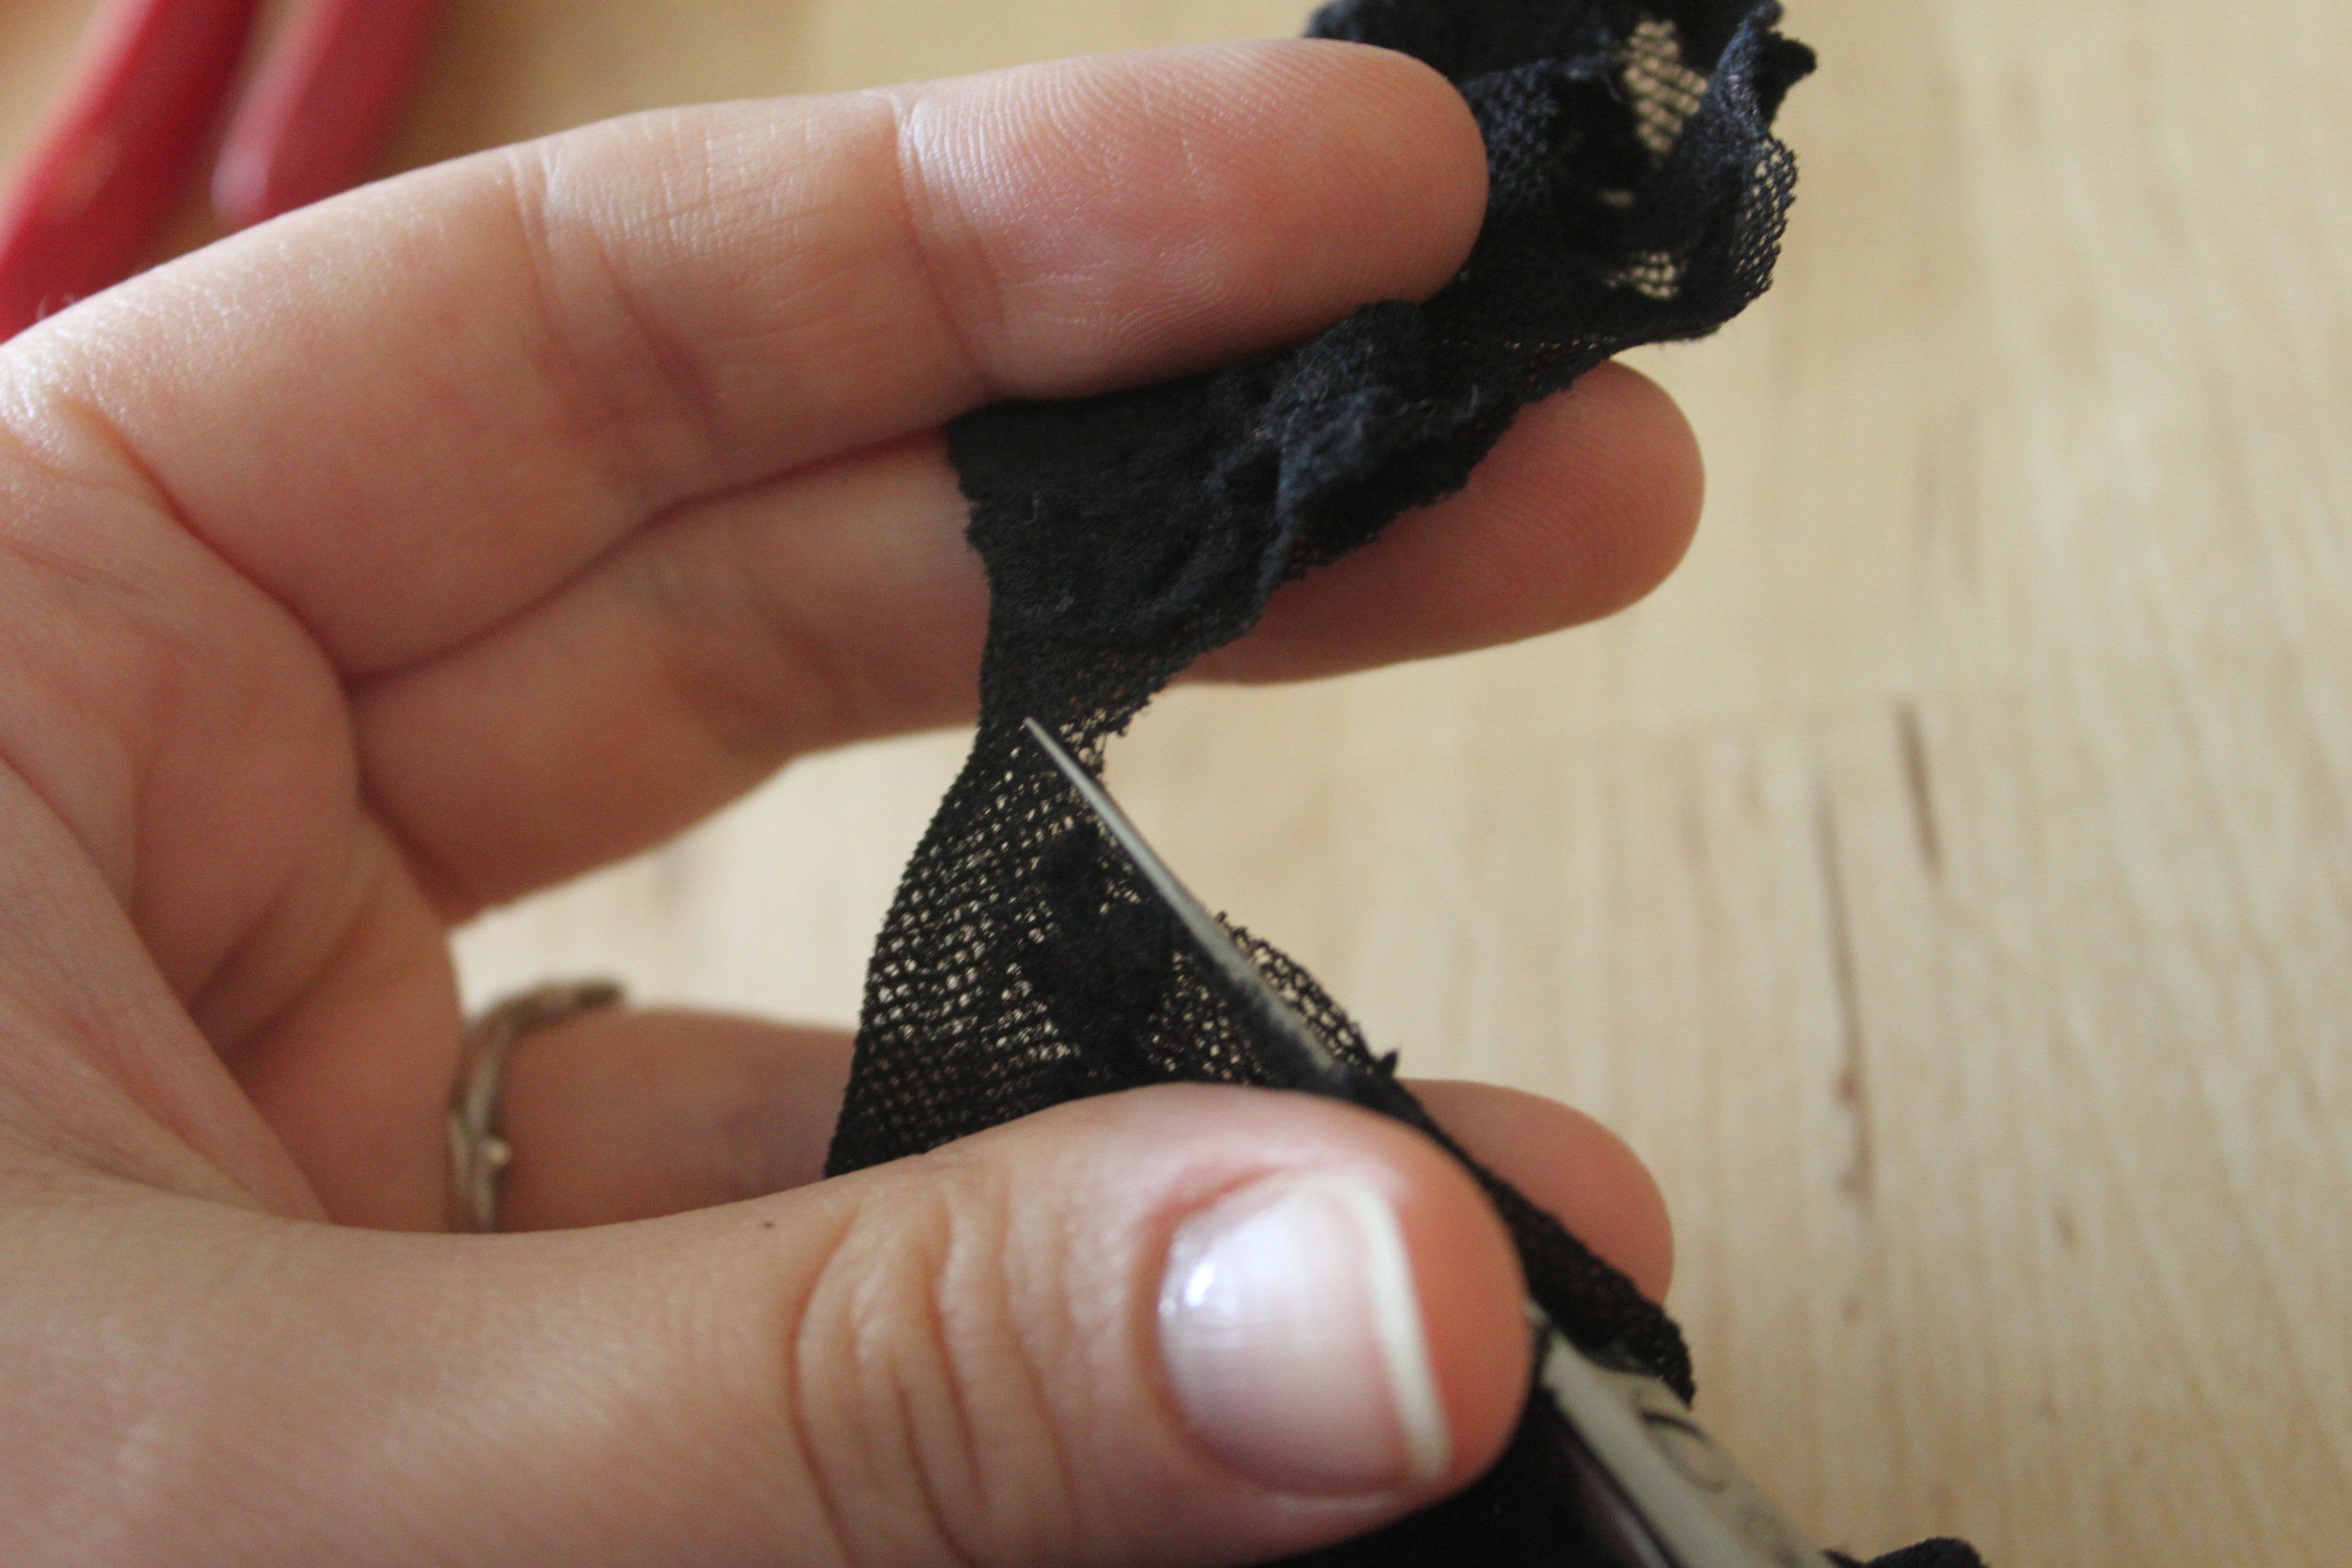
- Insert your mask into the tights. Once you've got your mask completely covered and the pattern/lace positioned as you like it, cut the other end of the tights (opposite your initial entry point detailed in Step 2). Then cut a slit in the back of your tights (and the back of your mask).

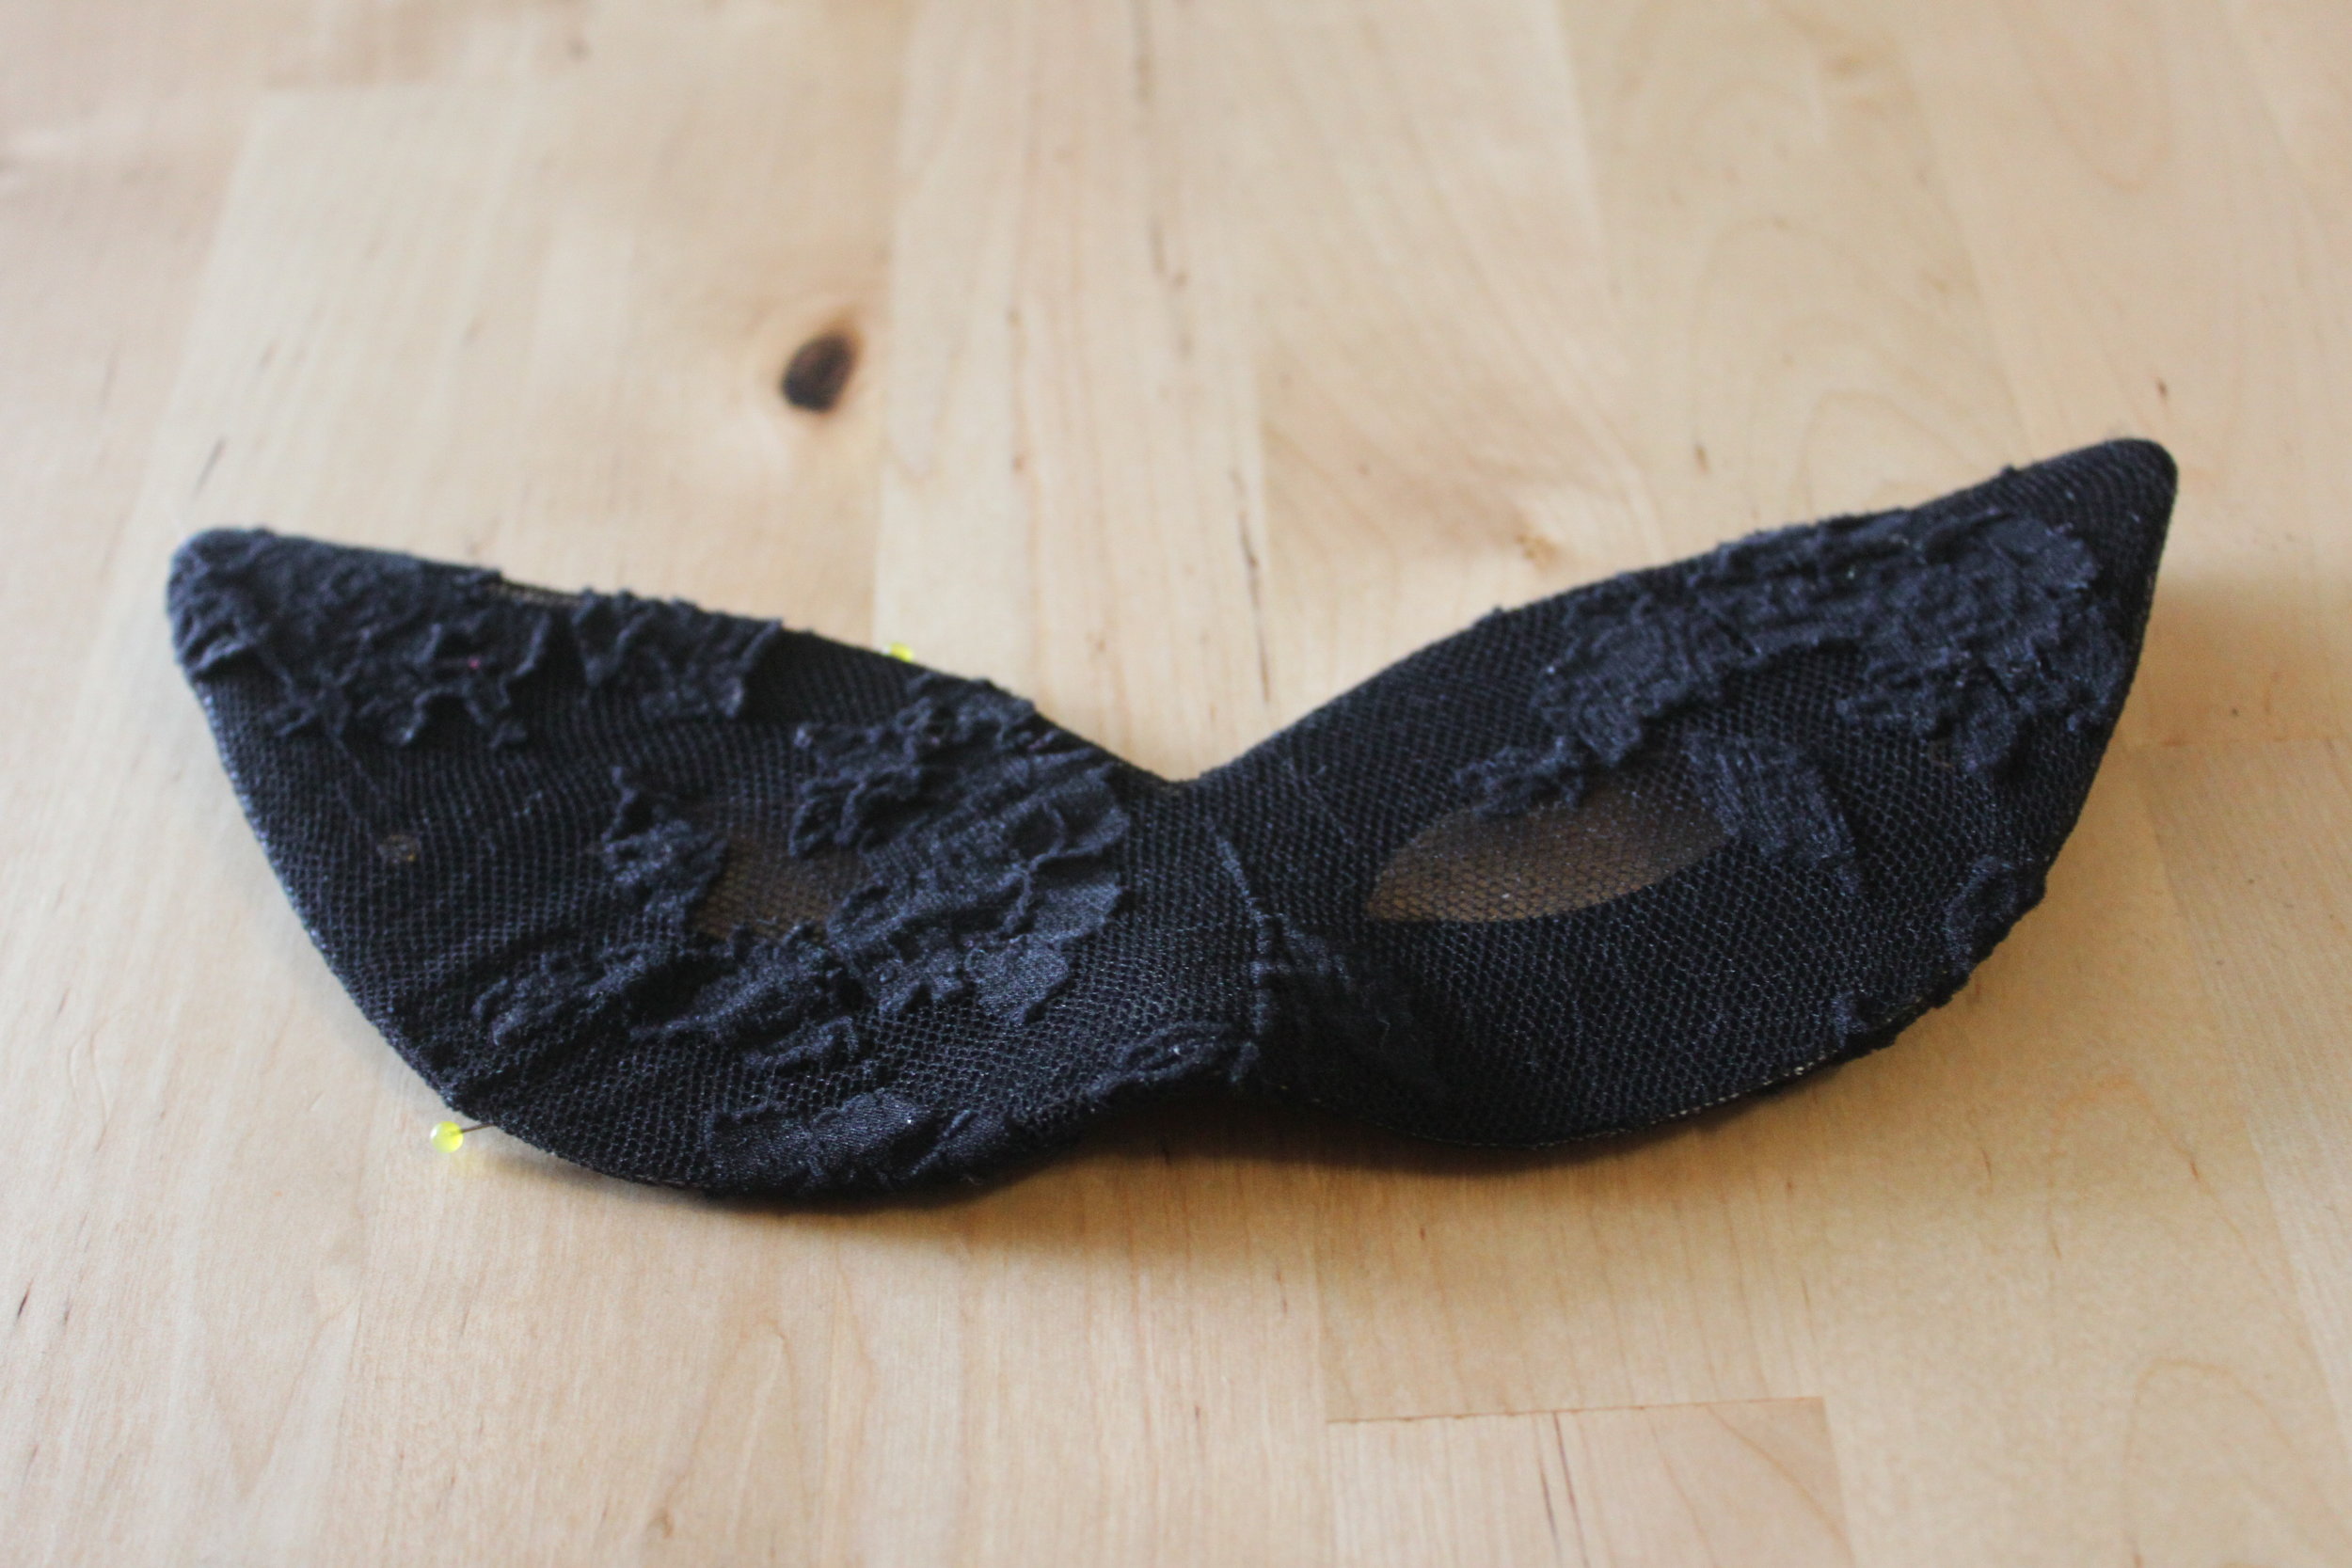
- Pin the tights in place. Be sure to pull the fabric taut over the front of your mask & over to the back of your mask.
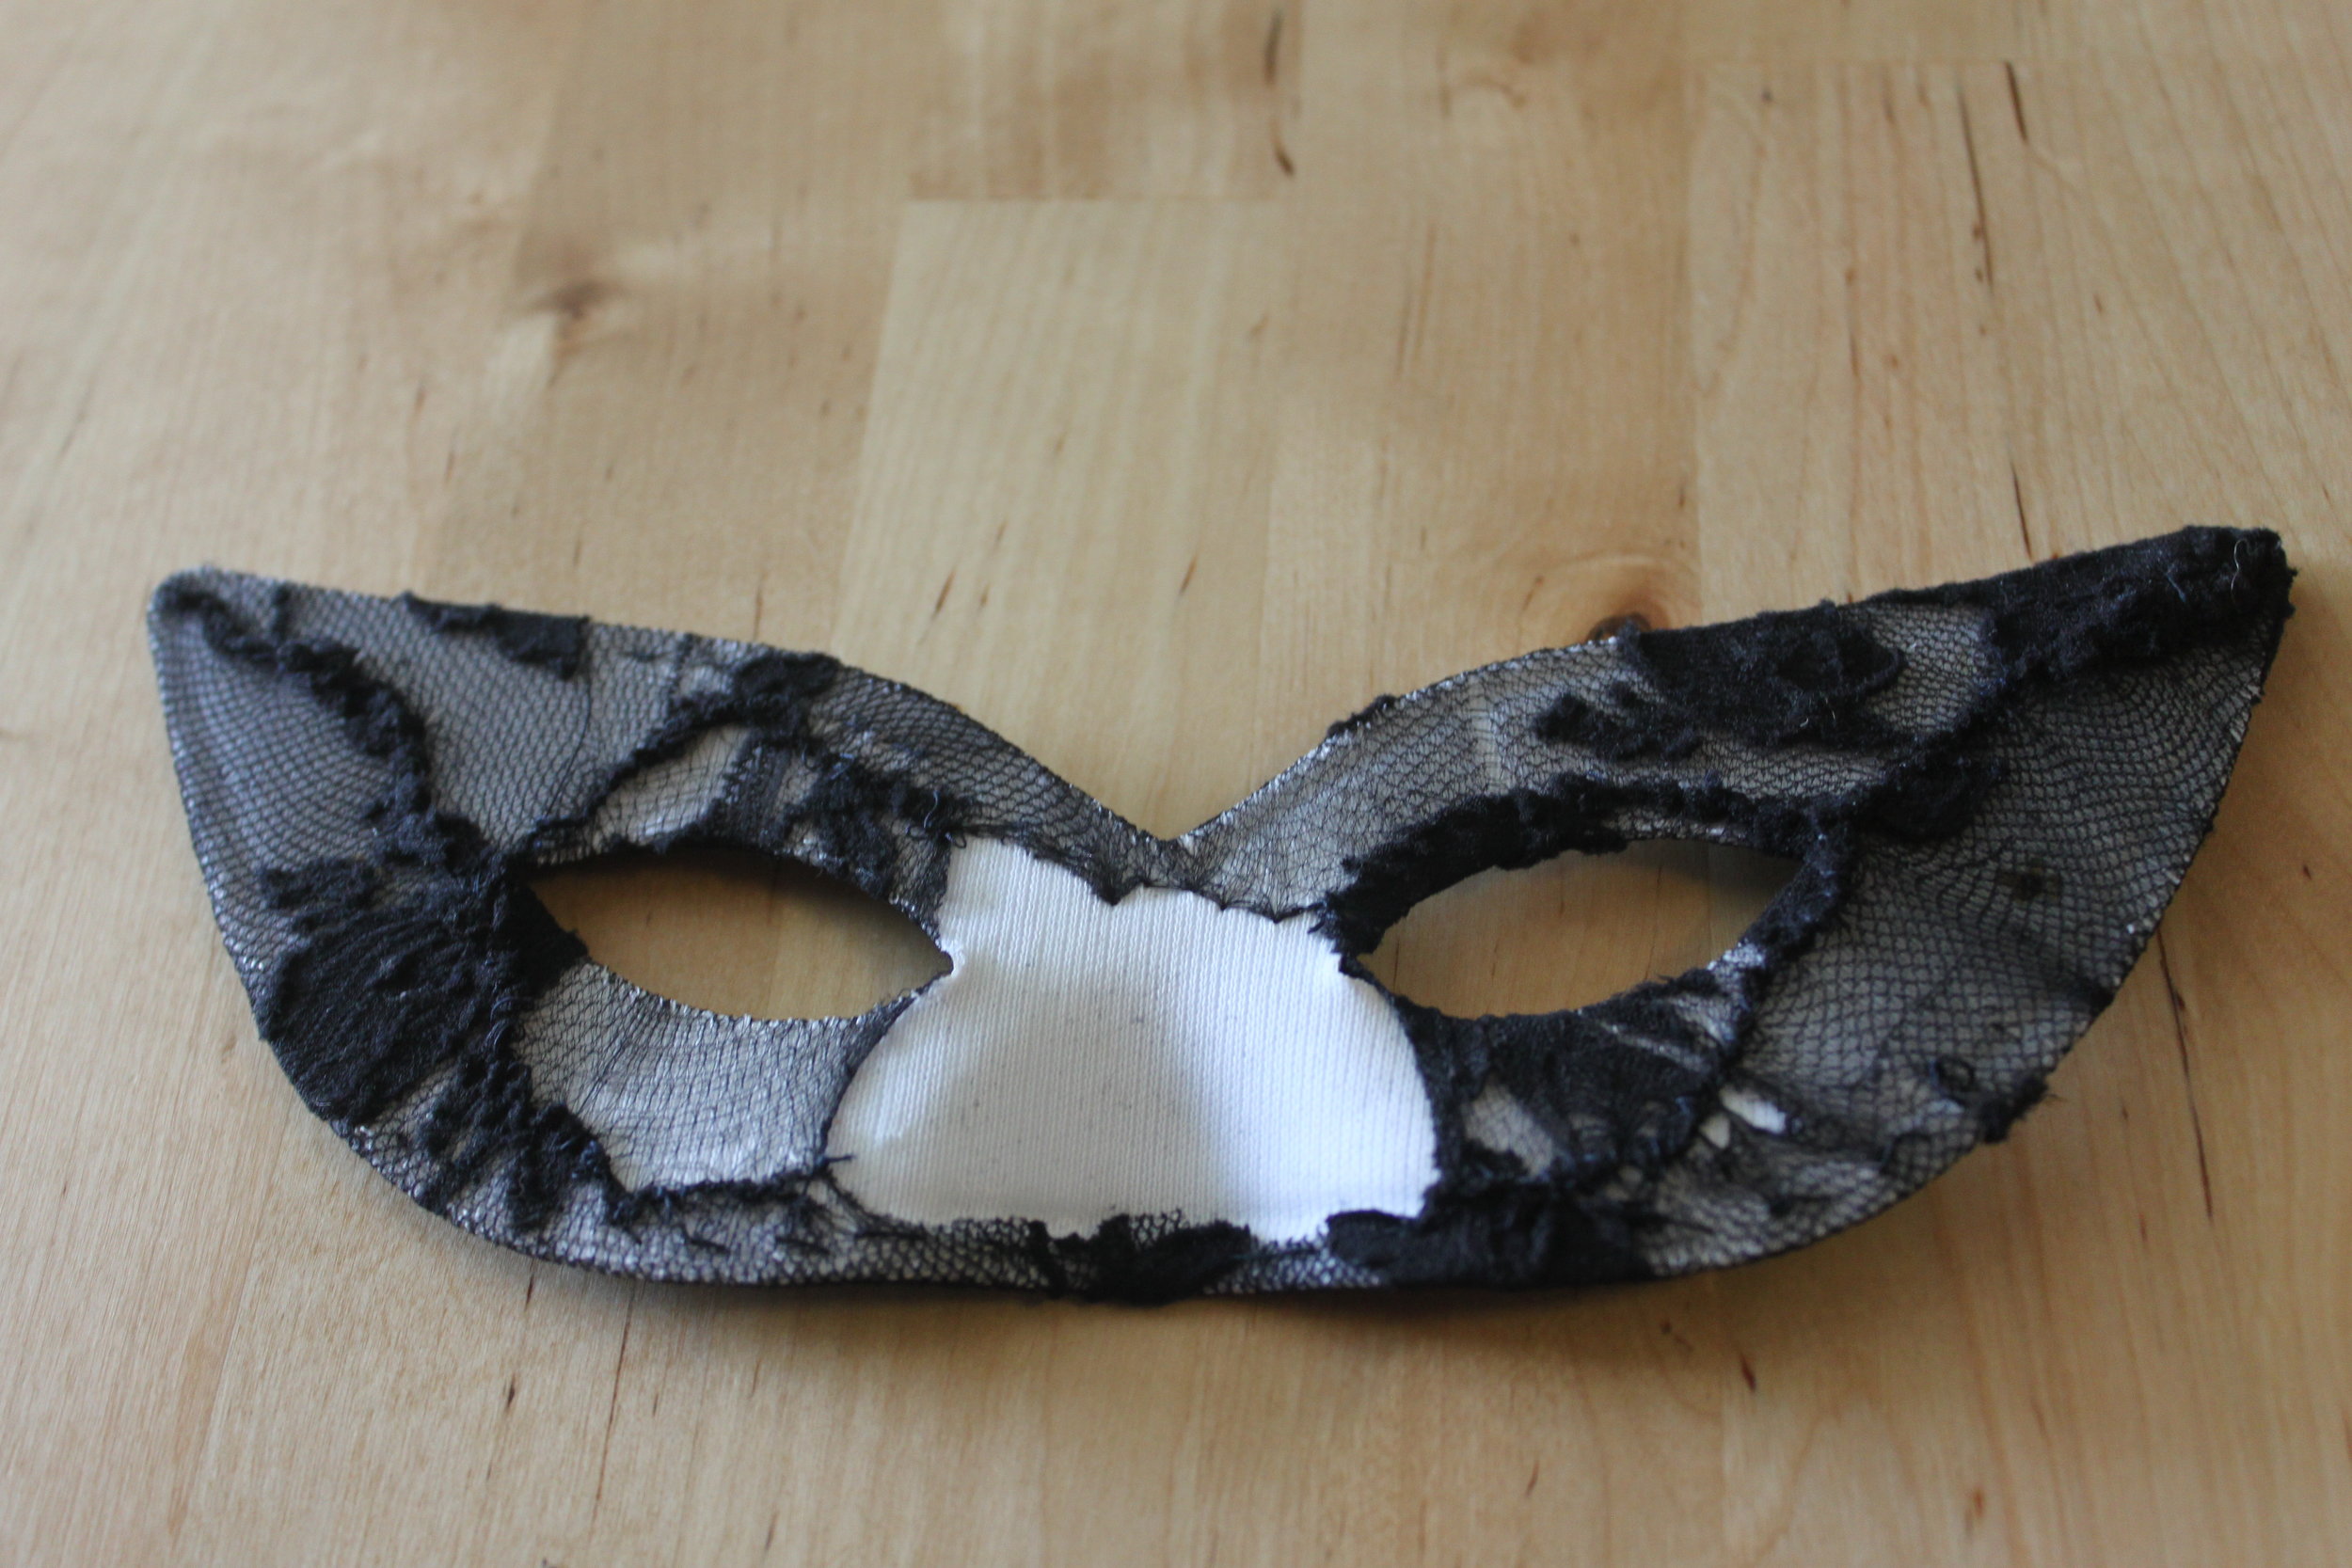
 When you've finished pinning, your tights should be firmly taut around your mask (as pictured below). If you have any loose fabric, re-pin that area.
- Next sew the tights in place by stitching around the perimeter of the mask. (If your mask is shaped, as this one is, be sure to hand stitch the tights in place otherwise your machine will crack the mask or break/ruin the molding & shaping. If you have a simple cloth mask without any shaping, you can use a machine for this step.) Be sure to keep all of your stitches even and small. Tie sturdy knots.
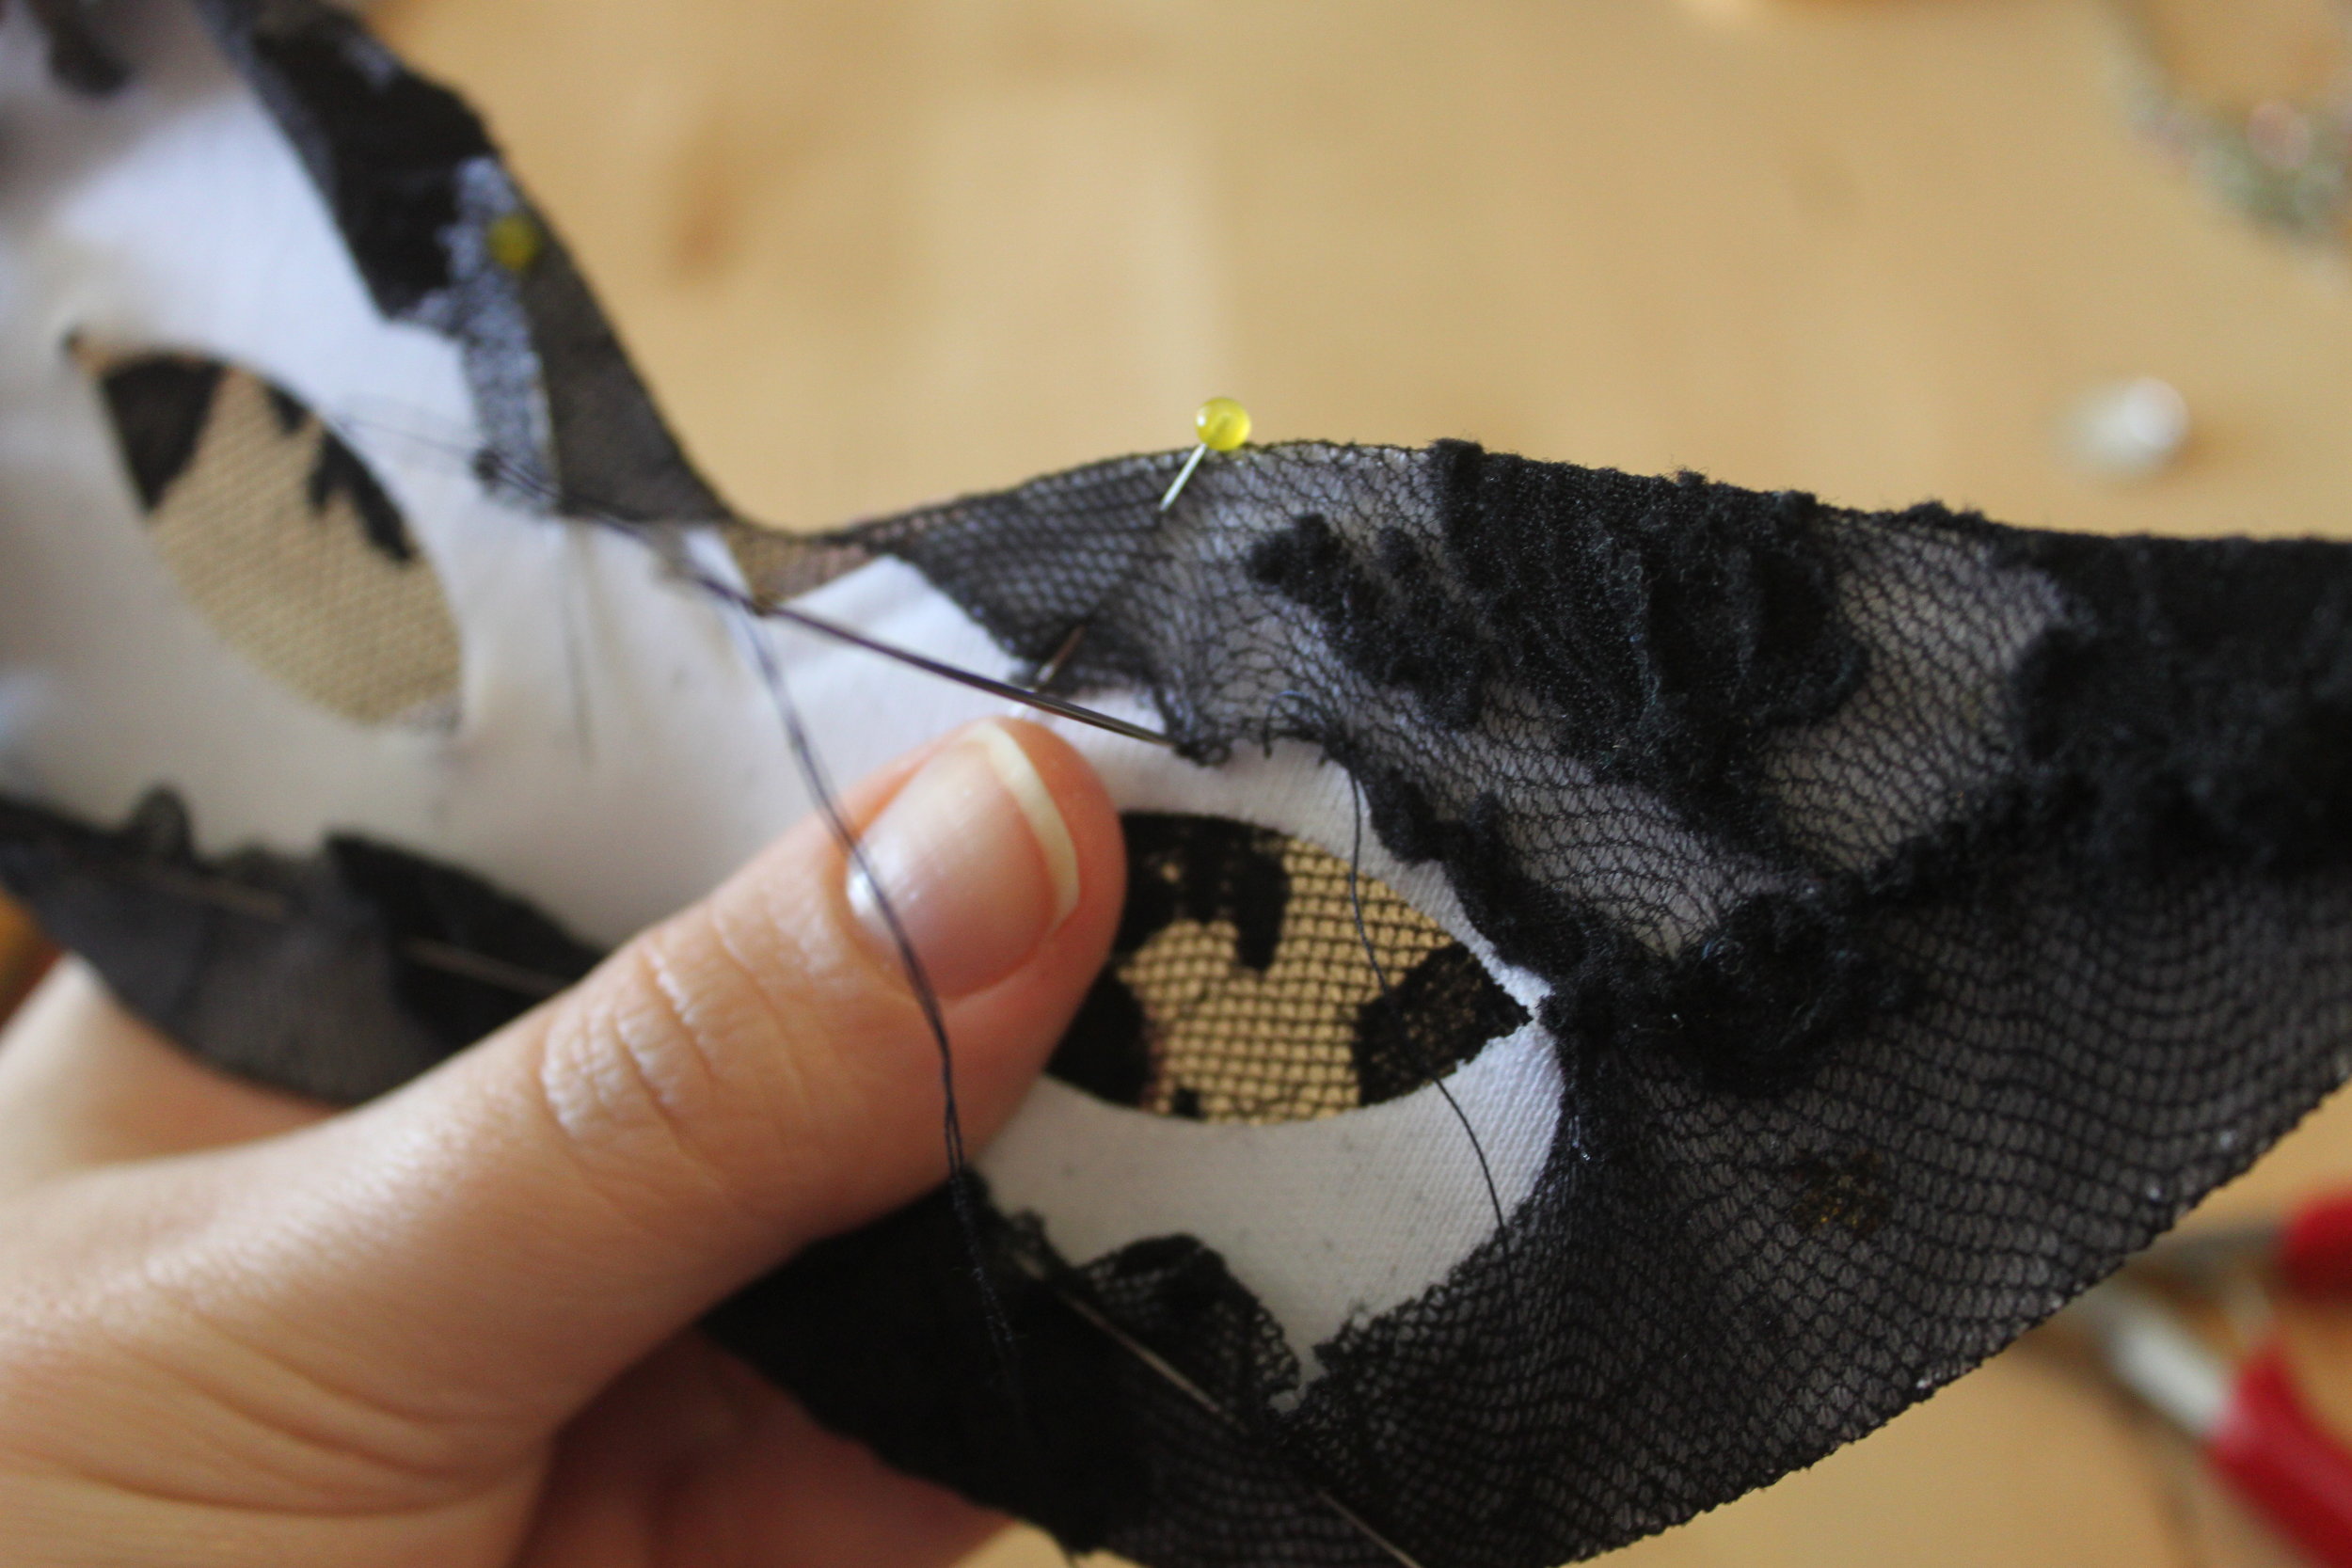 Be sure that as you go, you are continuing to pull the tights taut. As you sew, feel free to trim any excess fabric. You don't want too much fabric in one place or it will cause your mask to lay crooked on your face.
 - Next, cut slits in the fabric in the middle of the eye holes of your mask. Pull these taut around to the back of your mask. Pin if needed.

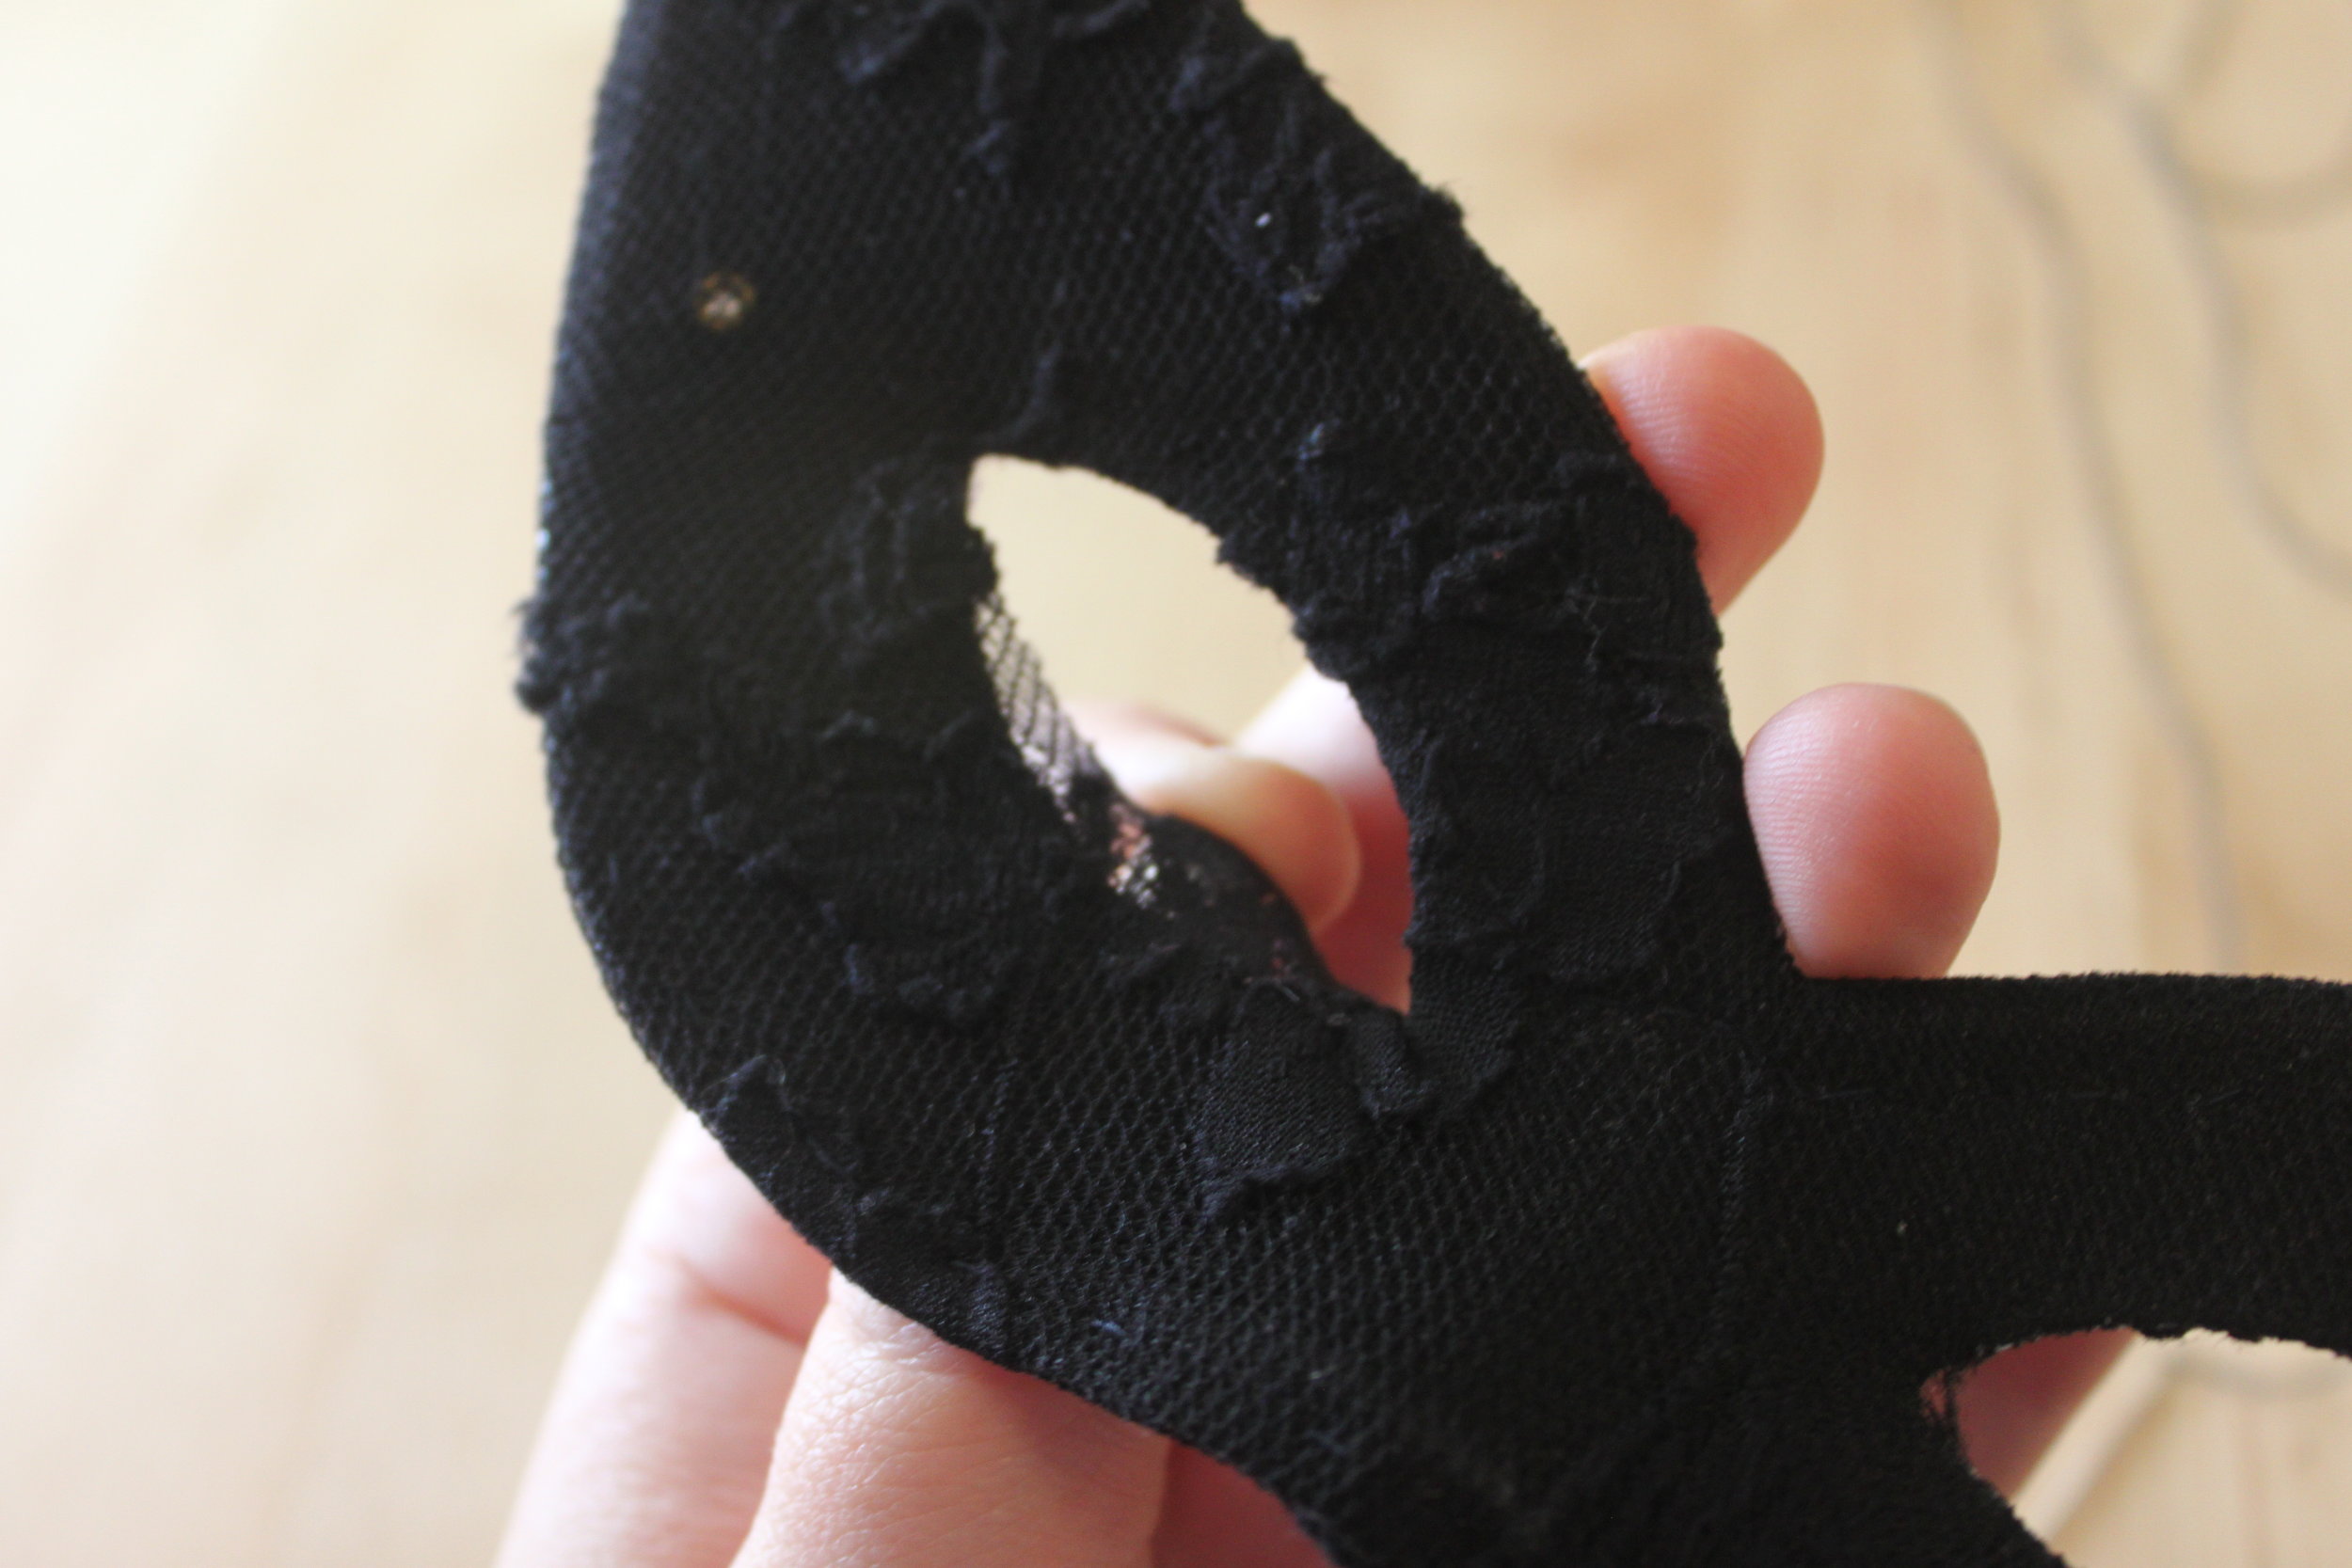
- Sew the tights in place by stitching the fabric you've pulled to the back of your mask (from the slit) to the fabric above it/below it (above, if stitching the top of the eye; below, if stitching the bottom of the eye).

- You've successfully covered your mask! On to the fun part, accessorizing it!
Adding fabric to a simple mask gives it texture & a bit of romance!
- Figure out the placement of your necklace piece & how much of the necklace you want to use on your mask. I liked mine just over the nose & at the start of the eyebrows on each side.

- Once you've figured out the placement, cut off any excess chain with your wire cutters (or toenail clippers, if you do not own a pair of wire cutters).
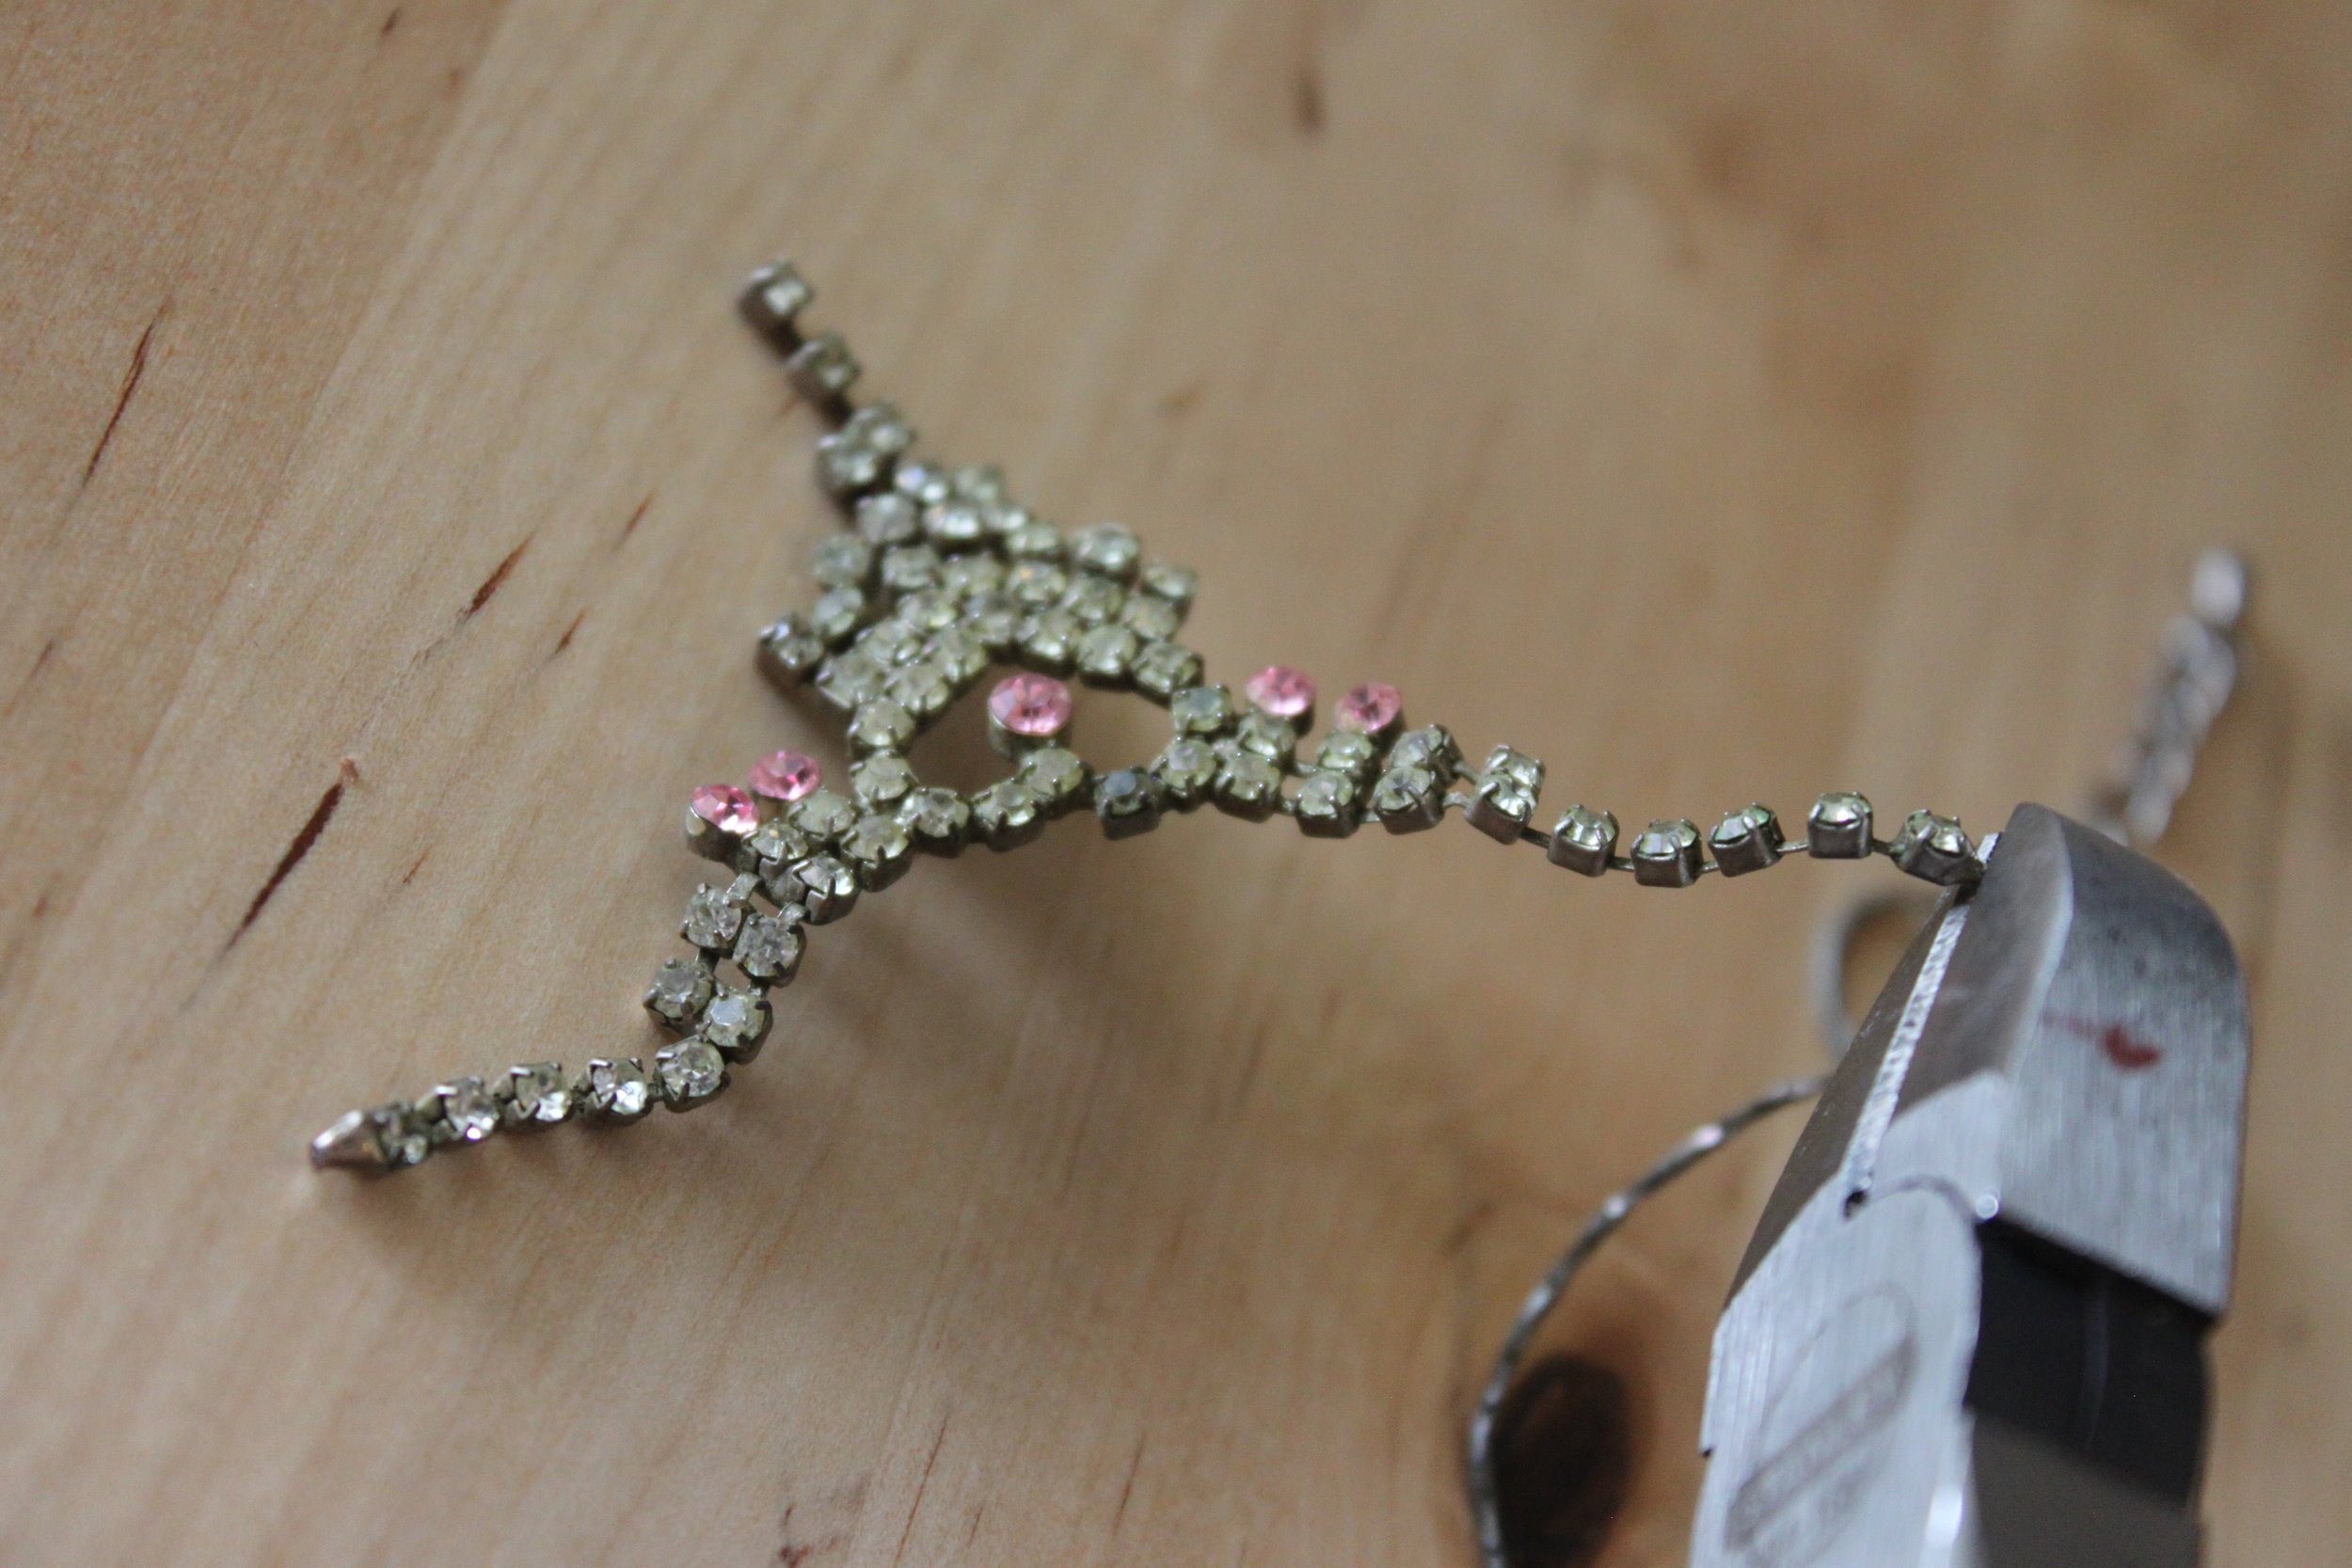
- Sew your necklace piece in place. Be sure to hide your knots on the back side of your mask. Sew between two rhinestone links; onto a jump ring; or onto a chain link.
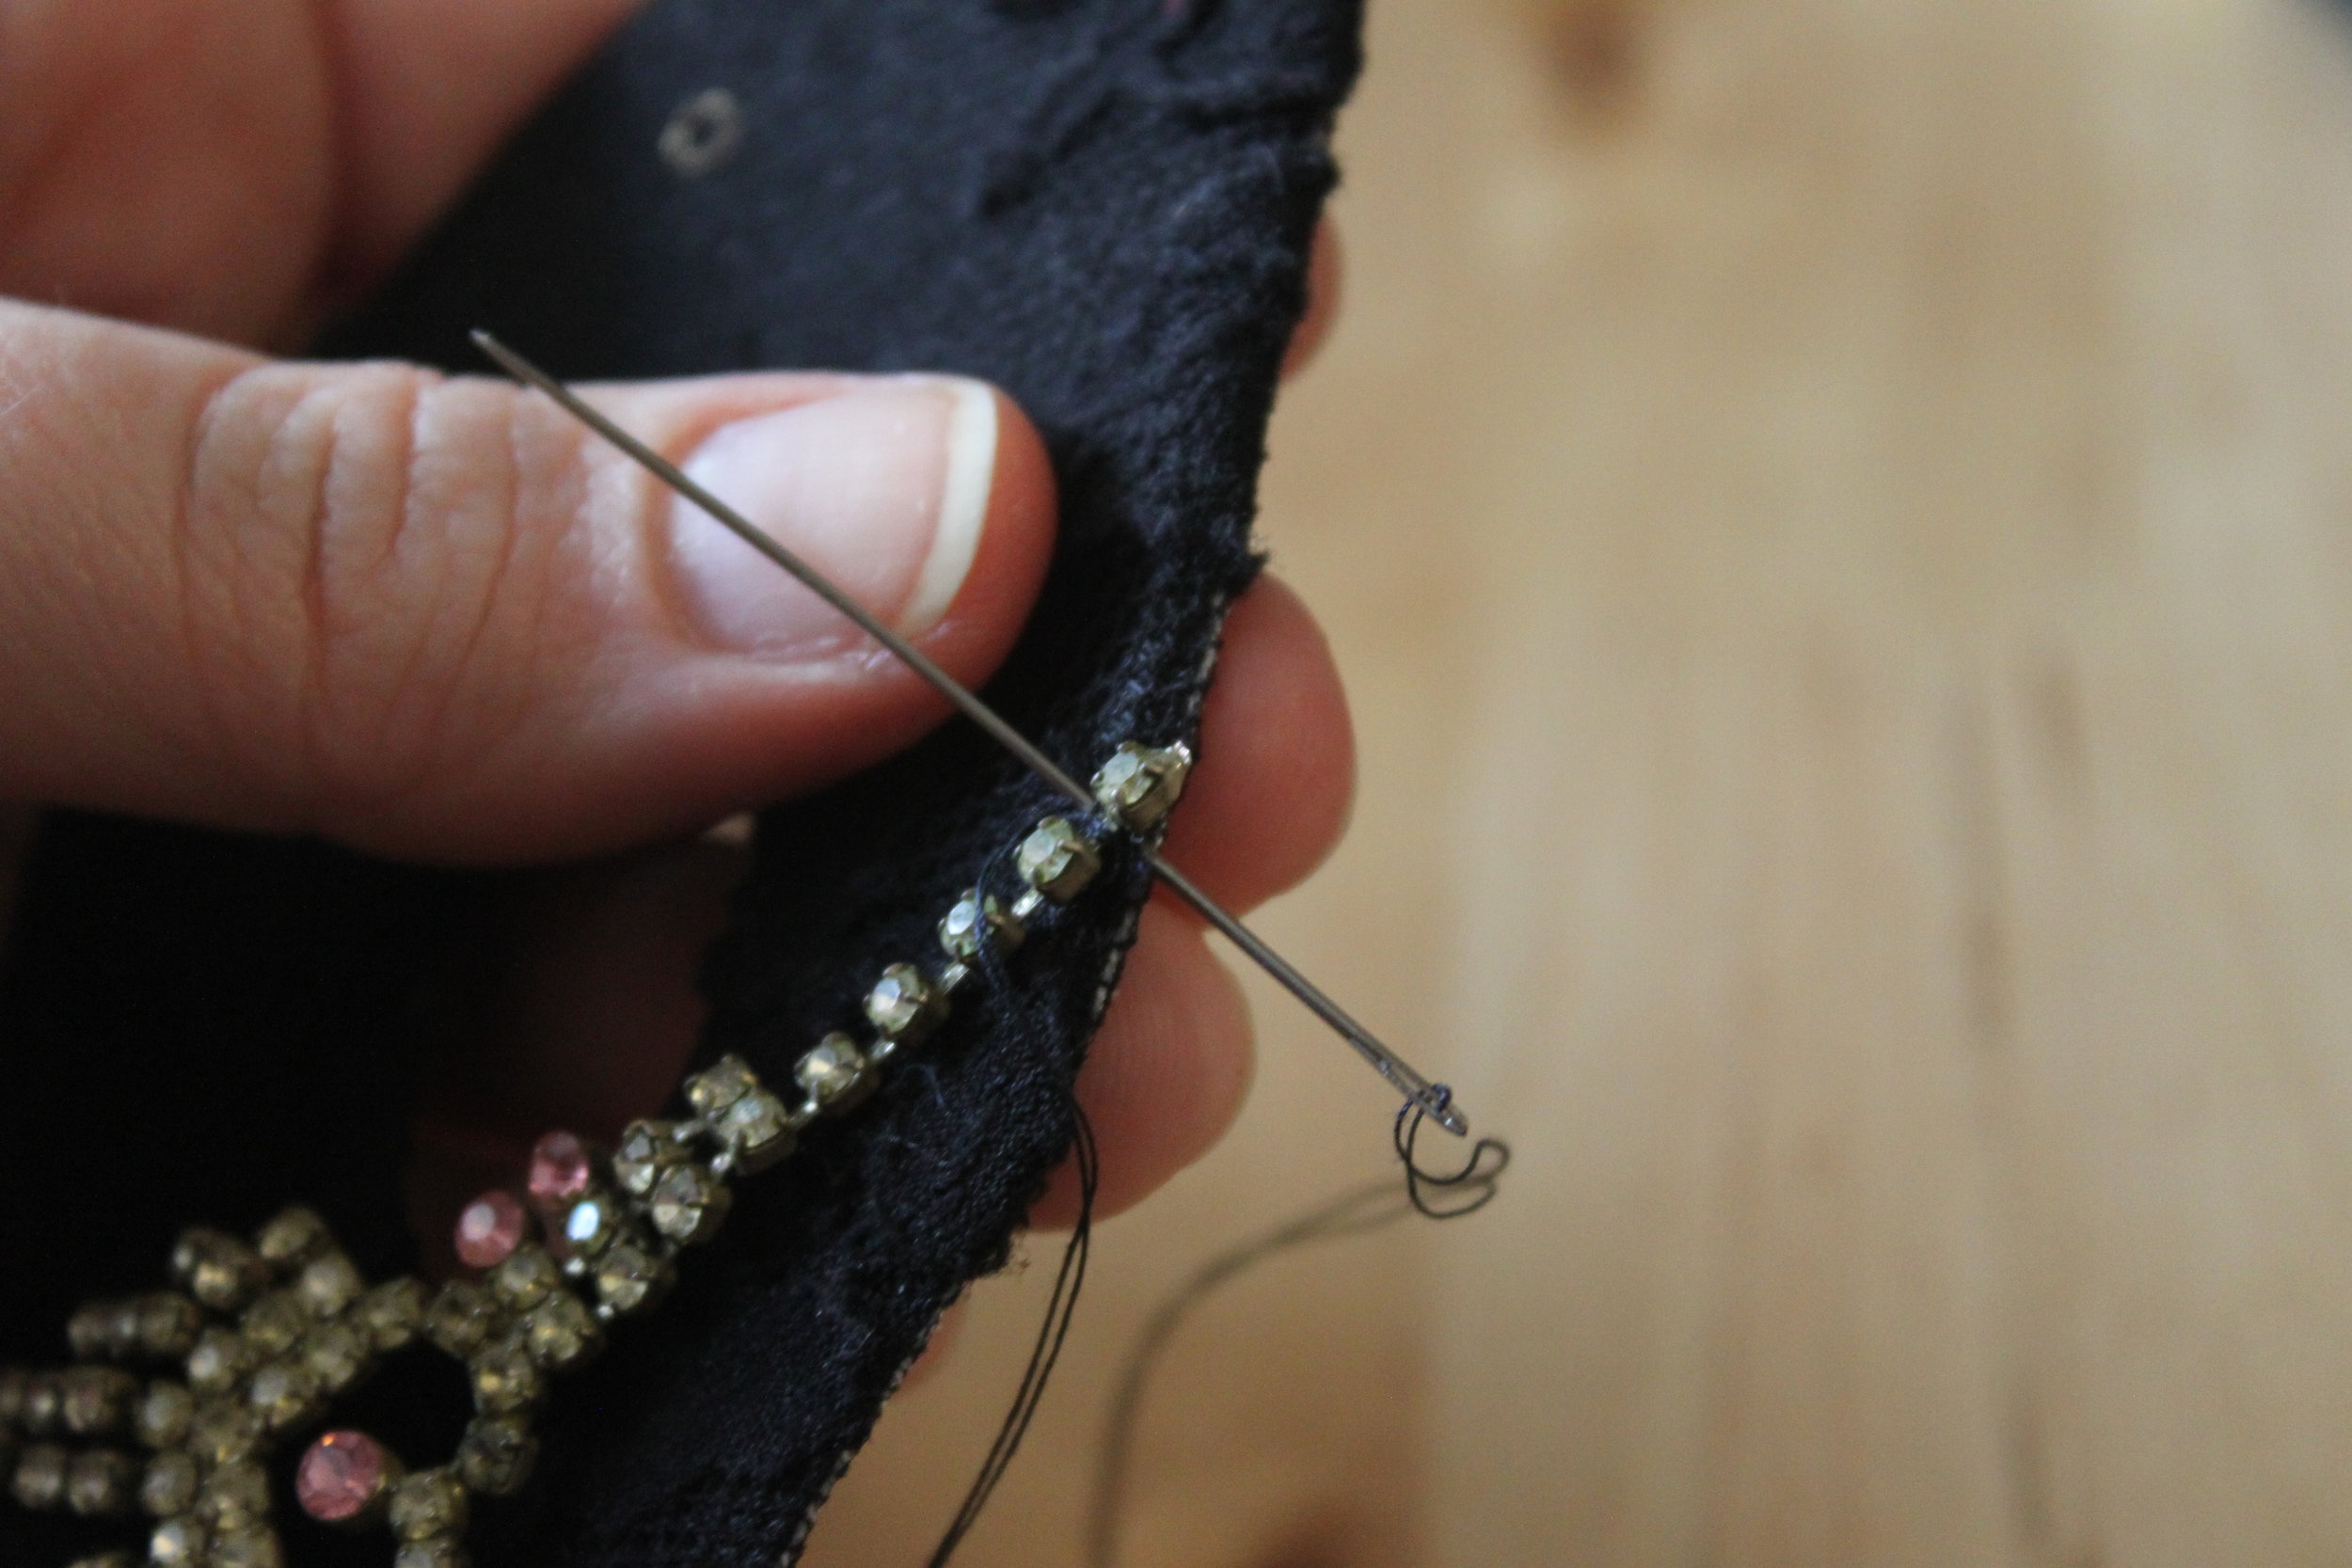
- If needed, also sew the middle of your necklace piece in place. (This is especially important if your piece moves a lot. You don't want it to hit you in the eye all night if you're dancing).

- Grab your elastic that you set aside earlier. To re-attach it, thread it onto an embroidery needle & pull it through the existing hole. Be sure to pull the elastic from the front of the mask to the back.

- Remove the elastic from the embroidery needle & knot it.

- Repeat Steps 13 & 14 for the other side.
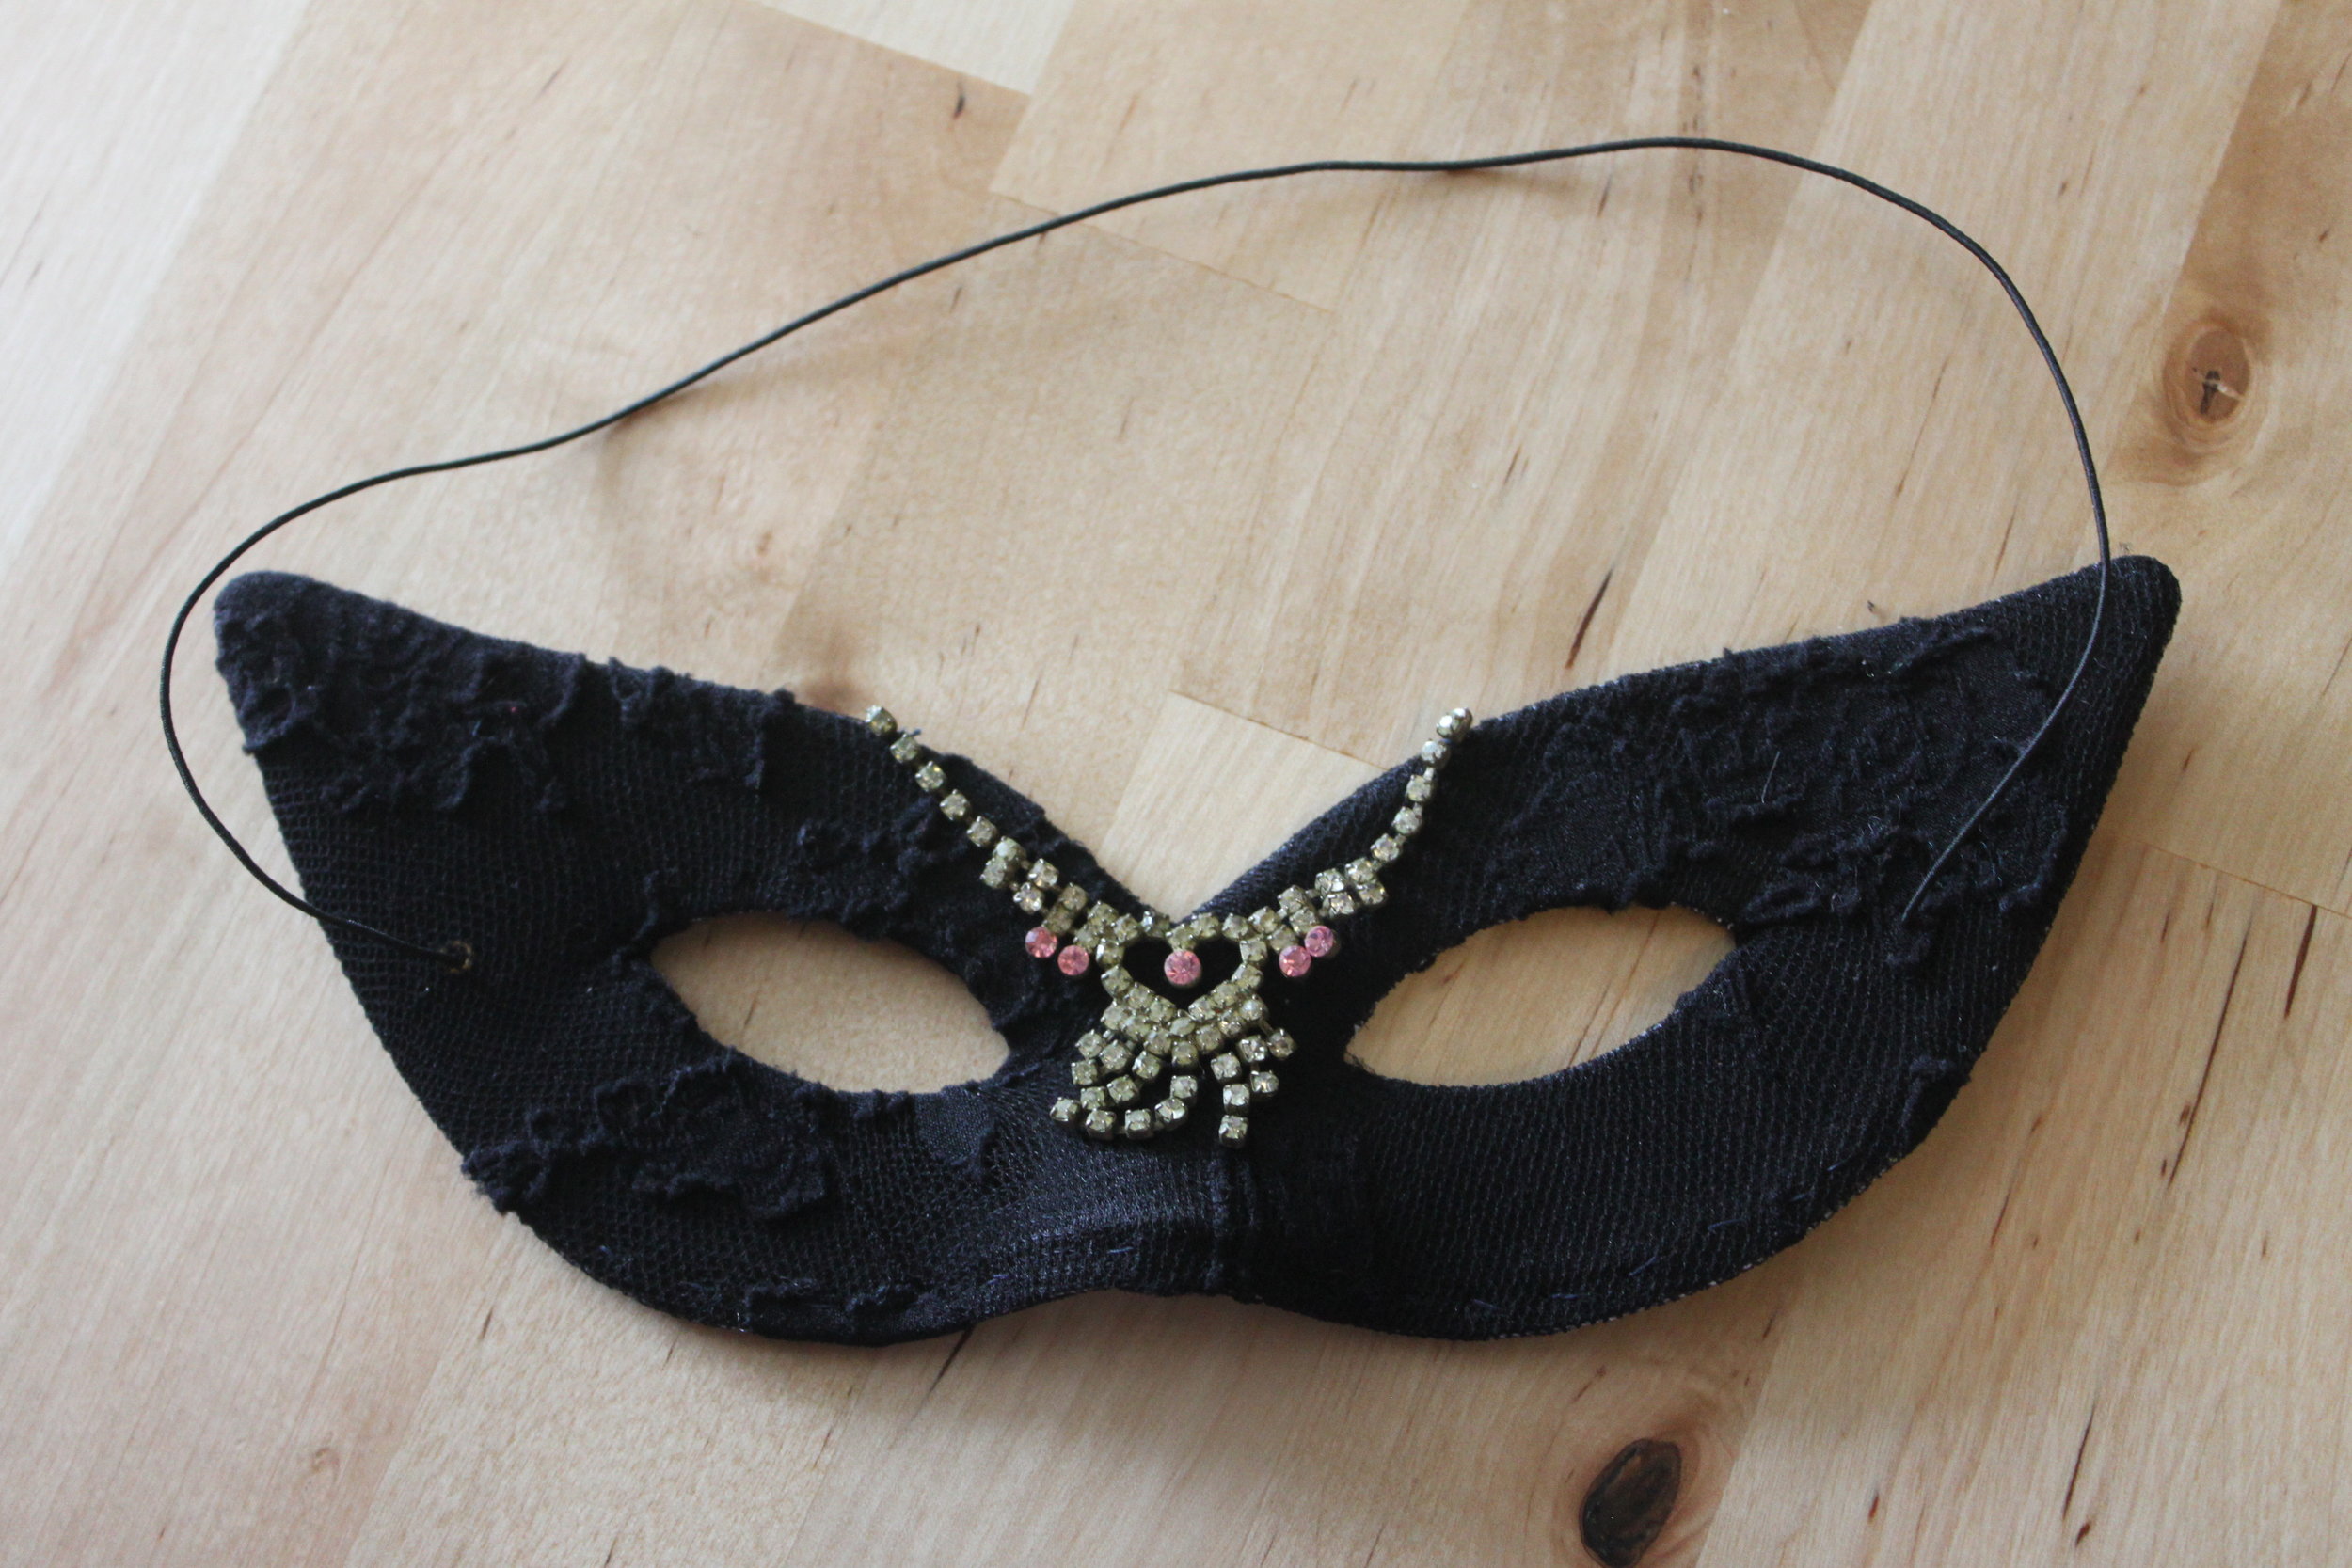
- Wear proudly!
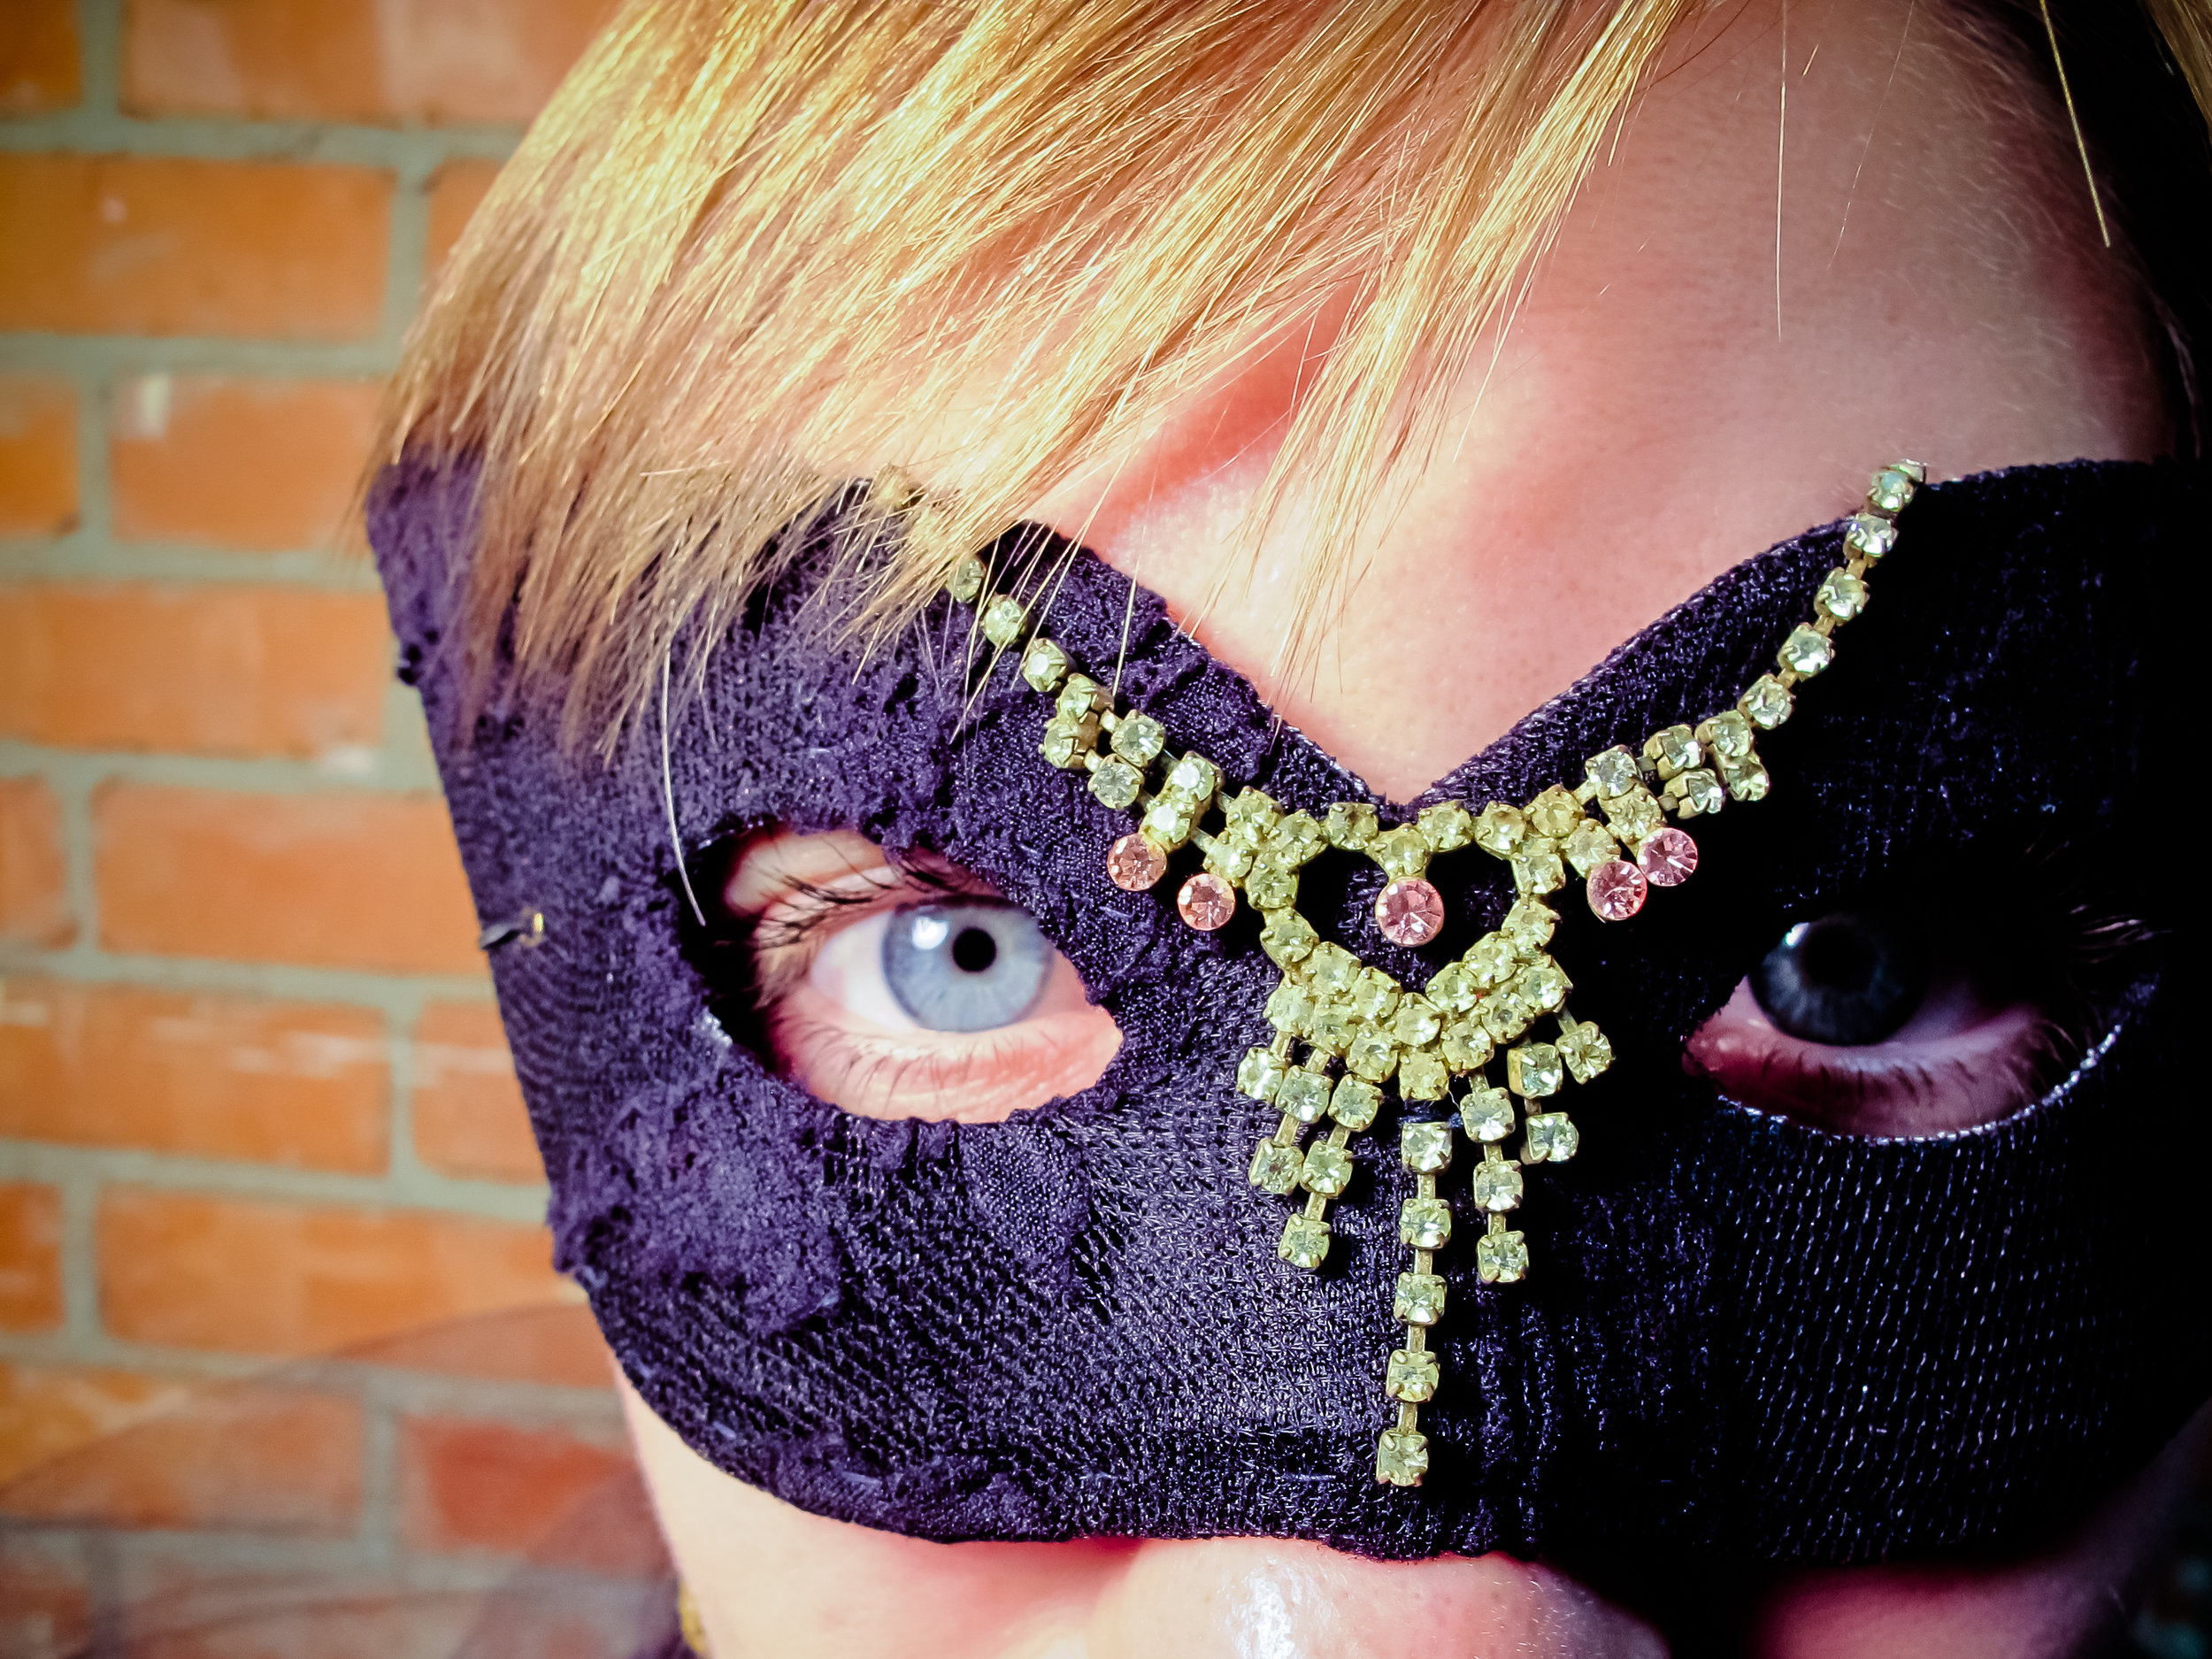 To Make this a Full Costume: Put on one of those fancy dresses you hardly get to wear, wrap some tulle around your shoulders, grab a fan, and don some femme fatale makeup! Perhaps you are a spy at a masquerade, or a jilted tango dancer, or even a princess incognito--whoever you are--Happy Halloween & as always, Merry Making!
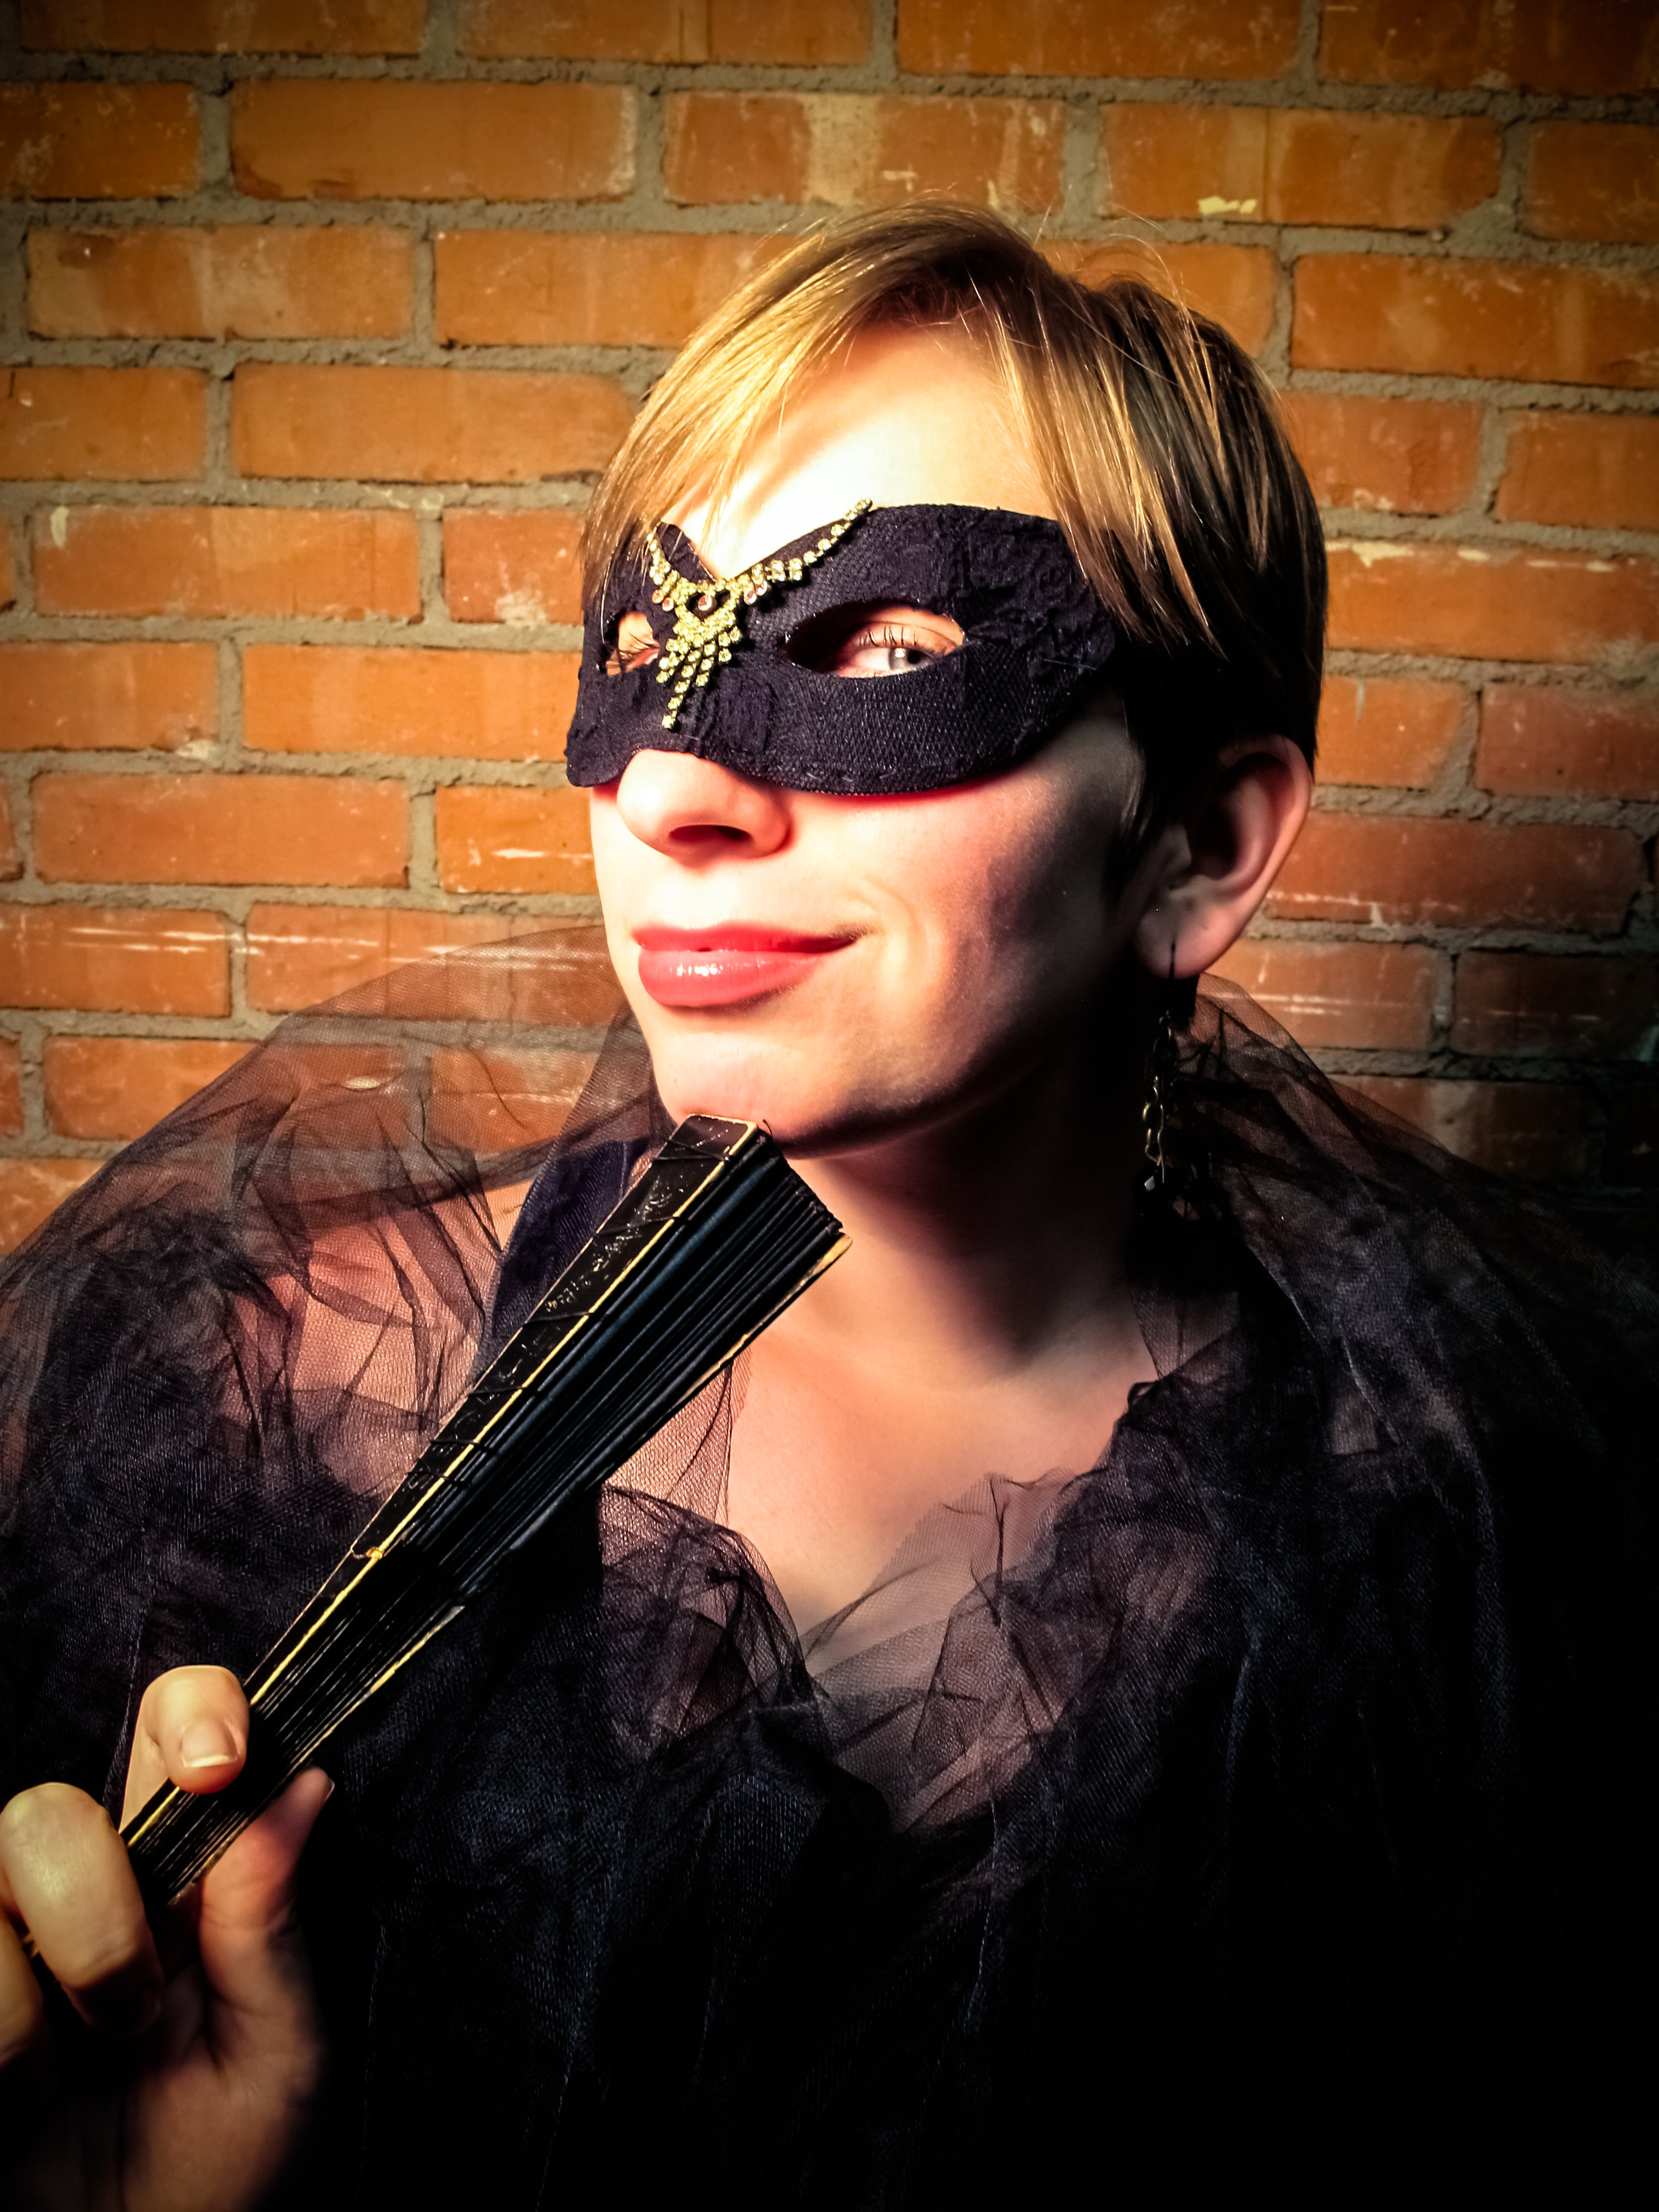
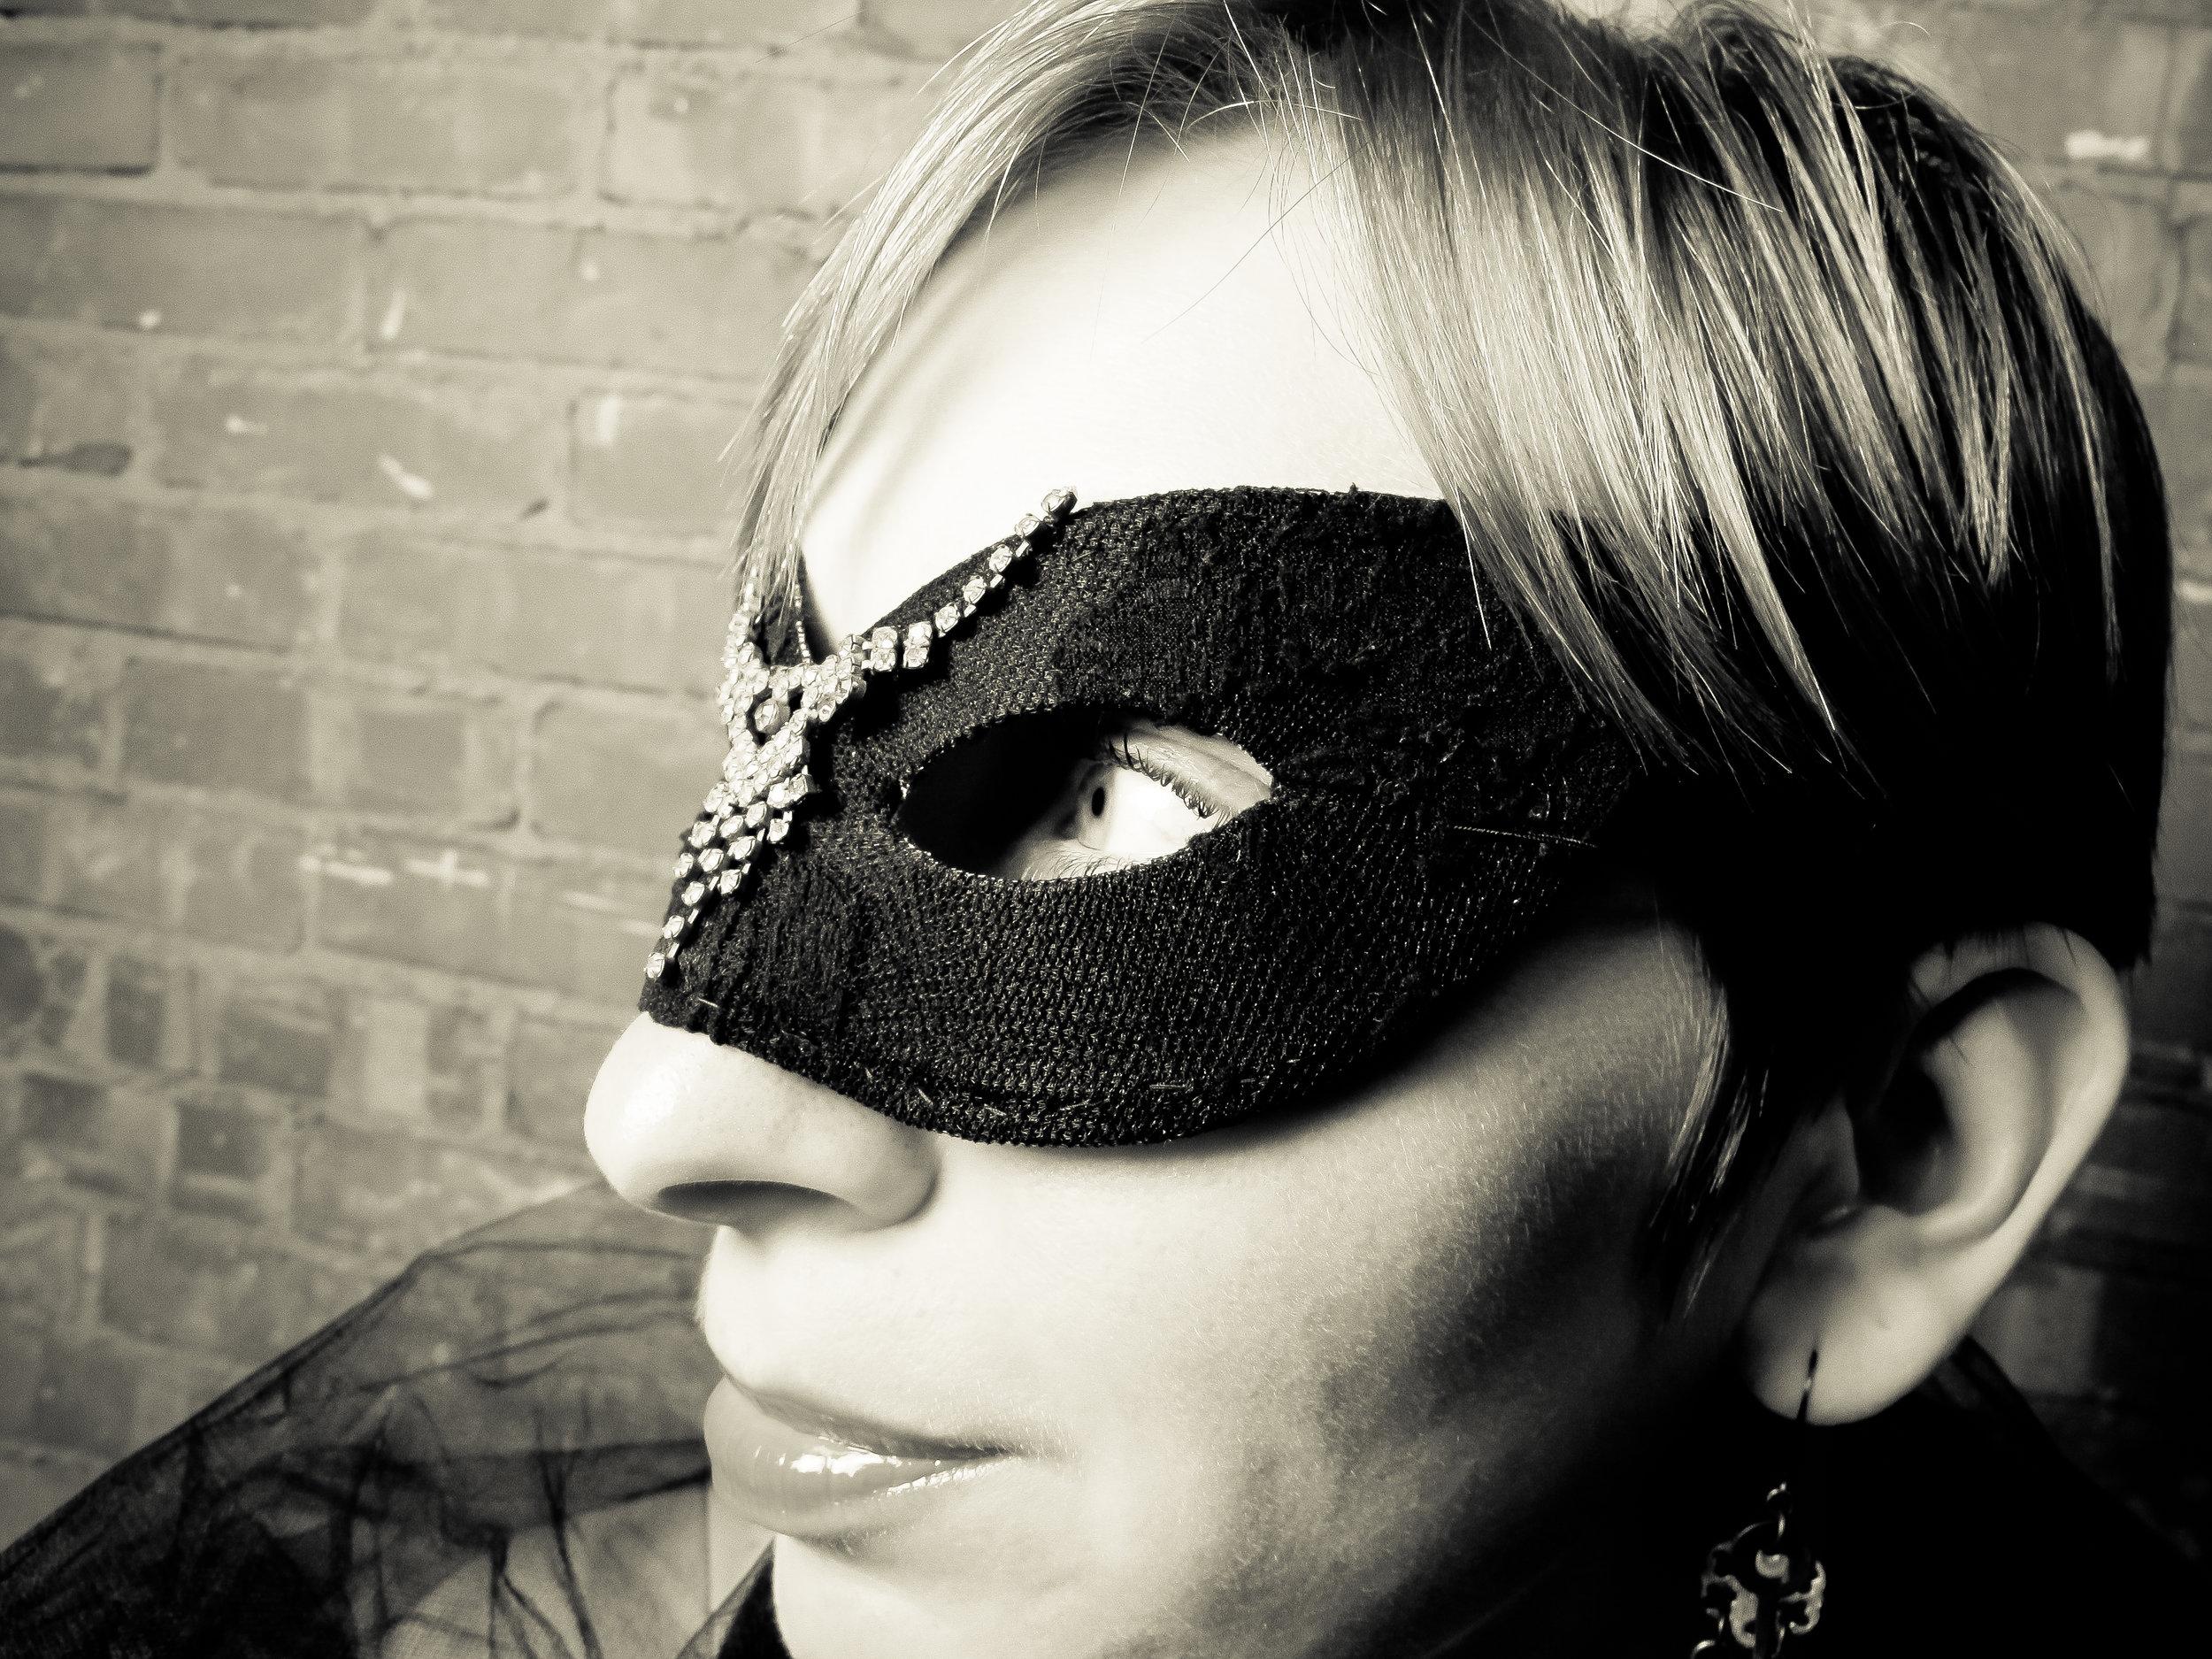 A special thanks to my lovely fiancee, Rhys, for the wonderful pictures of me wearing the mask I just made. Love you, shutterbug!
