Bohemian Romance Jewelry

recycle

DIY Steampunk Home Decor: Clock Face Catch All

D-I-Y-Samantha ExtanceComment

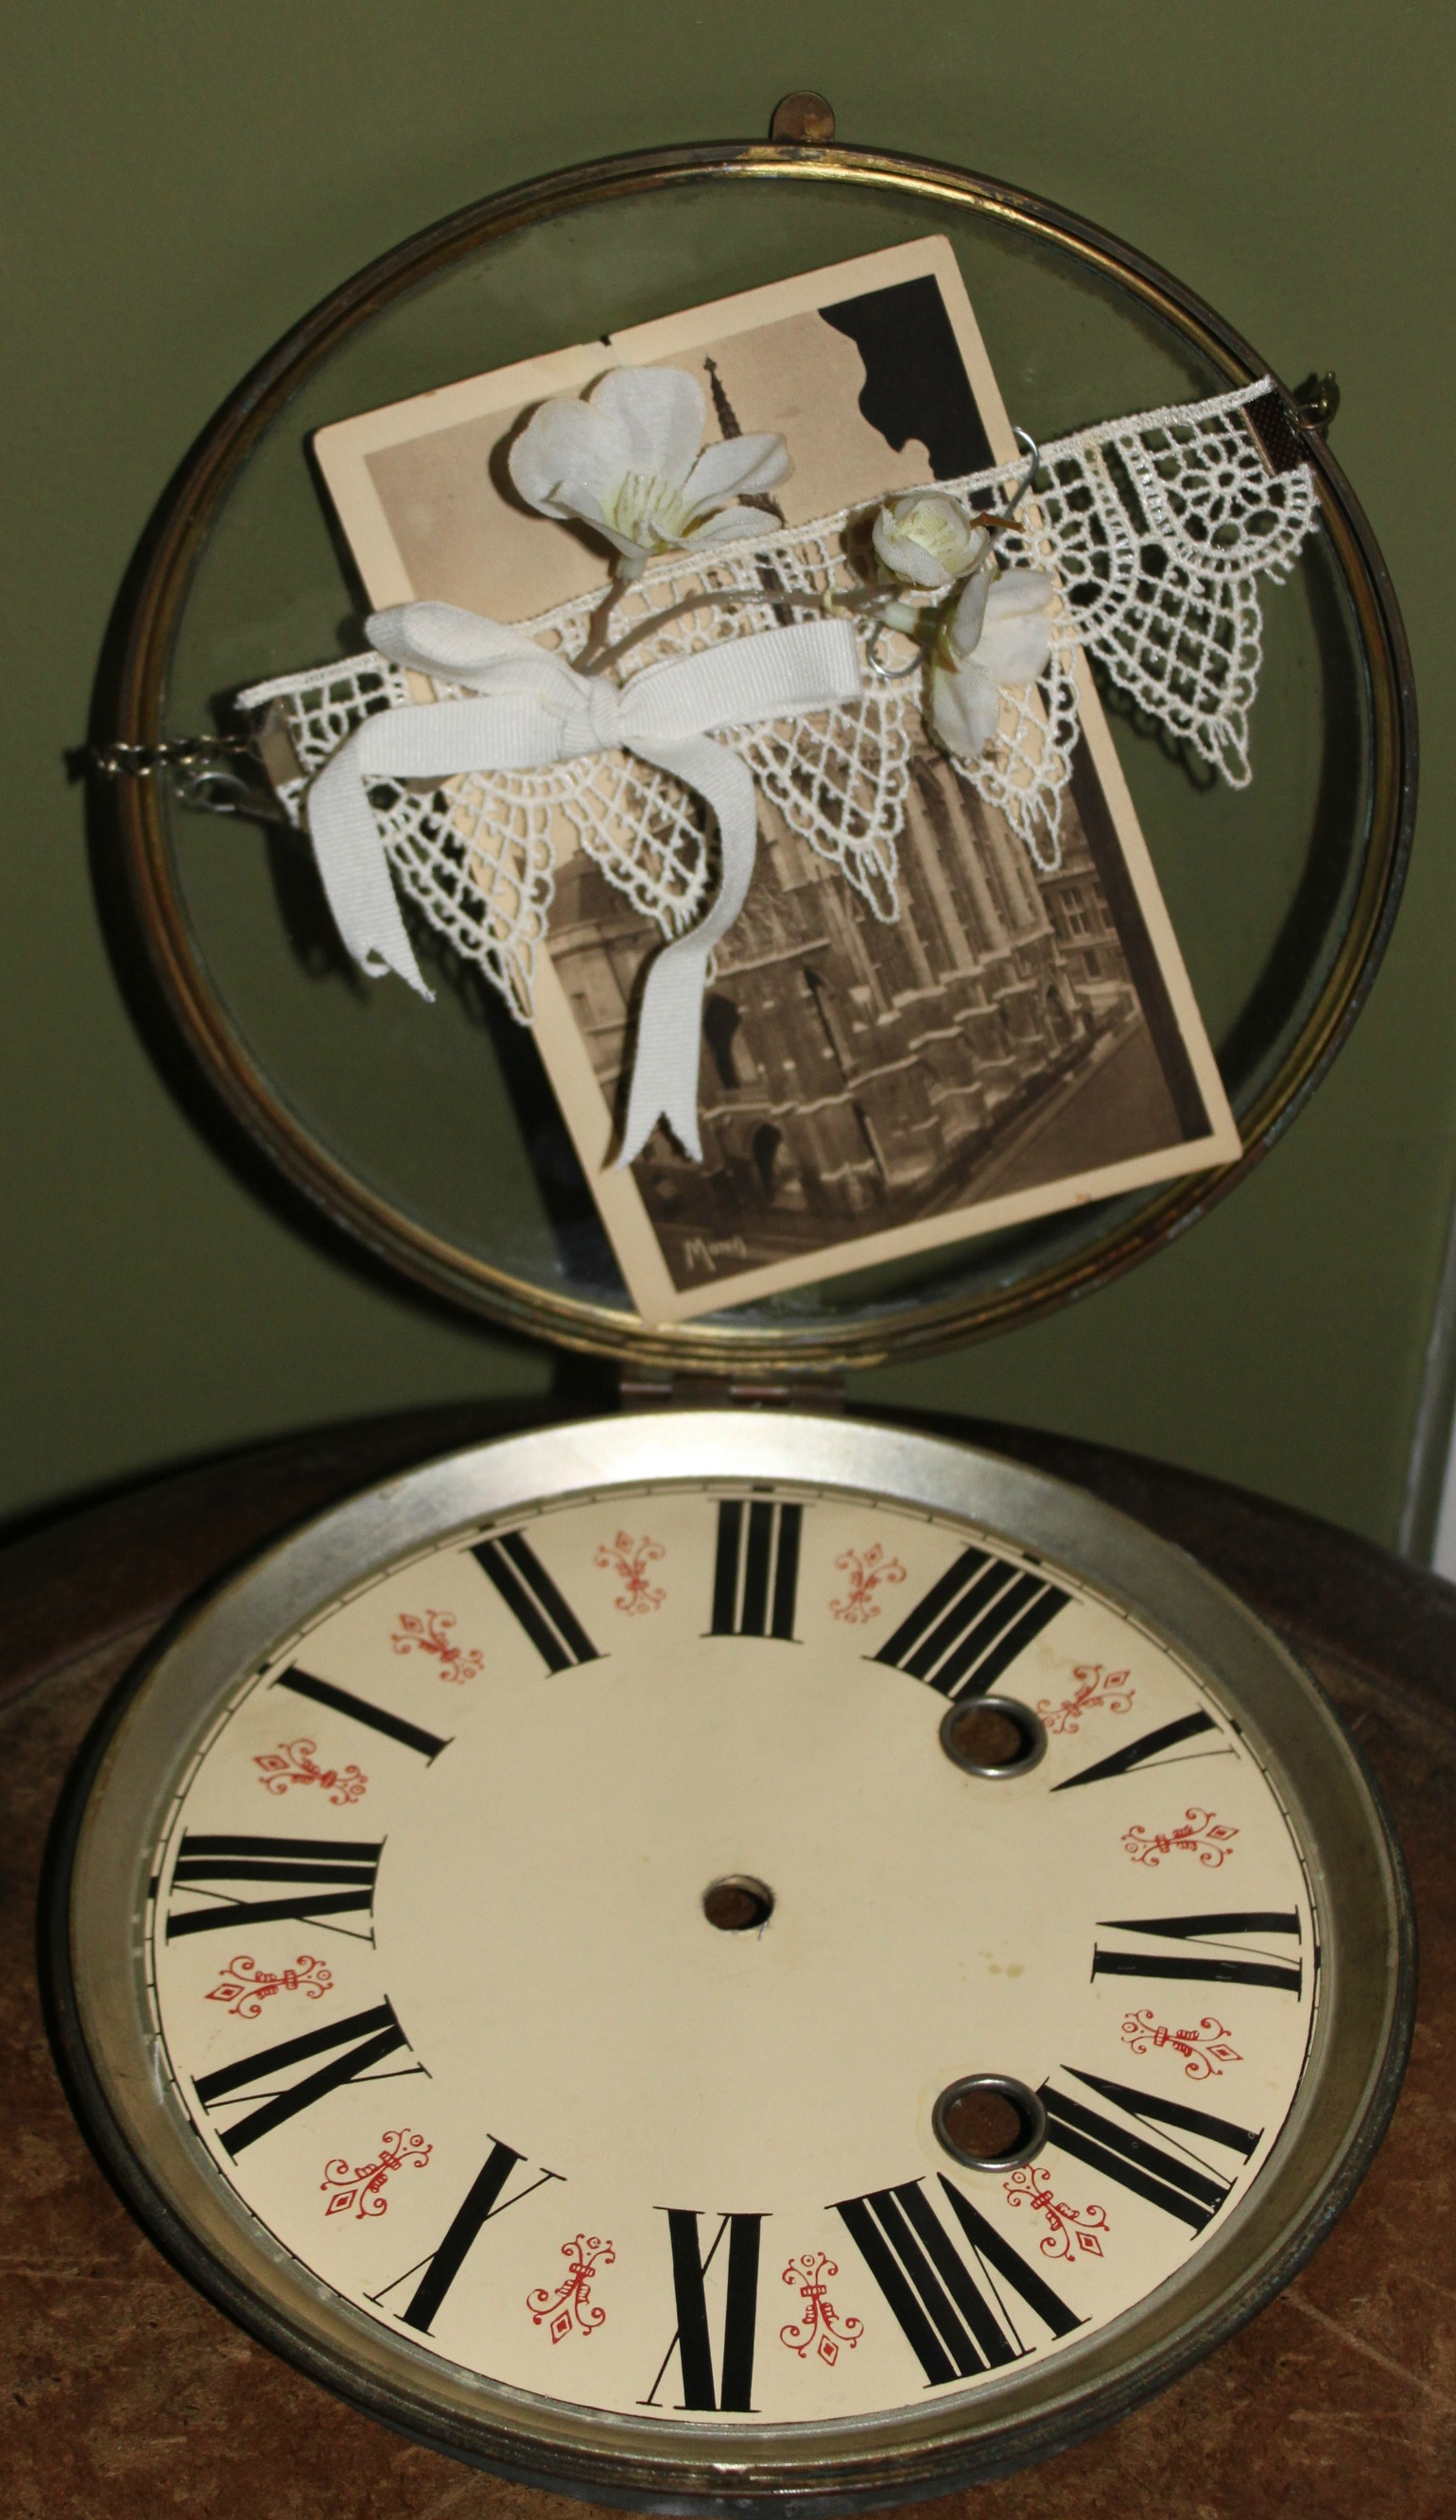
IMG_7284Steampunk your home with this simple & elegant clock face catch all. Perfect for holding your loose change, keys, sunglasses, stamps, or jewelry--your catch all will not only be beautiful, but also be another conversation piece to add to your home! Here's what you'll need: IMG_7279Materials & Tools:

  • Clock Face (oversize or large) that has a  protective covering. If you cannot find a clock face then try looking for a sundial instead.
  • Vintage Photograph or Postcard (that fits inside your covering)
  • Ribbon (any color of your choice)
  • Fake Flower (any kind of your choice)
  • Lace (the amount will depend on the size of your covering. Your lace should equal the length [circumference] of your covering)
  • Paperclip
  • Scissors
  • Needle & Thread (or glue gun)
  • Chain (also measured to equal the circumference of your covering)
  • Jewelry pliers & wire cutter
  • 2 Ribbon Crimps
  • 2 jump rings

Steps:

  1. Open up the covering of your clock face & leave open. Place your vintage photograph inside. Set aside.
  2. Measure your lace (it should be the same length as your covering) and then cut. Next, place 1 ribbon crimp at the end of your lace and crimp in place with your jewelry pliers. Repeat for the other end. IMG_7283
  3. Now measure the amount of chain you need. (It should be the same length as your covering too.) Cut your chain with wire cutters, or toenail clippers if you do not own a pair of wire cutters. Next, using your jewelry pliers (2 flat nosed pliers are best) connect your chain to your lace by hooking the jump ring through the ribbon crimp. Repeat for the other side.
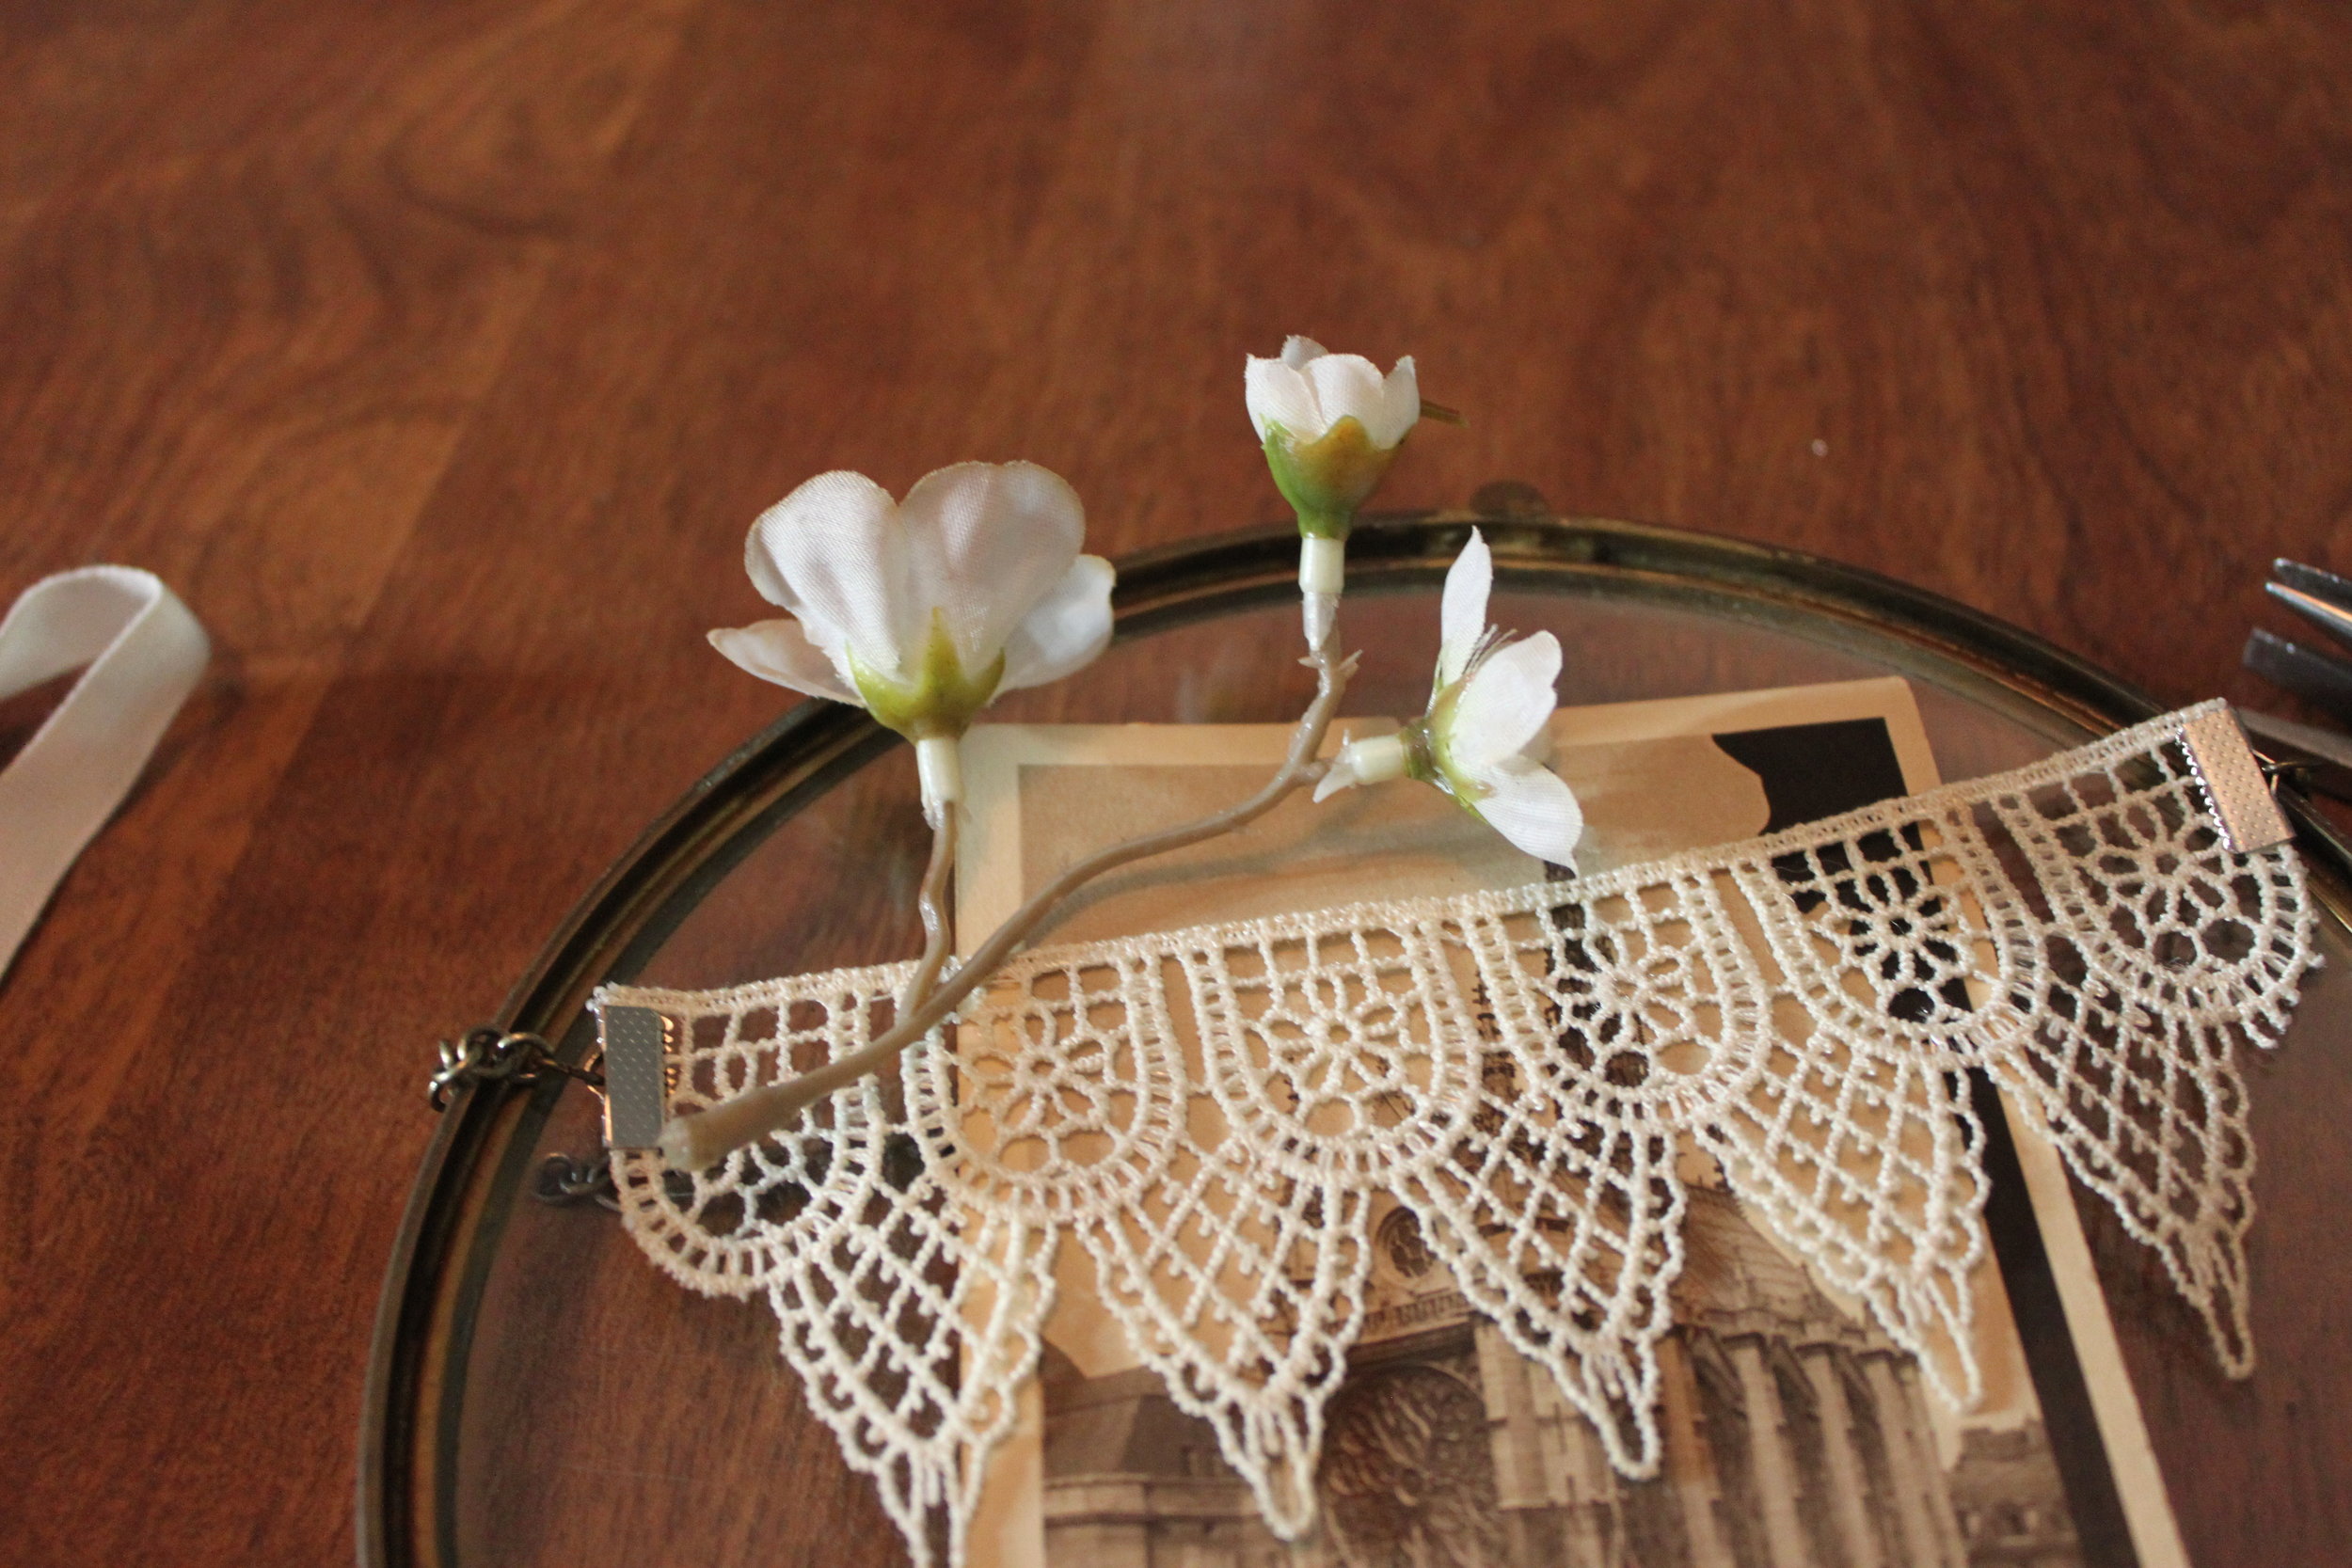
  4. Place your lace & chain over the covering--the lace should be placed in front over the photograph/postcard. You may have to adjust your chain if you don't like where it sits on your covering (by making it smaller or larger--respectively, removing chain links with wire cutters or adding jump rings or more chain with your pliers).IMG_7280
  5. Next, make a decorative bow out of your ribbon. IMG_7282
  6. Using your needle & thread, sew your bow and fake flower in place onto the lace. Be sure to tie a sturdy knot. (Another option for this step if you don't like sewing--glue the bow and fake flower in place with your glue gun.)
  7. Last, clip together your photograph and lace with your paperclip. This helps the lace remain taut across the photograph/postcard rather than sag across it.
  8. Proudly display in your lovely home!

Steampunk Home Decor Catch All CollageAs always, happy making!

D.I.Y. Steampunk Teddy Bear

D-I-Y-Samantha Extance1 Comment

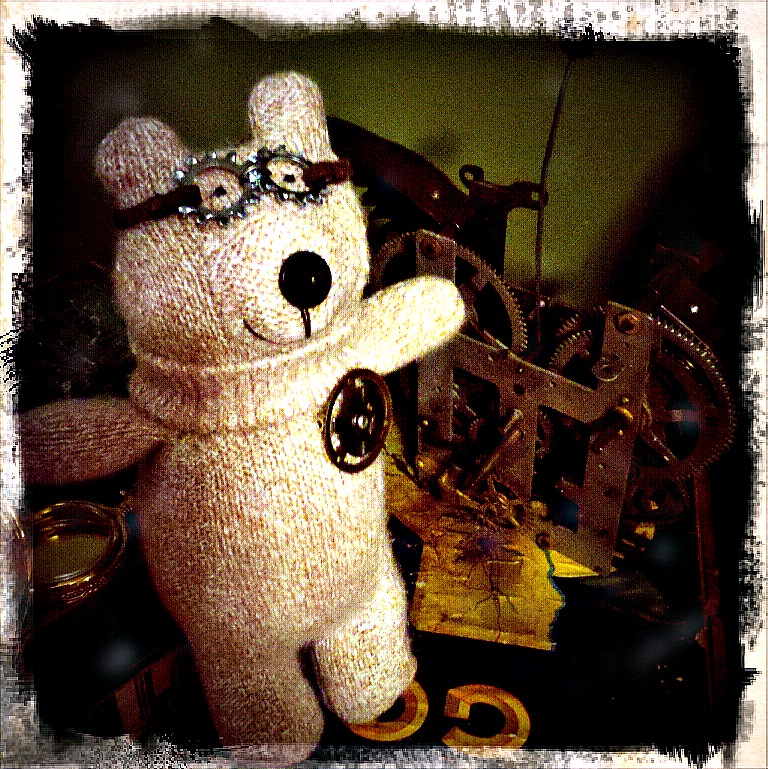
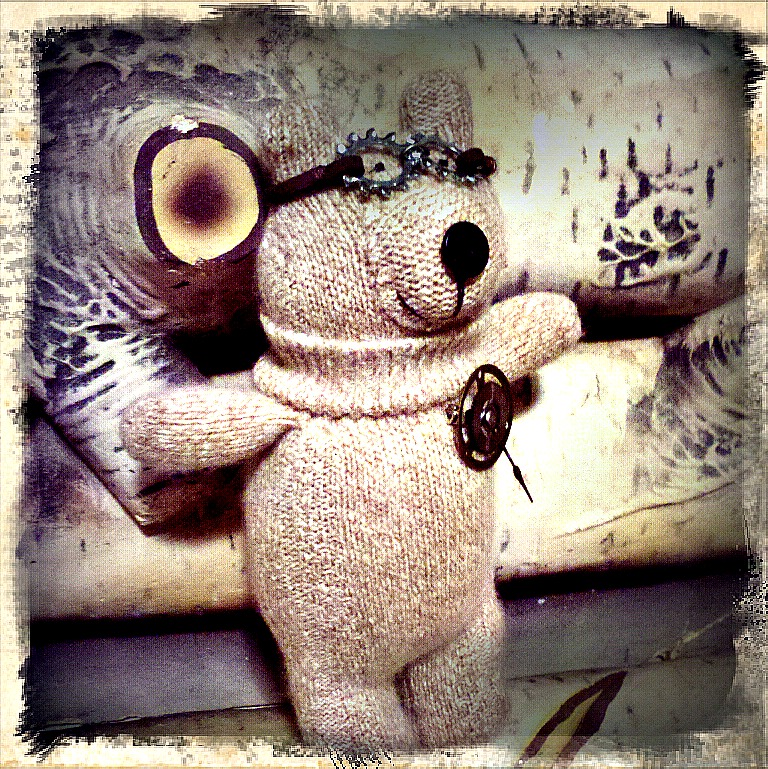
I made a friend today, quite literally! His name is Tinker Bear. My favorite part of being a kid was playing with stuffed animals and Barbie dolls--creating worlds for them and then getting lost in those worlds. Now that I'm grown up--though not really, ask anyone--I am a still a kid in many ways--I not only invent worlds, but the creatures that inhabit them. Here is a D.I.Y. on how to steampunk your teddy bear. As always, happy crafting!
Materials & Tools You Will Need:

Flat nosed pliers

1 pair of socks (your choice of color and texture)

Stuffing

Needle & thread (ideally you want black, brown, and whatever color thread matches your sock)

Brown or black embroidery thread (or another kind of heavy thread)

Scissors

2 small black seed beads (for the eyes)

1 button (for the nose)

1 pin back

2 clock cogs (or if you prefer, you can substitute 1 clock cog for a watch face or watch plate)

1 game spinner or clock hand

1 brad

Leather chord

2 lock washers

1 jump ring
Part One: To Make Your Teddy Bear:

You can certainly steampunk a teddy bear that you already have (& love) or you can make your own. I made mine according to a pattern in Daniel’s Stray Sock Sewing: Making One-of-a-Kind Creatures from Socks—a book I not only love, but highly recommend. There are ample pictures to guide you through the various stitches and steps and the instructions are easy to follow, particularly if you are new to sewing. The Teddy Bear pattern is on pages 122-131. Go buy it. It’s an amazing book and you will spend numerous hours fashioning things from the stray socks lying around your house.  

For this pattern, you need the following: 1 pair of socks (your choice of color and texture); Stuffing; Needle & thread (ideally you want black, brown, and whatever color thread matches your sock); Brown or black embroidery thread (or another kind of heavy thread); Scissors; 2 small black seed beads (for the eyes); 1 button (for the nose)

Alterations I Made to Daniel’s Pattern:

  • I skipped Step 26 because I think belly buttons on bears look weird.
  • I used a thicker sock (a cashmere woven one)
  • I slightly altered Step 25—while I did use the sock’s cuff around the neck, instead of rolling the sock cuff I fashioned it to look more like a turtleneck collar (by rolling under the rough edge)

Part Two: To Make Your Pin:

1)      Layer each of your elements with your pin at the back. My layers are as follows (from back to front): pin back, larger clock cog, clock hand/game spinner, smaller clock cog, and brad. If you are substituting one clock cog for a watch face or plate, place it where the smaller clock cog would be.

2)      Once you have your layers in place, close your brad by opening its ends. Squeeze the brad tightly—using your flat nosed pliers to ensure extra security.

3)      Pin to your bear!

Part Three: To Make Your Goggles:

1)      Take your lock washers and place them over your bear’s eyes. Once you’re satisfied with their placement. Measure the amount of leather chord you will need to fit around your teddy bear’s head. Give yourself an extra ¼ inch to sew loops around each of the lock washers.
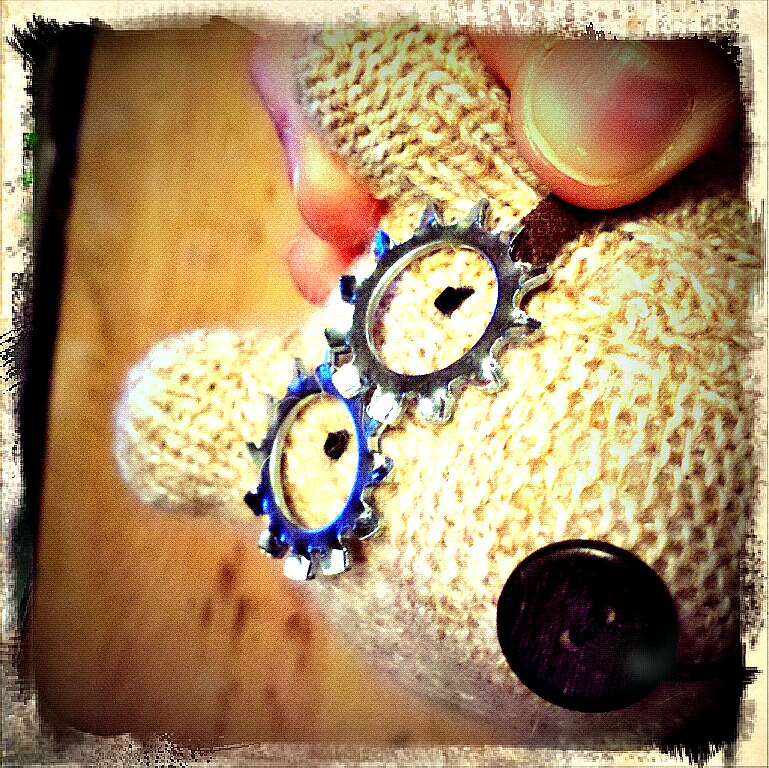
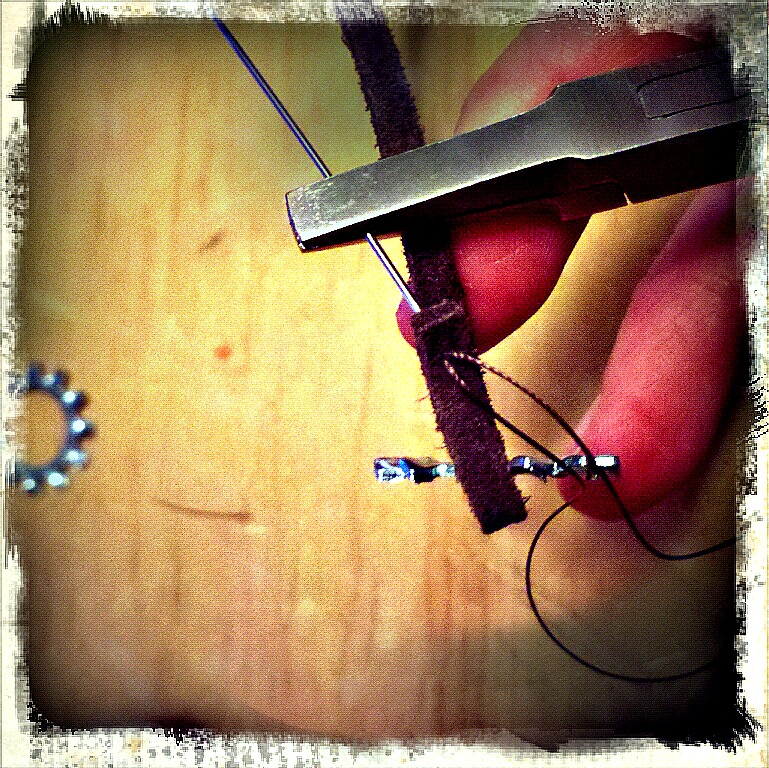
2)      Next, take one of your lock washers and loop your leather chord around it. Stitch in place. Stitching through leather can be difficult. If you are having trouble, you can make a small starter hole in the chord using an awl or you can use your flat nosed pliers to pull the needle through the leather. In the latter case, be sure not to place the pliers around the eye of your pin otherwise it will break or close shut.

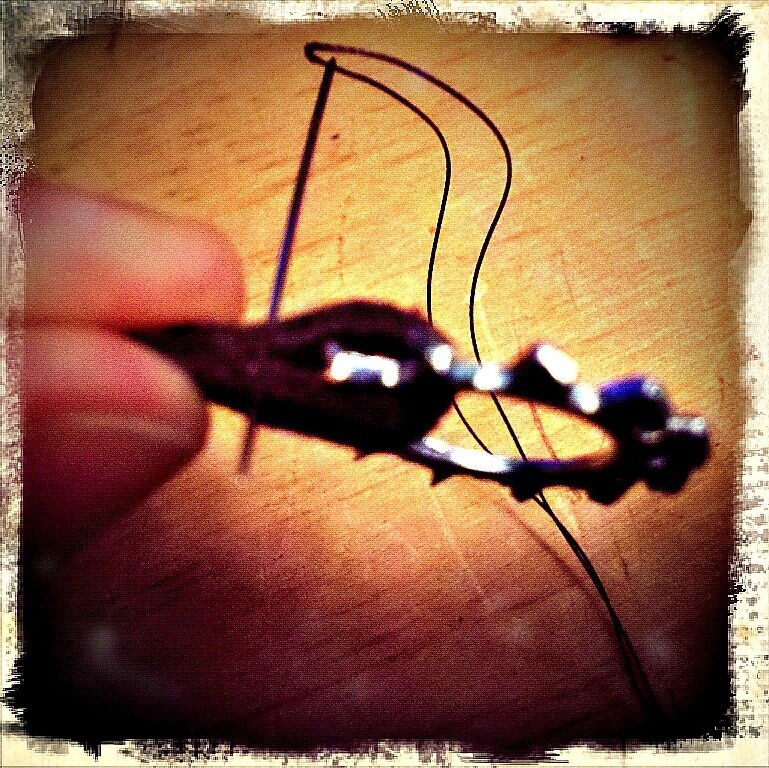
Once you have stitched once through both pieces of your leather chord, wrap your thread around the chord to hold it together. Once you have wrapped it approximately 5-6 times, knot it and cut off any excess thread.
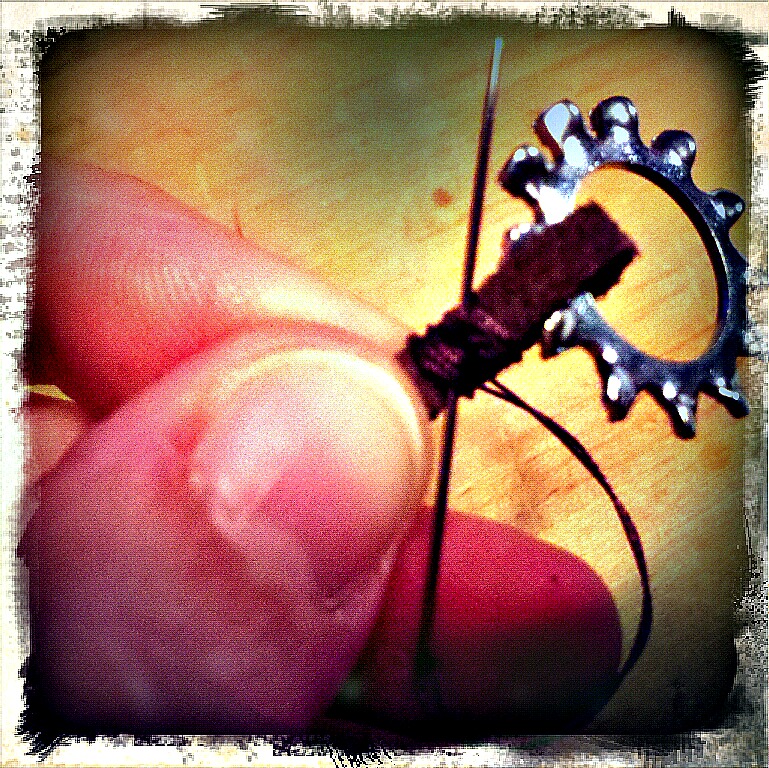
Repeat for the other lock washer, taking care to first measure the leather chord around your teddy bear’s head.

3)      Connect your lock washers together with your jump ring using your flat nosed pliers. If you do not have a jump ring or flat nosed pliers, you can either stitch the lock washers together (using embroidery thread or another kind of heaving sewing thread) or use of a bit of wire and wrap them together.

4)      Place your goggles on your teddy bear’s head and stitch the leather chord in place (using your brown thread) for extra security.
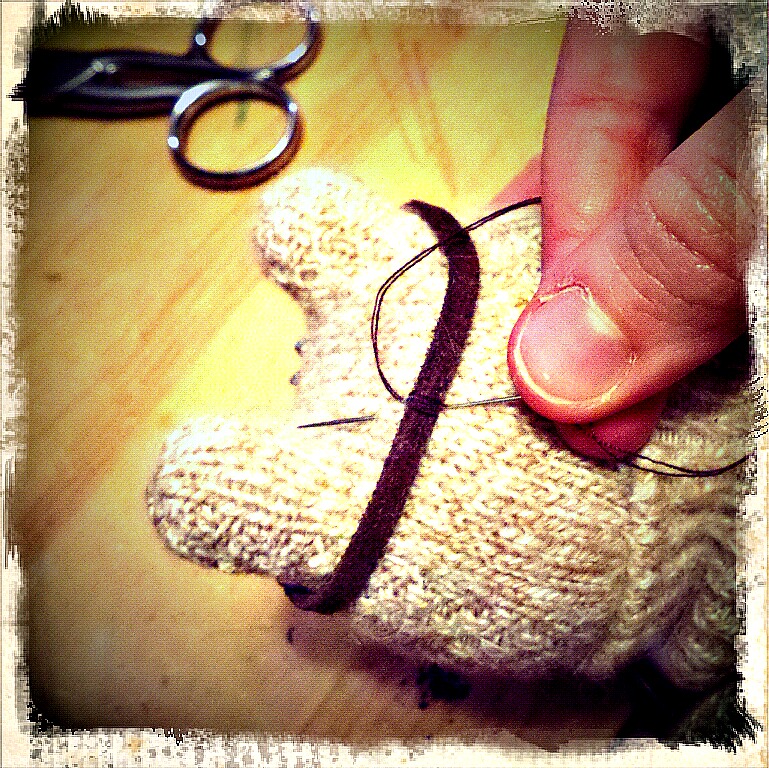
5)      And last, and most important, start adventuring!
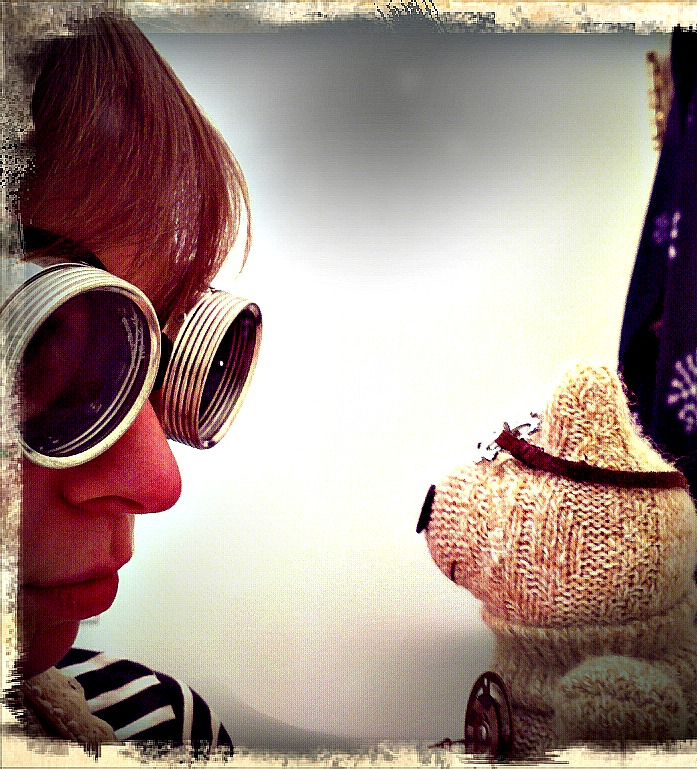
Shall we go on an adventure, Tinker Bear? “Yes!” Well away we go—perhaps our airship will bump into yours along the way!
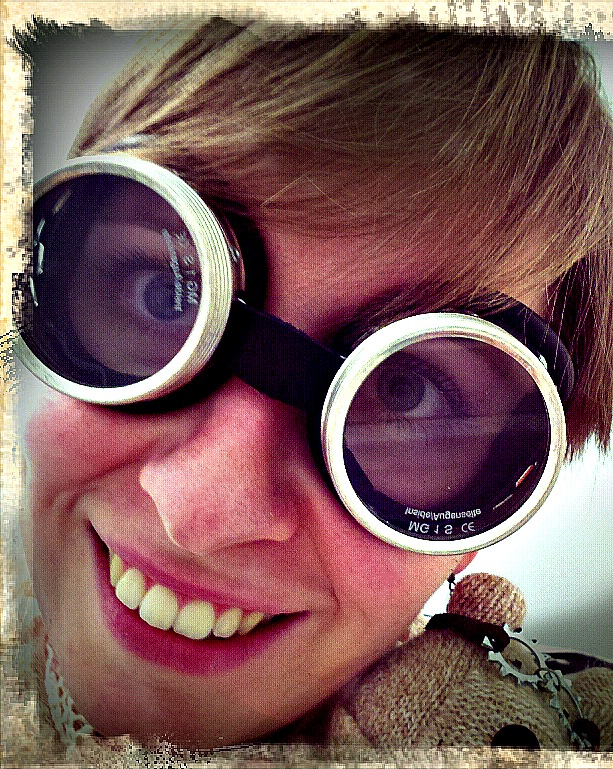
P.S. If you are looking for other friends to "make" before you go off on your adventure--check out Sarah Skeate & Nicola Tedman's Steampunk Softies: Scientifically Minded Dolls from a Past that Never Was! Craftzine shared a project from their book--you can learn how to make Marveletta, a very Steampunk Lady!
Upcycling from Bicycles!

UncategorizedSamantha ExtanceComment

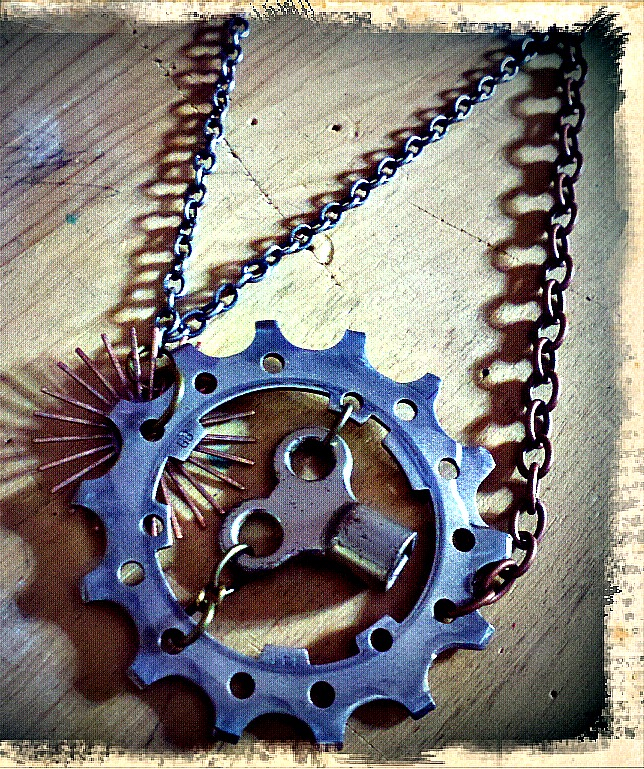
I have a brand new reason to love bicycles--other than green, heart healthy transportation and tons of fun on a sunny day--bicycles have beautiful gears that are perfect for steampunking! Mine were given to me by a friend who works in Tom's Bicycles here in Tulsa (thank you Casey!). For other steampunkers out there--be warned that bike gears are incredibly tough to clean. It will take you a couple of washes and a ton of elbow grease. I would recommend using a brillo pad saturated with Dawn (or any grease cutting soap of your choice). Despite the hours (and believe me you will be at it for an hour or two) of cleaning, used & worn bike gears are ideal steampunk material because the rough edges have already been worn down from riding and are no longer sharp.

Another great thing about bike gears (those from cassettes, that is) are their many holes. So while you will spend a great deal of time cleaning them, you do not have to file or drill at all! This is even more perfect for beginner steampunkers who have not built up an arsenal of tools or for those who are steampunking on a budget. Without further ado, here are my bicycle creations!

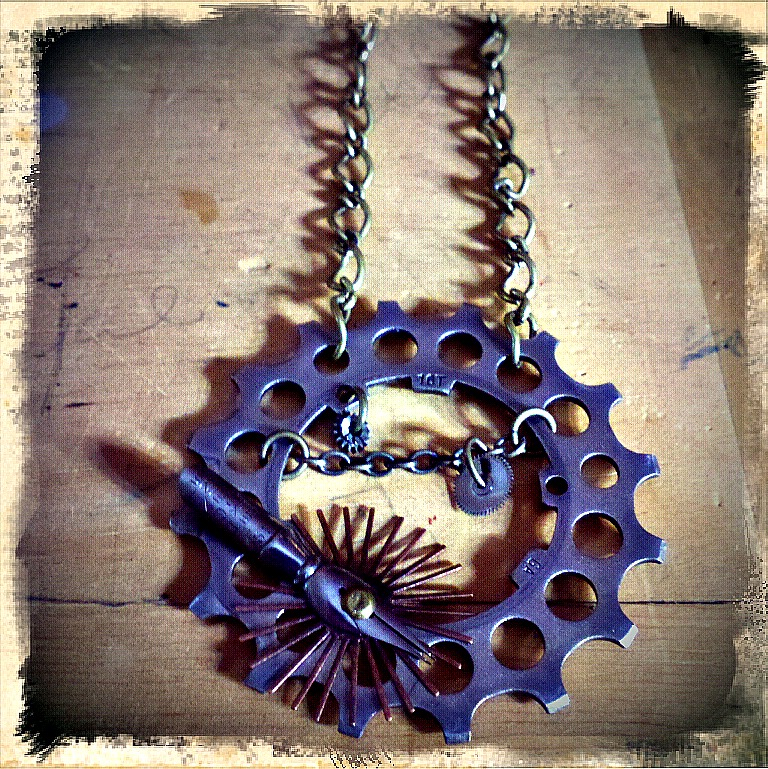
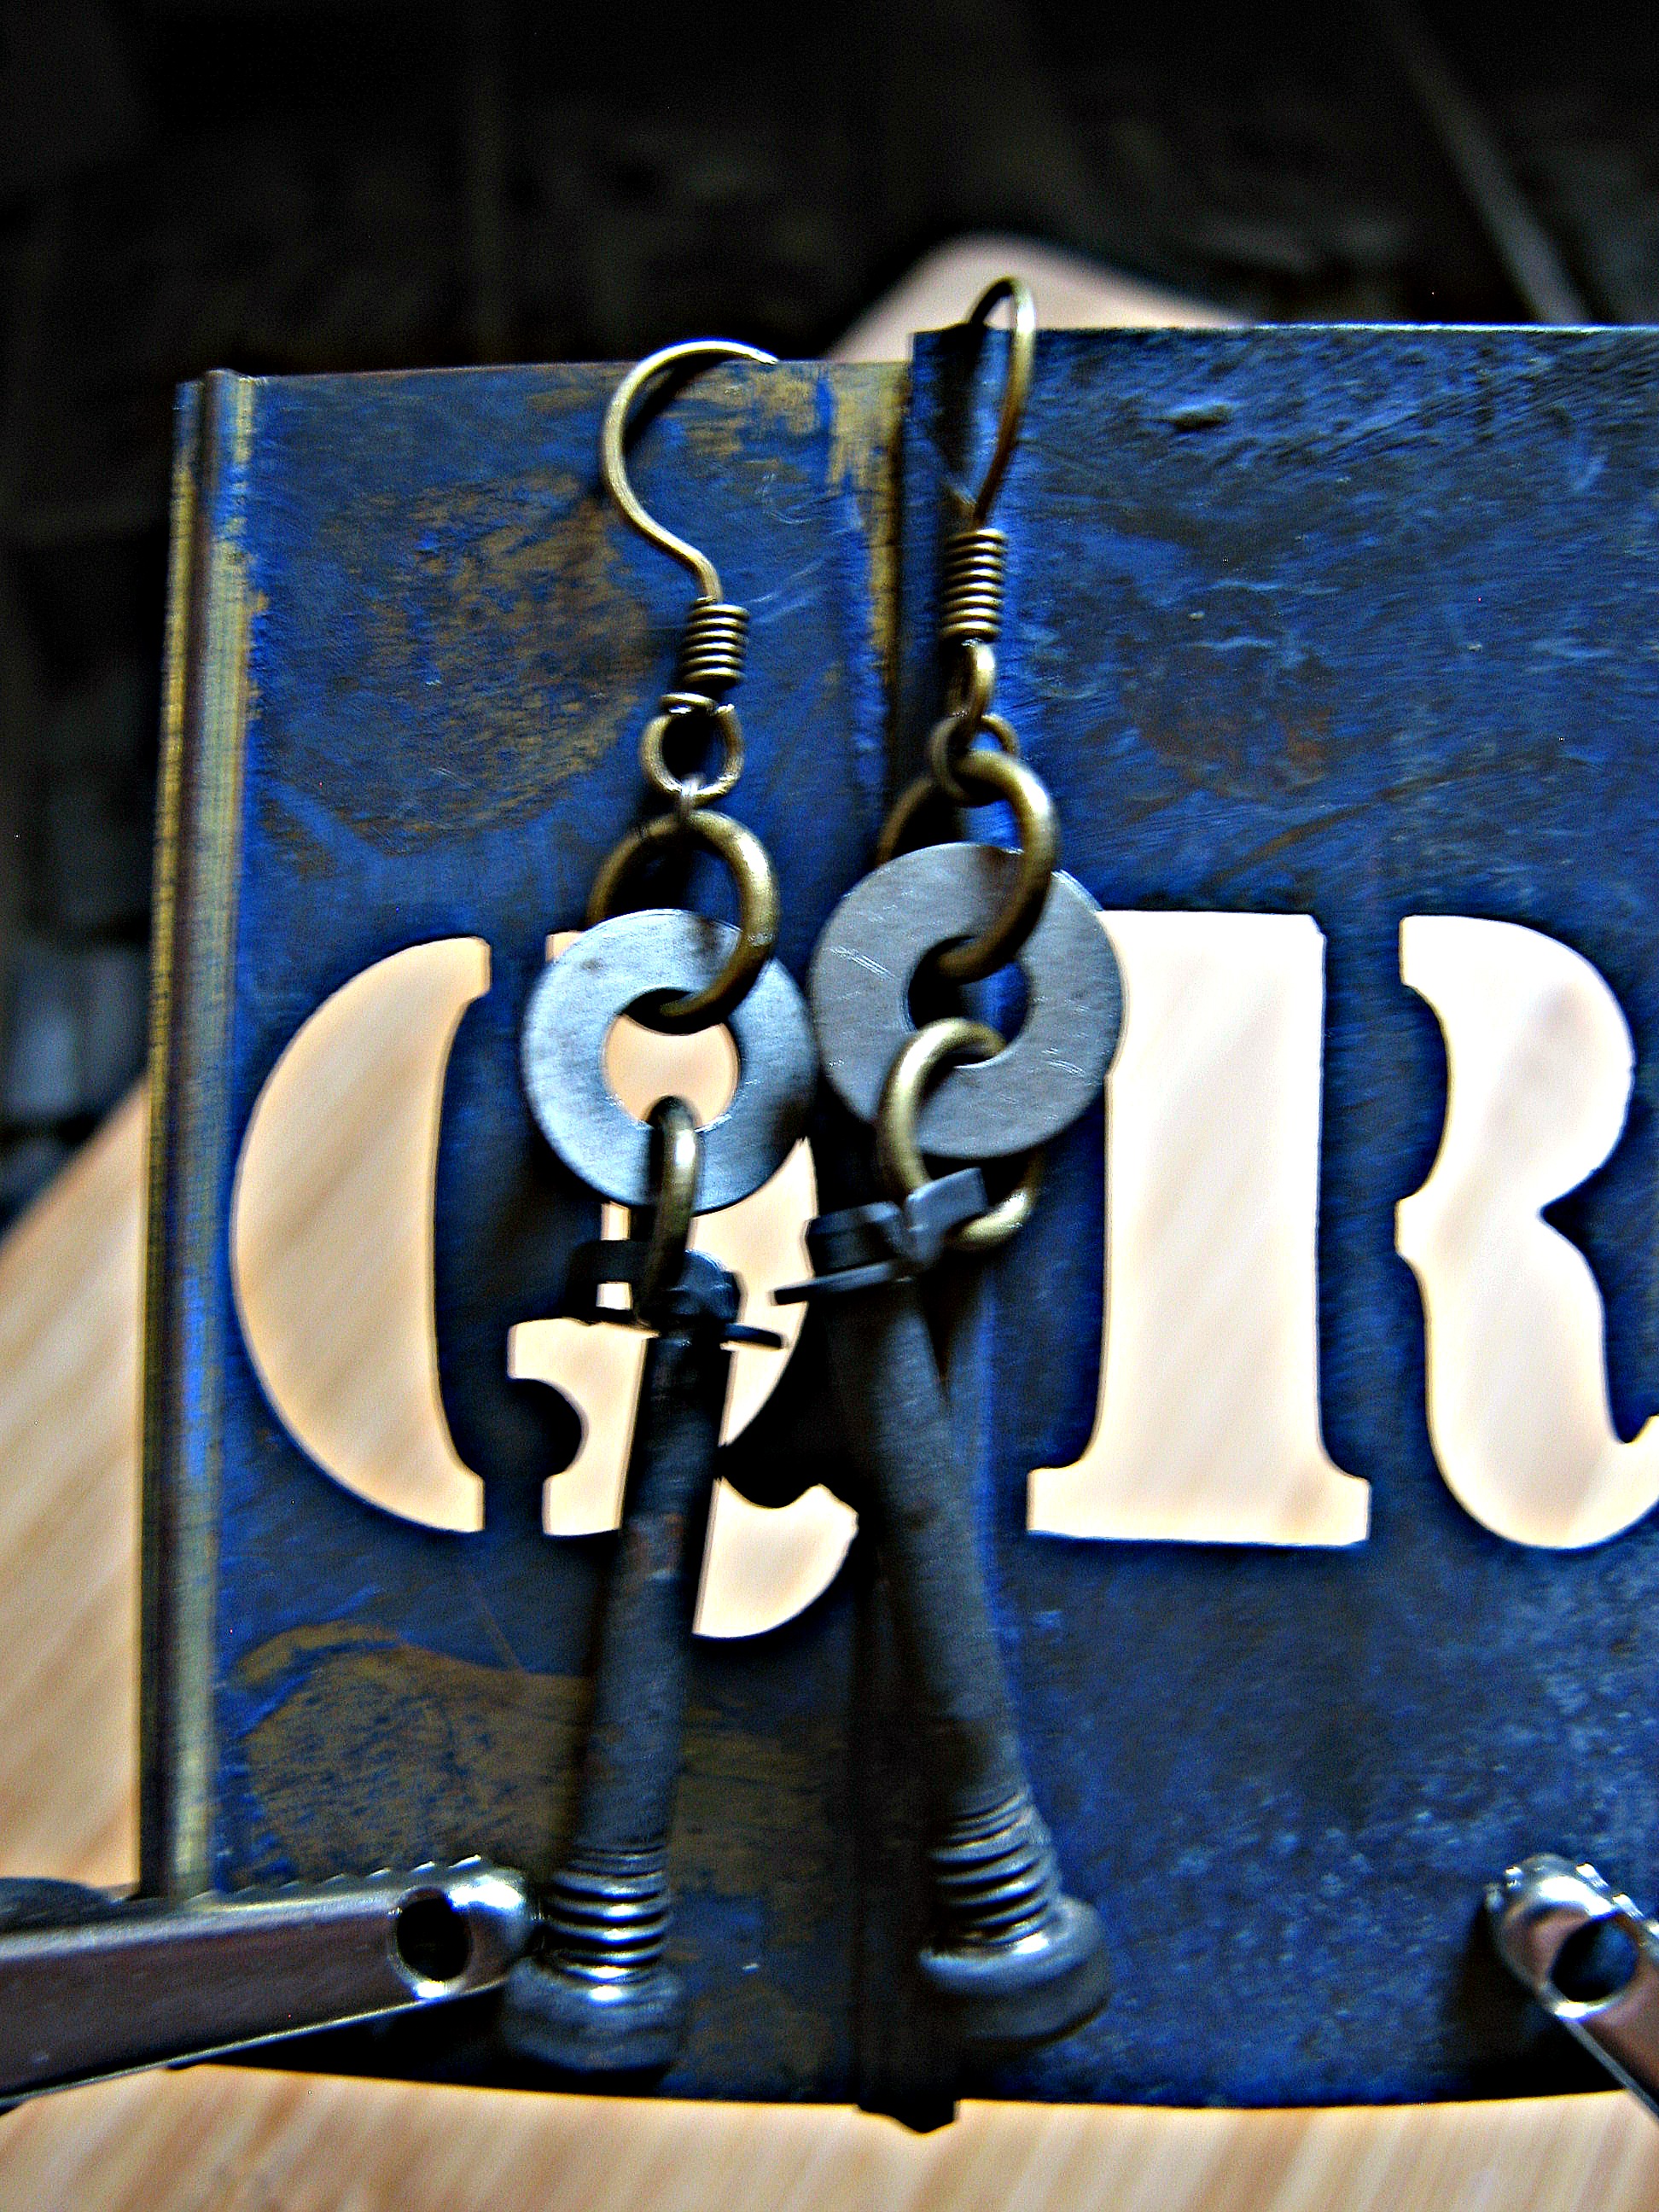
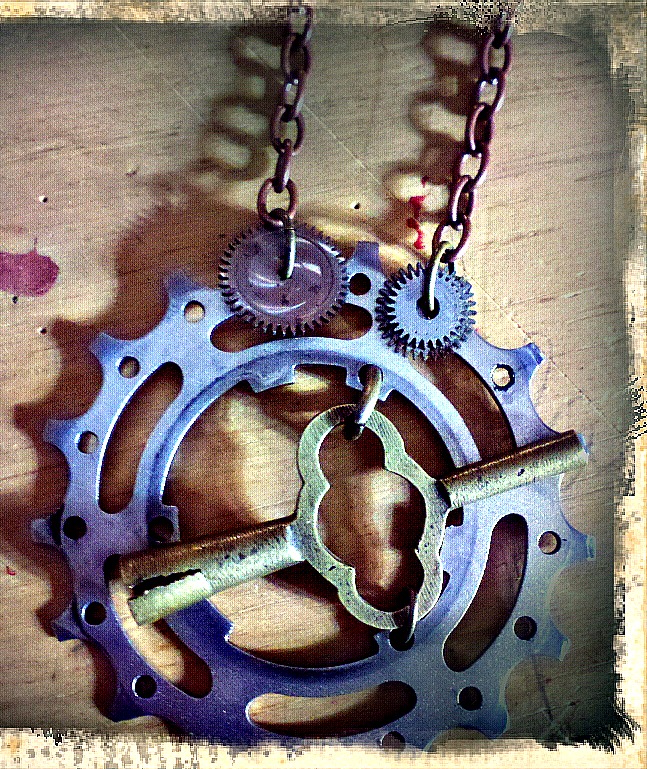
Steampunk Cyclist-Poet's Necklace: Made with various chains, a pen nib, metal filigree, and clock cogs & gears.Asymmetrical Steampunk Cyclist's Necklace: Made with key, various chains, and metal filigree.Steampunk Brake Pad Earrings: Made with bicycle brake pad parts, chain, and washers.Steampunk Cyclist's Key Chain: Made with key, various chain, and clock gears.Steampunk Brake Pad Necklaces: (Left) Made with brake pad, chain, washers, and grandfather clock gear; (Right) Made with chain, brake pad, washer, and lock washer.

Hope this inspires you to upcycle!

D.I.Y. Book Display

D-I-Y-Samantha Extance1 Comment

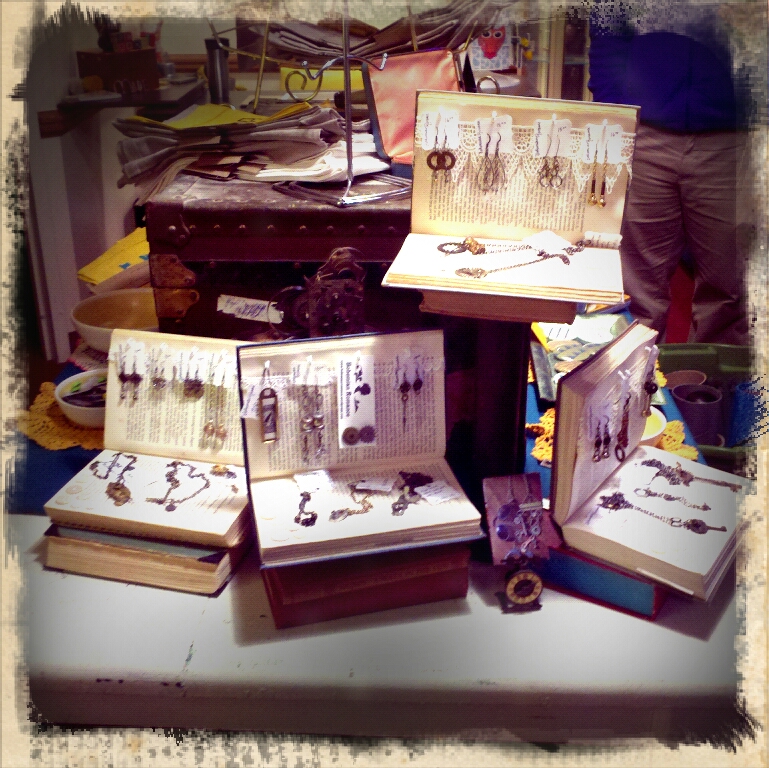
I like to use antiques and things I can upcycle and re-purpose to display my jewelry. As many of you probably already know if you have seen my booth at local craft shows--I have antique printer drawers, an old door that I use for a table, a shutter, and a wood kitchen drawer that I refurbished for display purposes. This display came about when I was thinking up creative ways to display my jewelry in a new shop that is opening up here in Tulsa. I am happy to be a part of Made; The Indie Emporium shop, located on the corner of 5th & Boston (the grand opening is February 1st & I hope to see you there!). I loved making these displays and I hope you will too!

Materials & Tools:
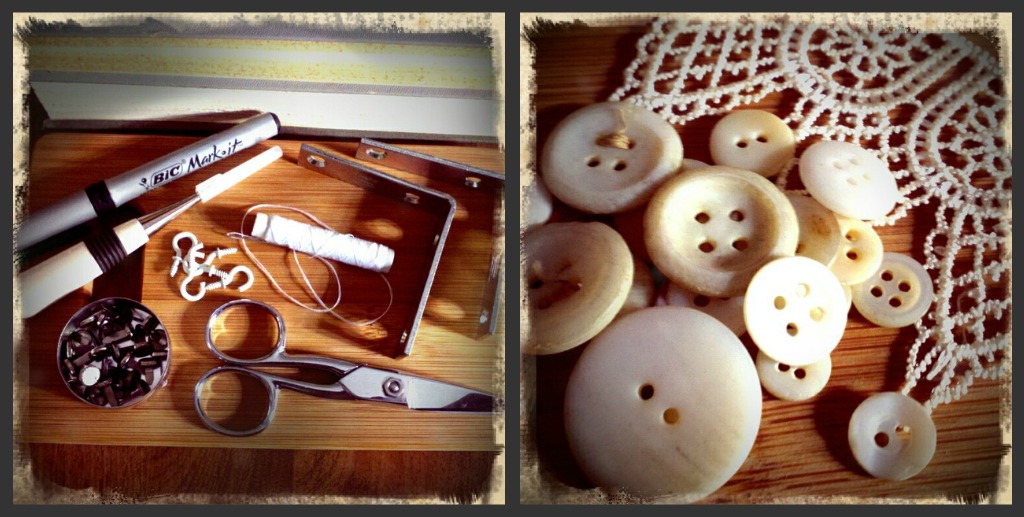
screwdriver; scissors; needle & thread; 2 books (1 to use as the display and the other to use as an anchor); cup hooks (white); Sharpie marker; awl; brads; lace; buttons; all-purpose glue; 1 pkg. of corner braces with screws (mine are 2 1/2" x 5/8") but really this just depends on the size of your book

What is great about this DIY is that it is simple and elegant while also being incredibly cheap to reproduce. I purchased the books for 50 cents each at a used bookstore, the lace was 50 cents in a bargain bin, the buttons were free! (I collect lost buttons, they are everywhere you look!), cup hooks 89 cents per pkg. of 5, and the corner braces came in a pkg. of 4 with the screws and only cost $3.95 at Lowes, and lastly a large pkg. of 20 brads were on sale for 76 cents--which brings me to a grand total of $7.10.

Steps:
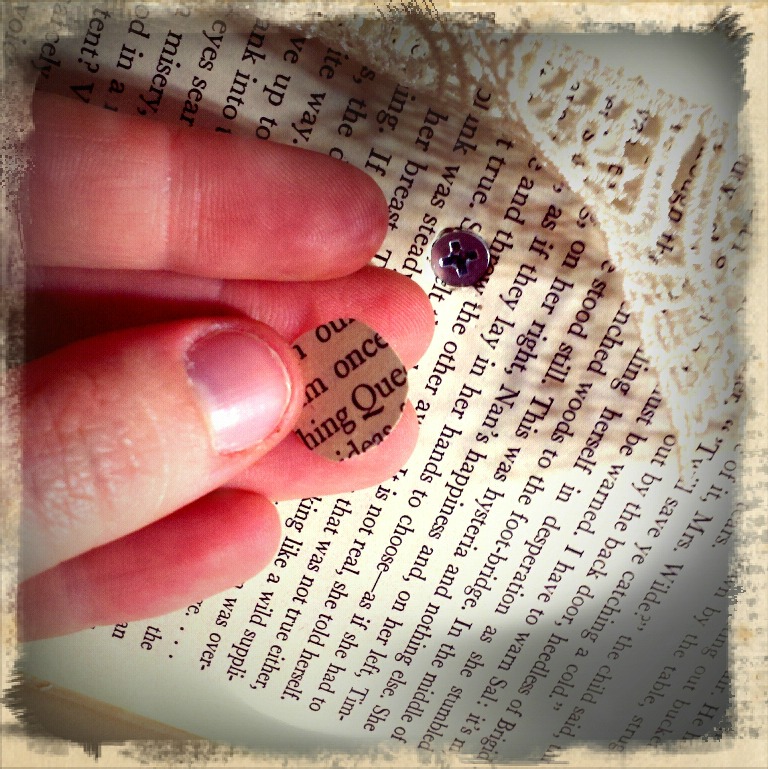
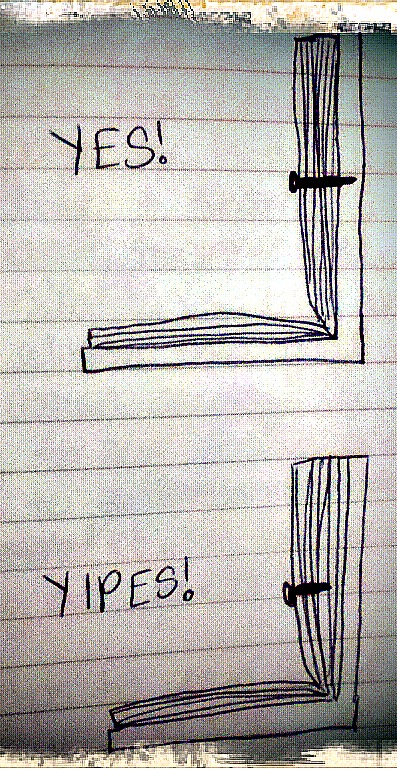
1) Before doing anything, first figure out which pages you would like to have your book display opened on. I read mine to make sure that there wasn't anything a potential customer might find offensive (like expletives, racy scenes, or racial/ethnic slurs). Also,  measure (eyeball it) to make sure that the screw (that you will fix in the middle of the top page of your book display to keep it securely open) can go through all of the pages that you have opened your book to. See figure below for clarification.

You want the screw to go into the book cover otherwise the book pages will fall down once you place jewelry on it.

2) Once you have done this, measure and cut your lace to fit the top page of your book display. Your lace should wrap around to the other side of the book page to hide unsightly unraveling and seams. I suggest sewing 2-4 pages together (depending on your paper quality and its thickness) so that there is less of a chance of tearing the pages while you are sewing your lace in place. Too few pages and it's too flimsy to sew easily and too many pages leads to more paper tears because you are tugging at your stitches more.It helps to pin your lace in place on the book page.

3) Once you have your lace pinned in place, sew it. Try to keep your stitches small, even, and neat.

4) Next, place your buttons on the bottom book page of your display. I pinned mine in place (which is optional). You could sew as you go if you choose. Sew your buttons in place. Again, sew 2-4 pages together for maximum ease. 5) (Optional) Use your marker to write your business name or a cute phrase on the bottom page of your book display. You could also stamp a design on your page or doodle in the margins. Anything goes, have fun with it!

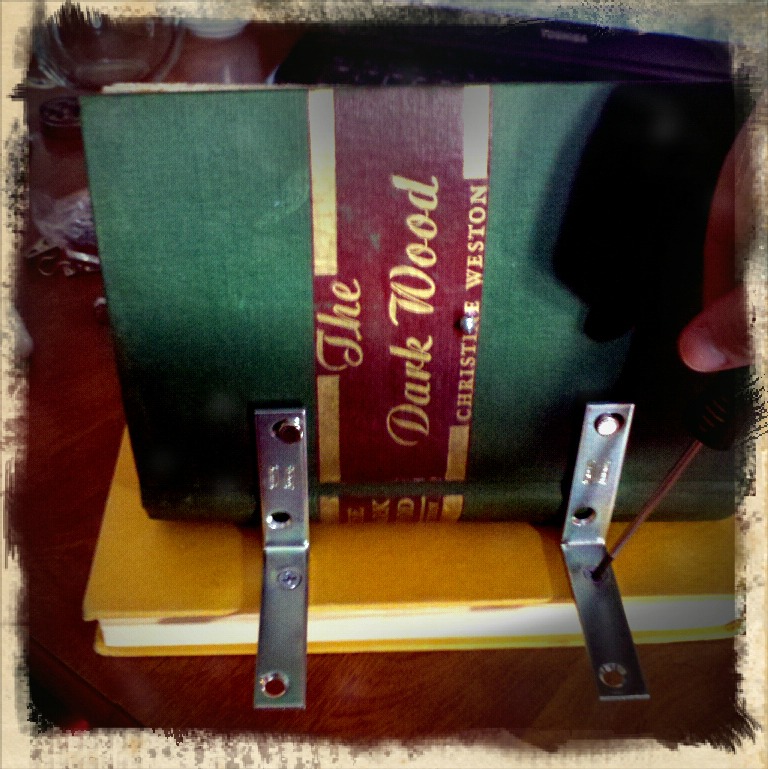
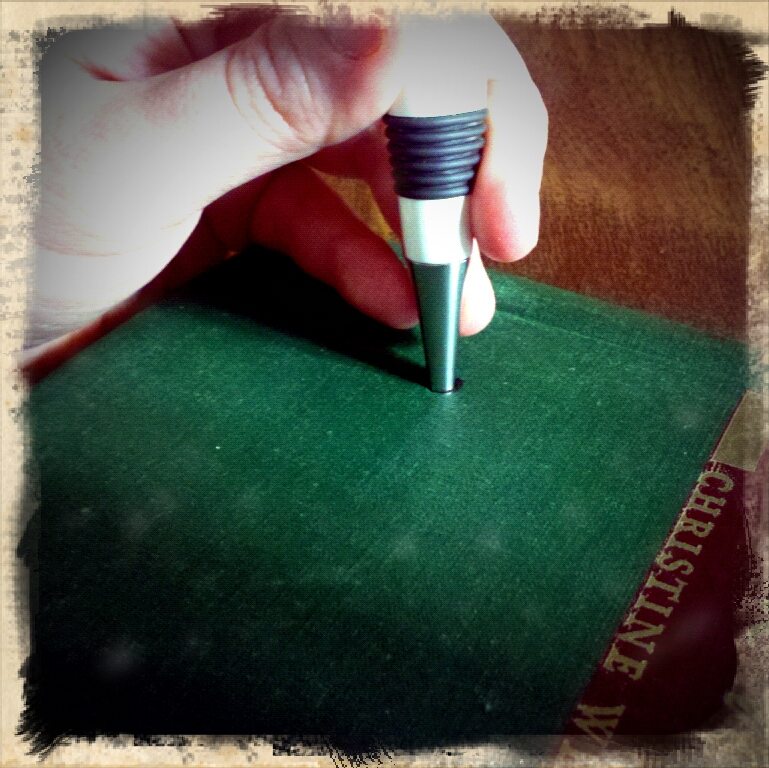
6) Once you are finished with decorating your display, it's time to fasten the display book to your anchor book. Place your anchor book underneath your display book. Grab one of your corner braces and place it up against the back cover of your display book situating the screw holes tightly against both the back cover of your display book and the top cover of your anchor book. See the image below for clarification. Once you have the corner brace places, take your Sharpie marker and mark each screw hole. Repeat for the other corner brace.7) Next, take your awl and poke a hole directly through the marks you made for your screw holes on both covers. When poking a hole in the display book cover, be sure not to go through your book pages--just the cover. 8) Once you have made all of your holes, take 2 brads and use them to fasten your corner braces to the display book. (You are putting the brad through the screw hole, book cover, and then opening the ends to hold the corner brace in place). The picture here is upside down, but you get the idea.

9) Next, take 2 screws and screw them in place (through the hole you poked through the anchor book cover). You know when you're done because the display book will feel more secure (essentially, it will no longer slide or fall closed but remain upright). 10) Turn your display book around so that it is facing you. Using your awl, poke tiny holes (starter holes) in your top book page for your cup hooks. And then, screw your cup hooks in place. I recommend alternating which cup hooks you screw in so that the page does not ripple or become uneven.  For instance, I had 5 total cup hooks so I screwed in the 1st hook and then the 3rd and 5th, and afterwards, the 2nd and 4th hooks.

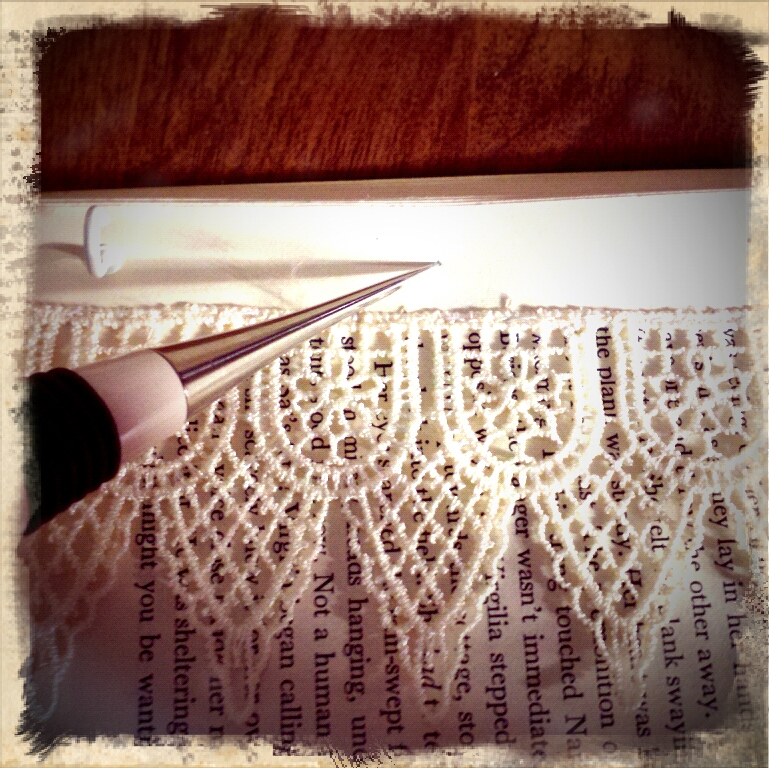
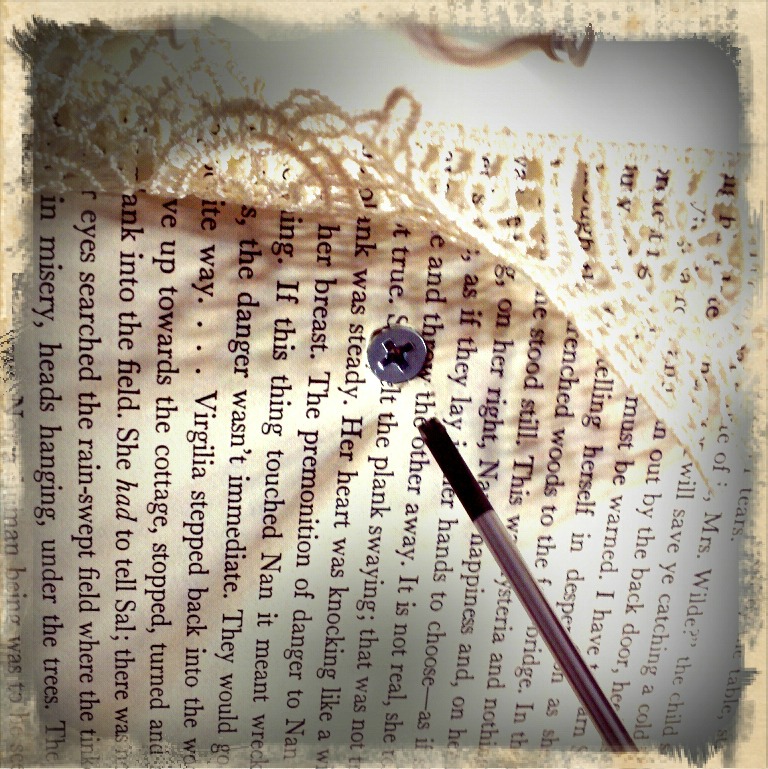
11) With the display book still facing me, I lifted up my lace, and using my awl made a starter hole in the very middle of the top page for my screw. Then I took a screw and secured it in place using my trusty screwdriver.12) Once I was  done, I cut a circle out of a scrap book page to cover the screw and glued it in place.13) Now comes the fun part--splaying your jewelry across the page and hanging it from the tiny cup hooks! For a layered look, stack books underneath your display to create height and use different angles.

As always, Happy Crafting! And please, do come visit Made; The Indie Emporium shop's grand opening on Feb. 1st!

Saturday in New York City

Flea Market FindsSamantha Extance2 Comments

                            My mom and I, fabric shopping in Mood. I was pleasantly surprised by everyone’s sincere friendliness and helpfulness. I expected a cold shoulder since I am not a wholesale buyer or a designer, but was happily mistaken. I found exactly what I was looking for—a pale gray patterned cotton for a pair of Edwardian bloomers I am making from a Folkwear Pattern (the pattern is called Edwardian Underthings).

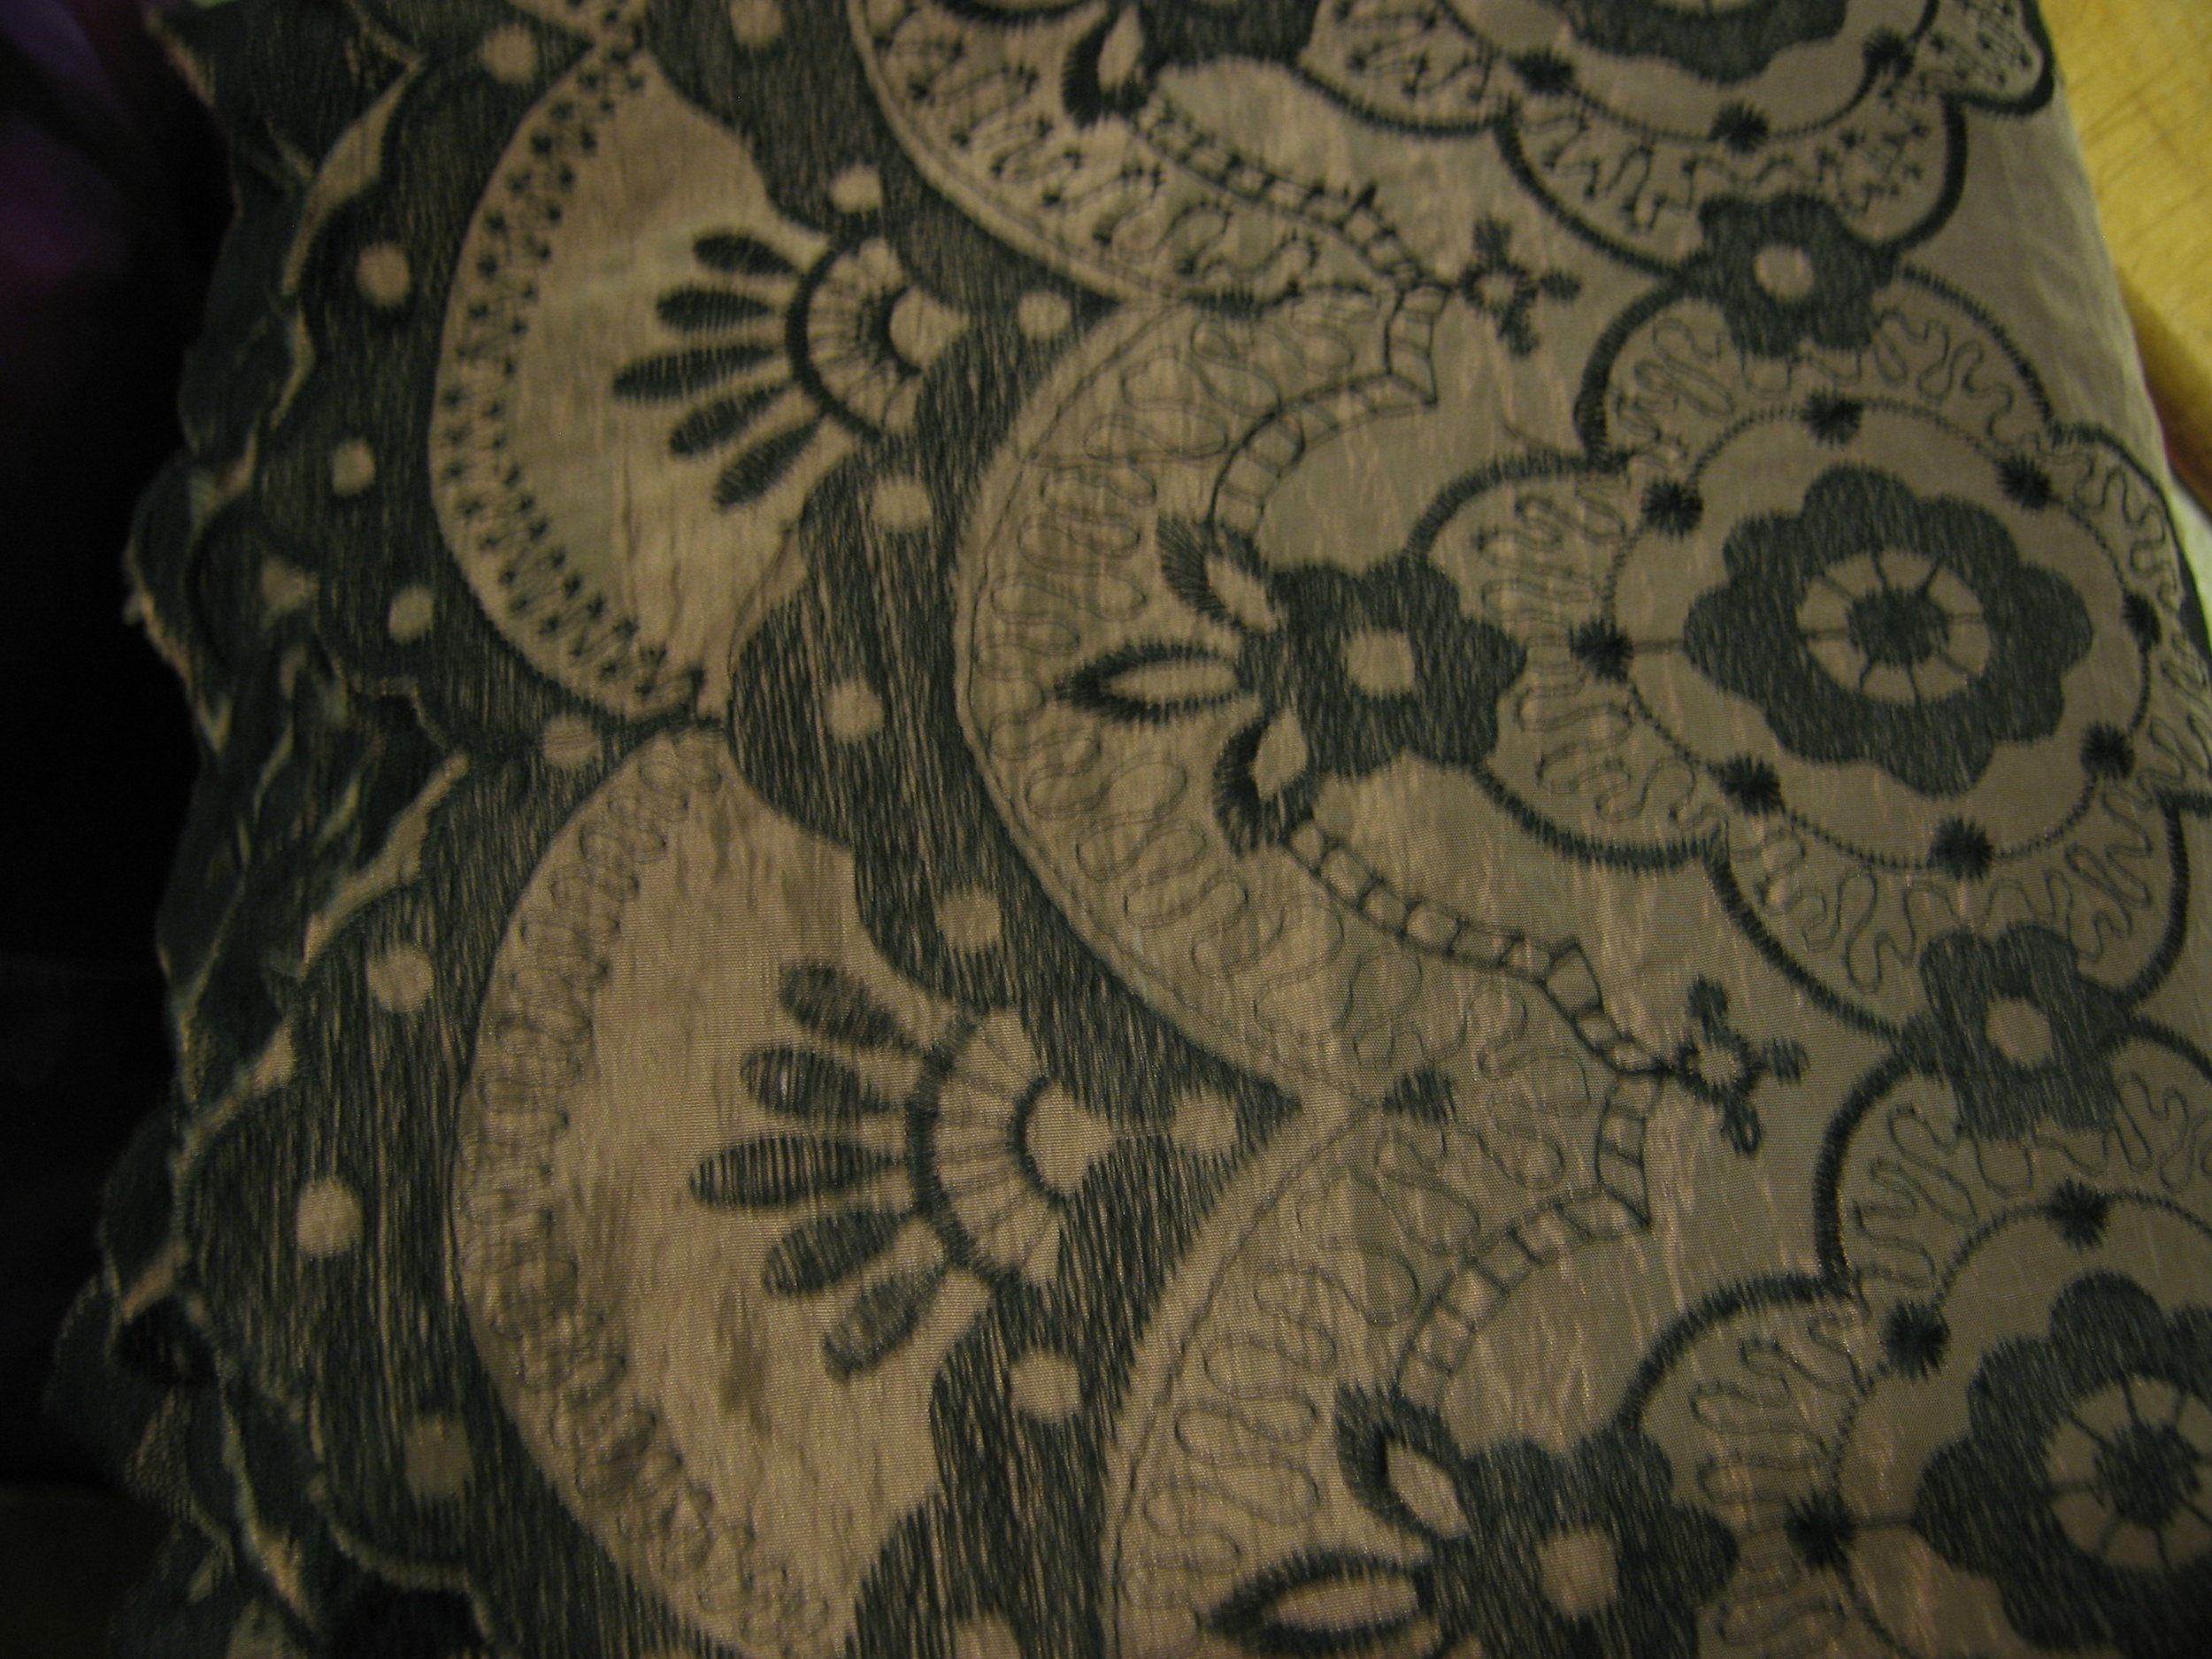
We also happened upon this stunning brocade fabric which we had to buy to fashion a Victorian style skirt. I am so excited! The fabric is stunning—the other side of it is completely covered with netting which ages the fabric’s look by 100 years

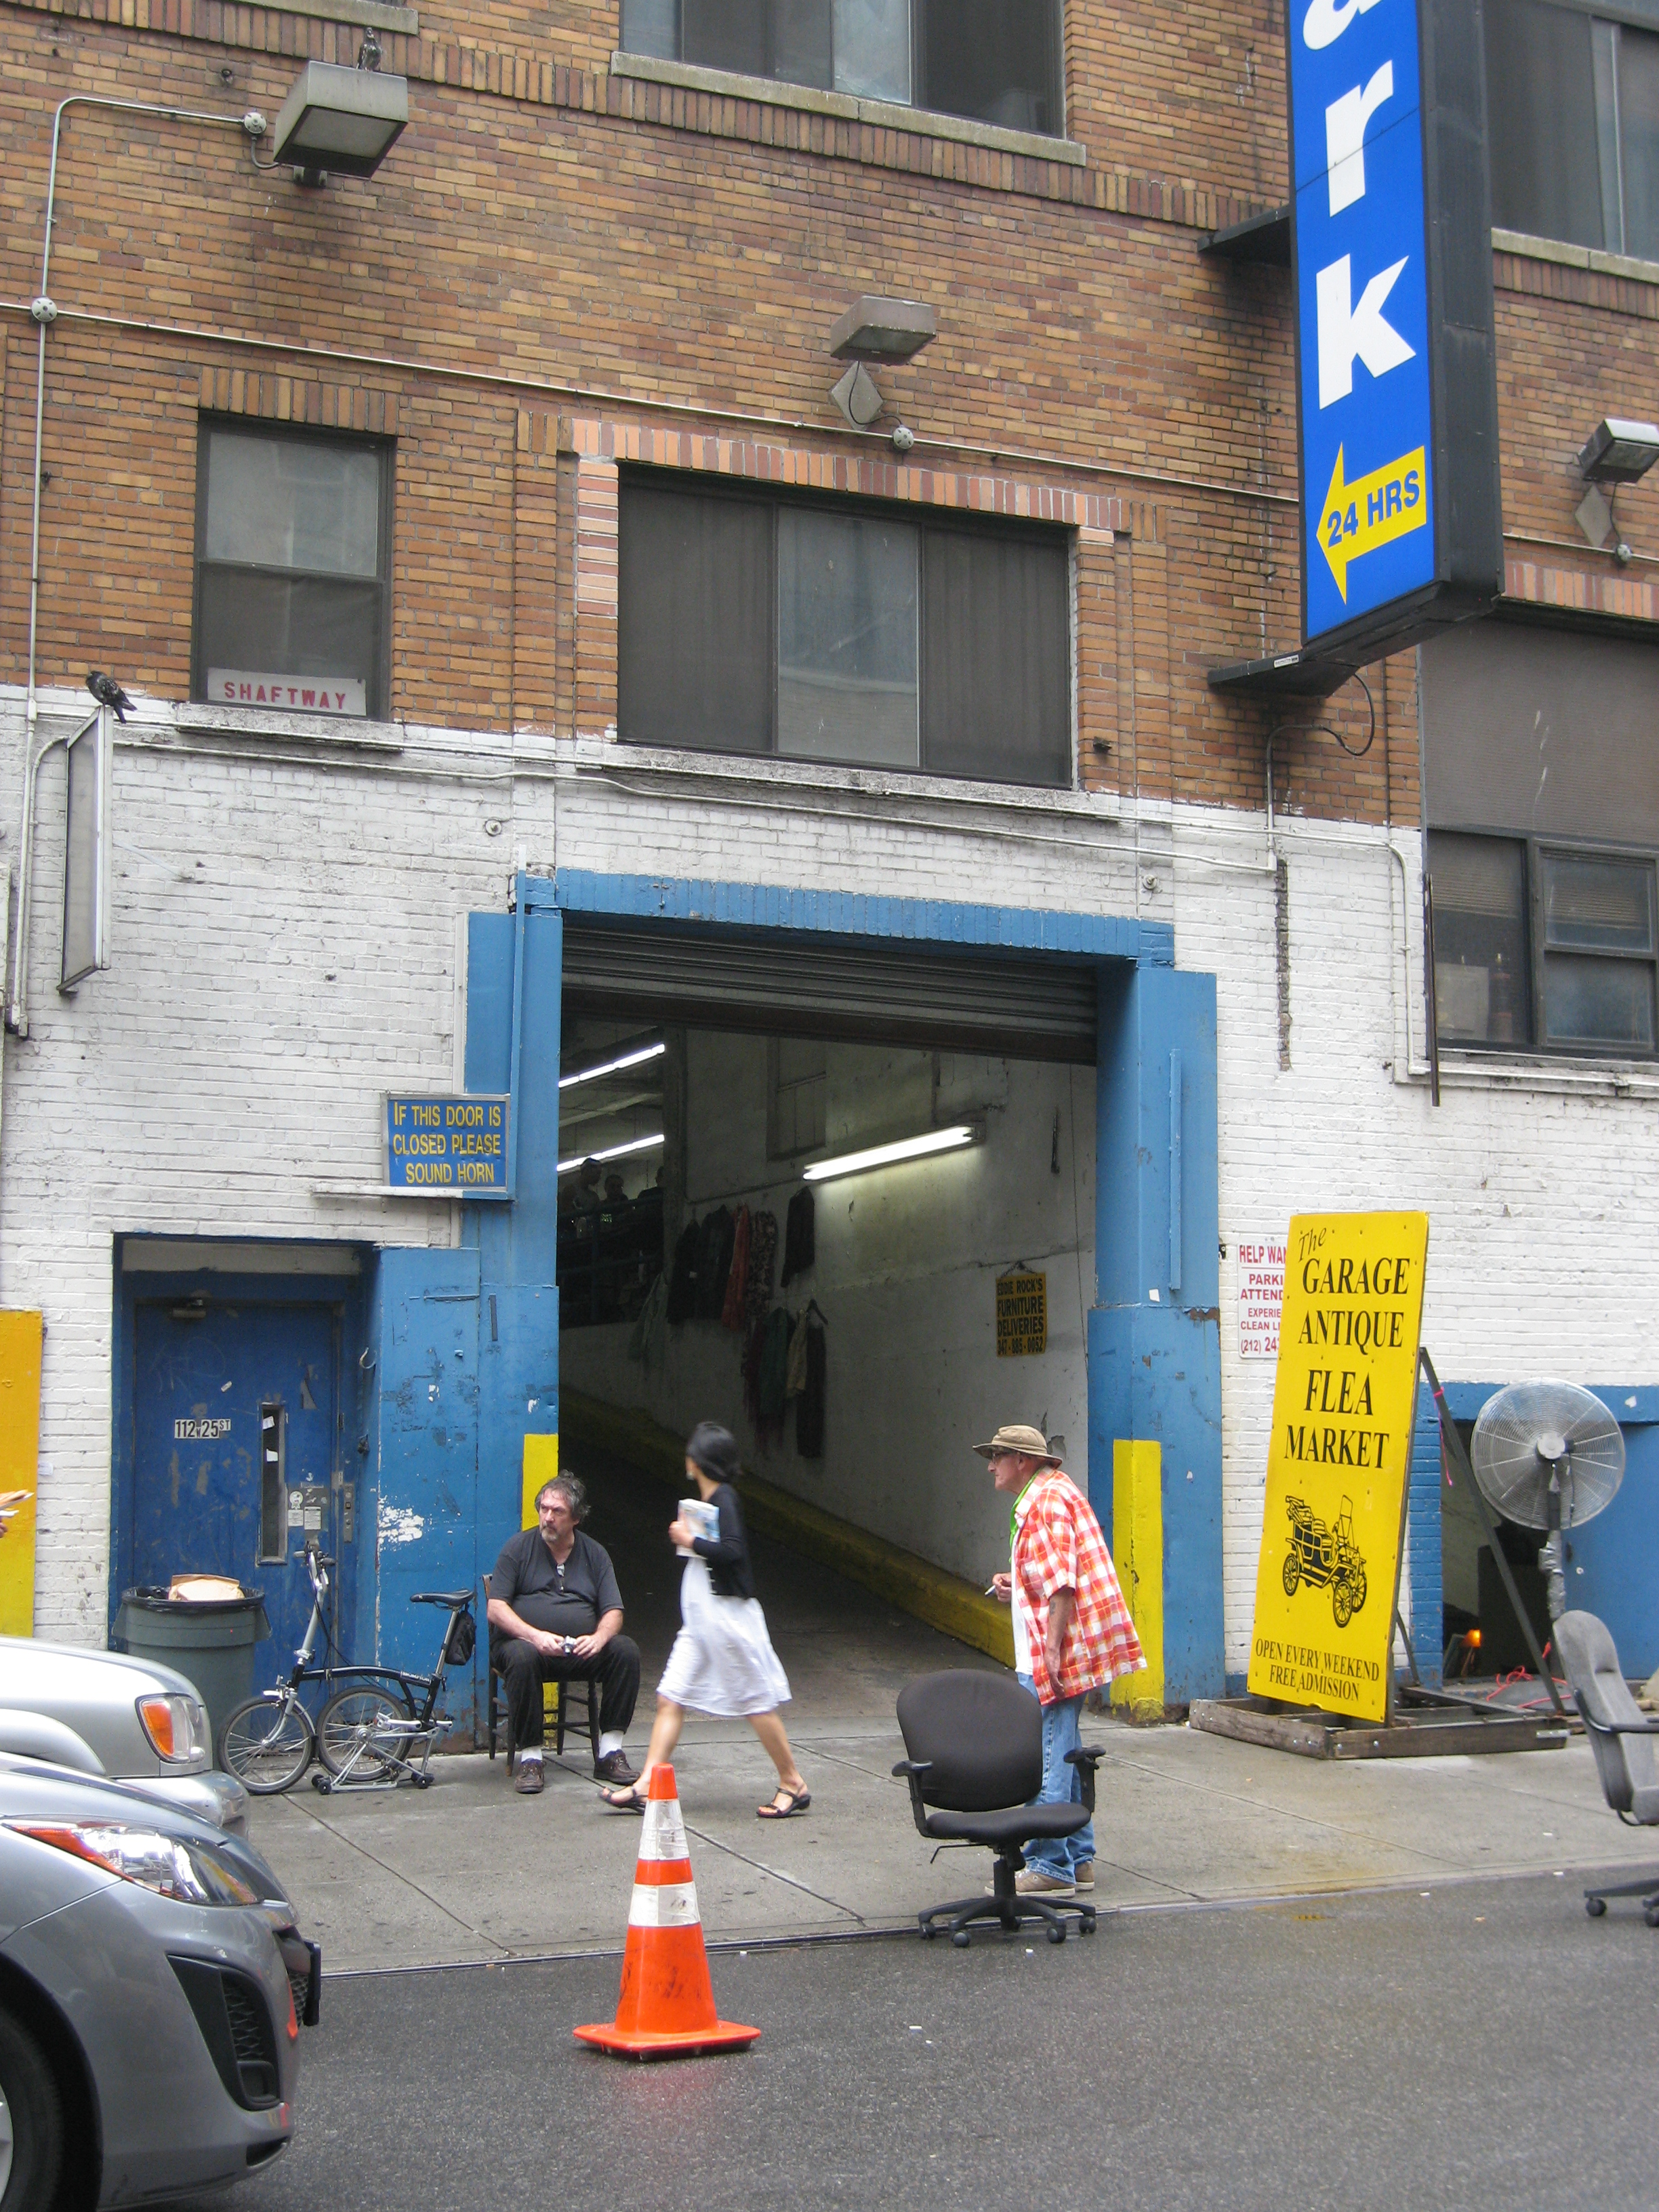
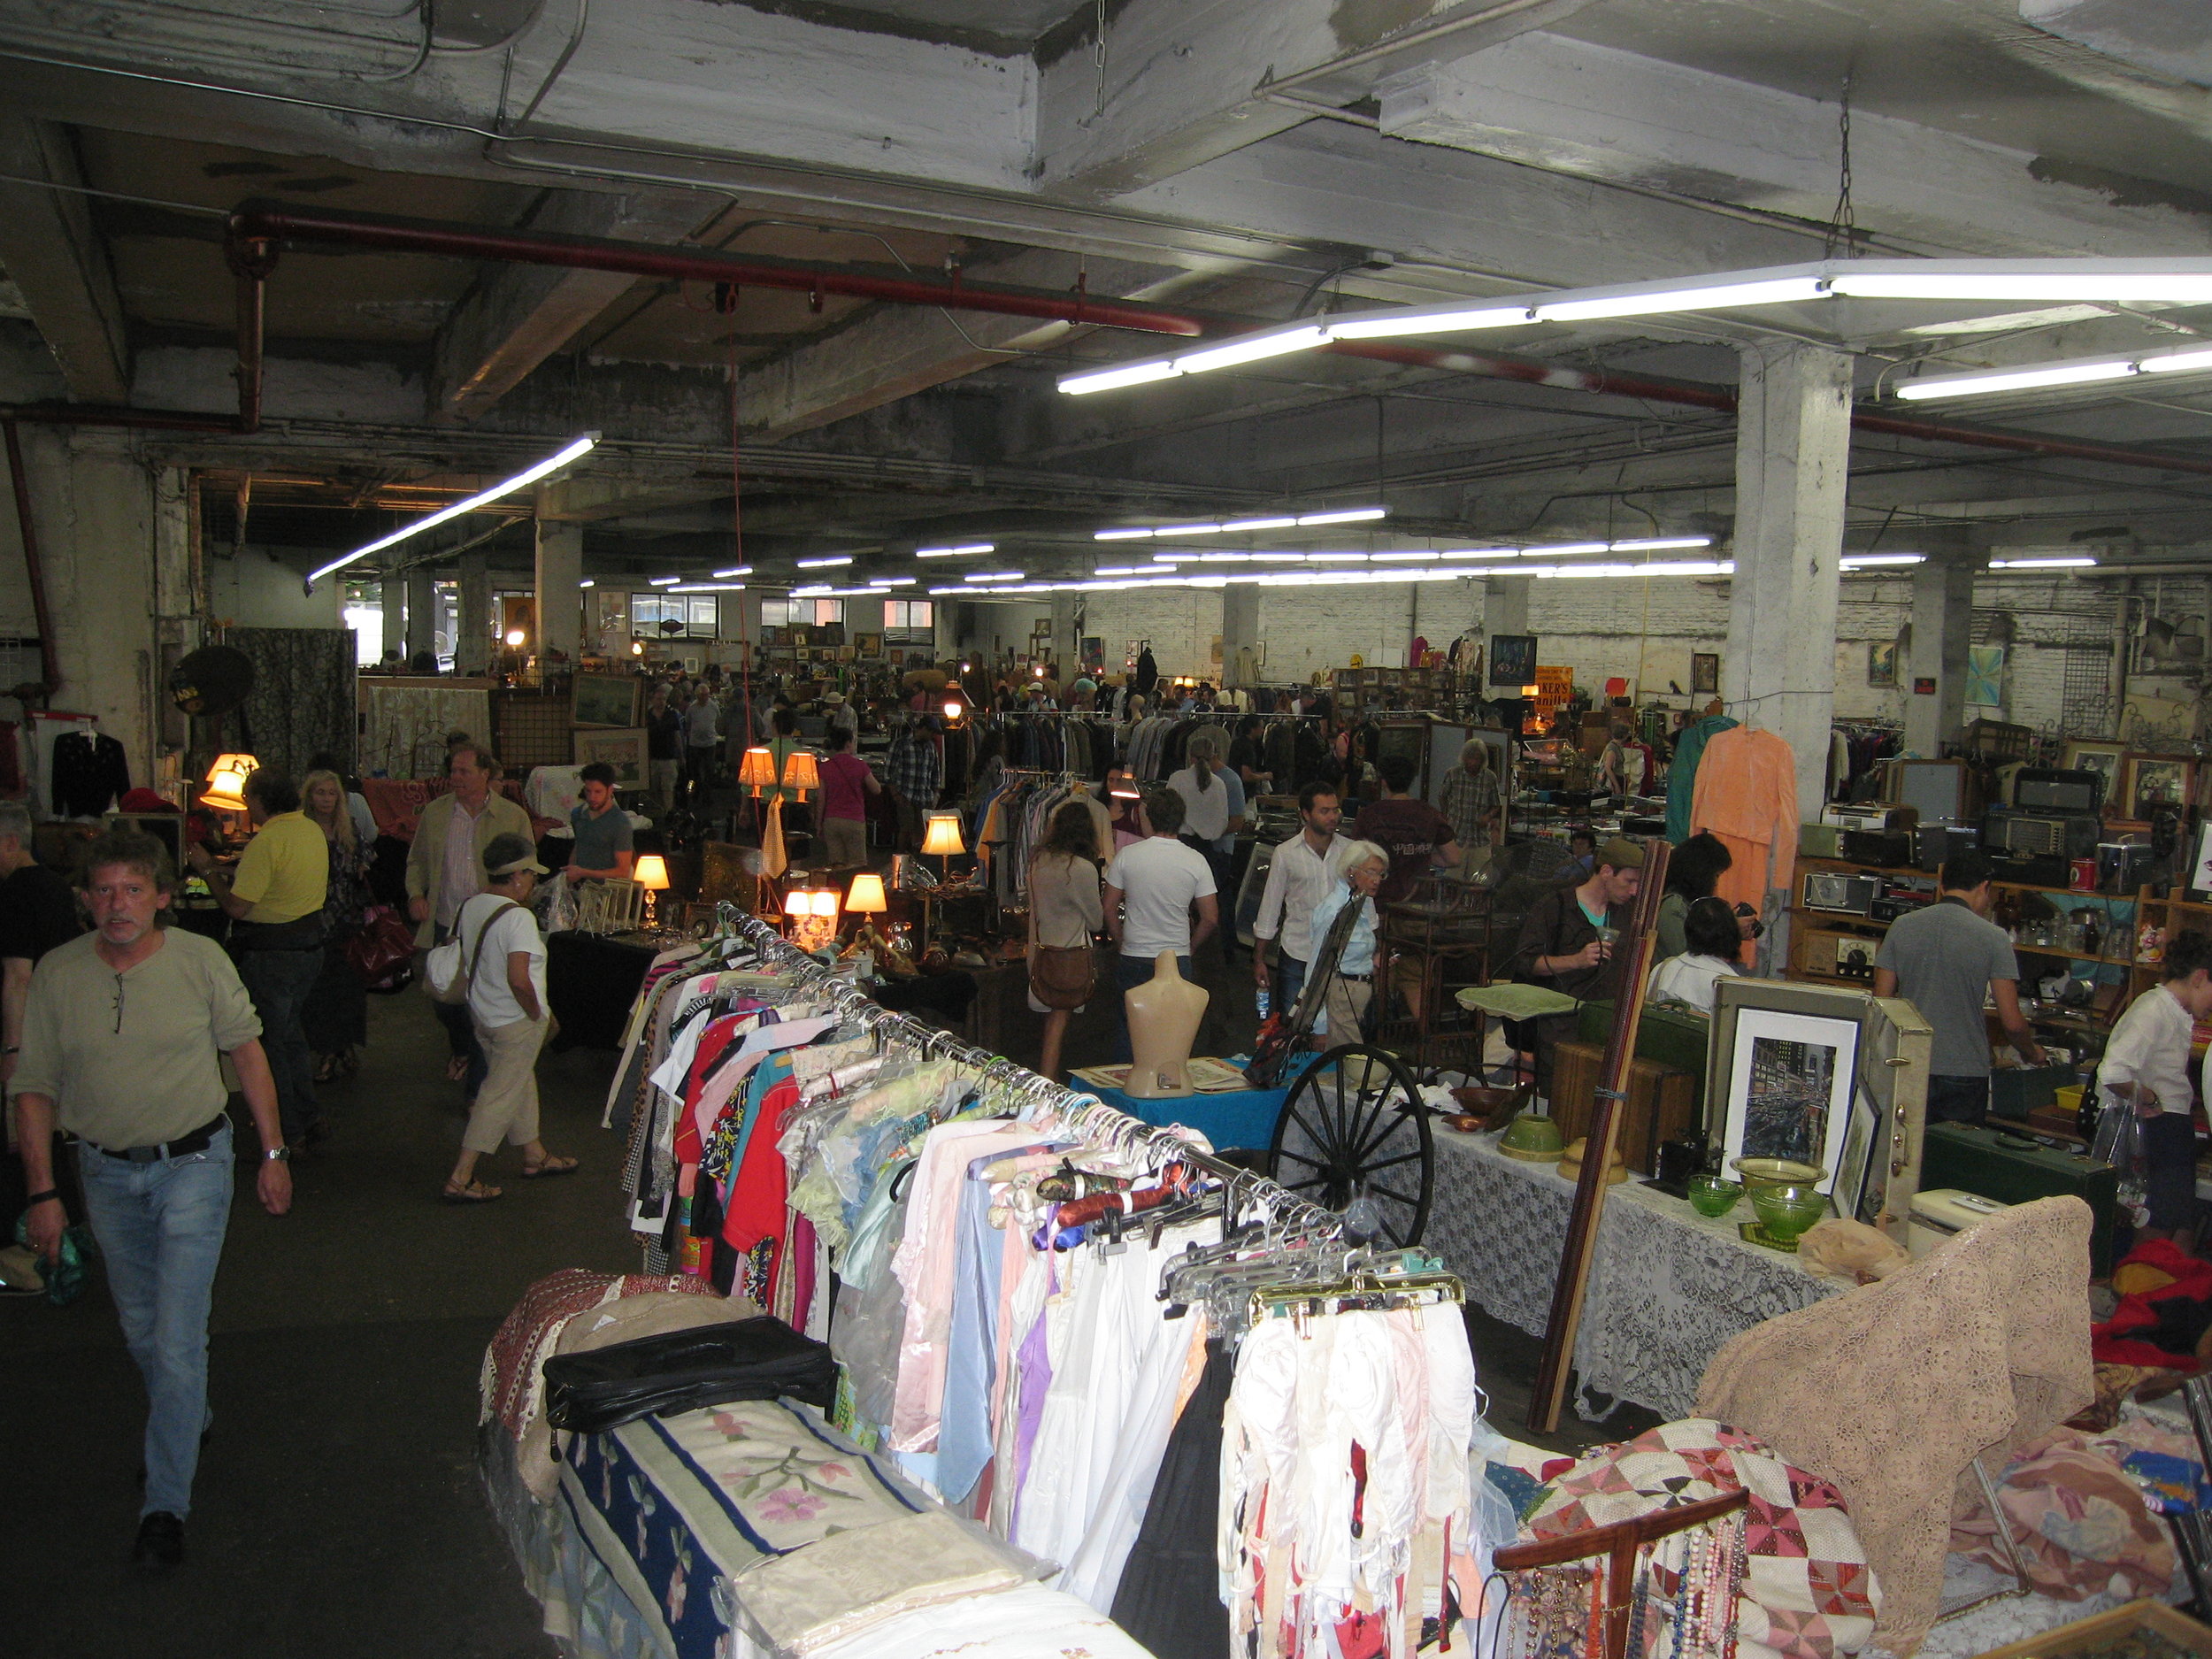
Our next stop was the Antique Garage Flea Market (on 24th Street by the Tish Building). We saw everything from antique writing desks, pornography from 1911-1941, vintage & junk jewelry, old books & vintage apparel, to WWII death announcement cards.


Here are my finds:

Three antique hat pins—so dainty & dangly!

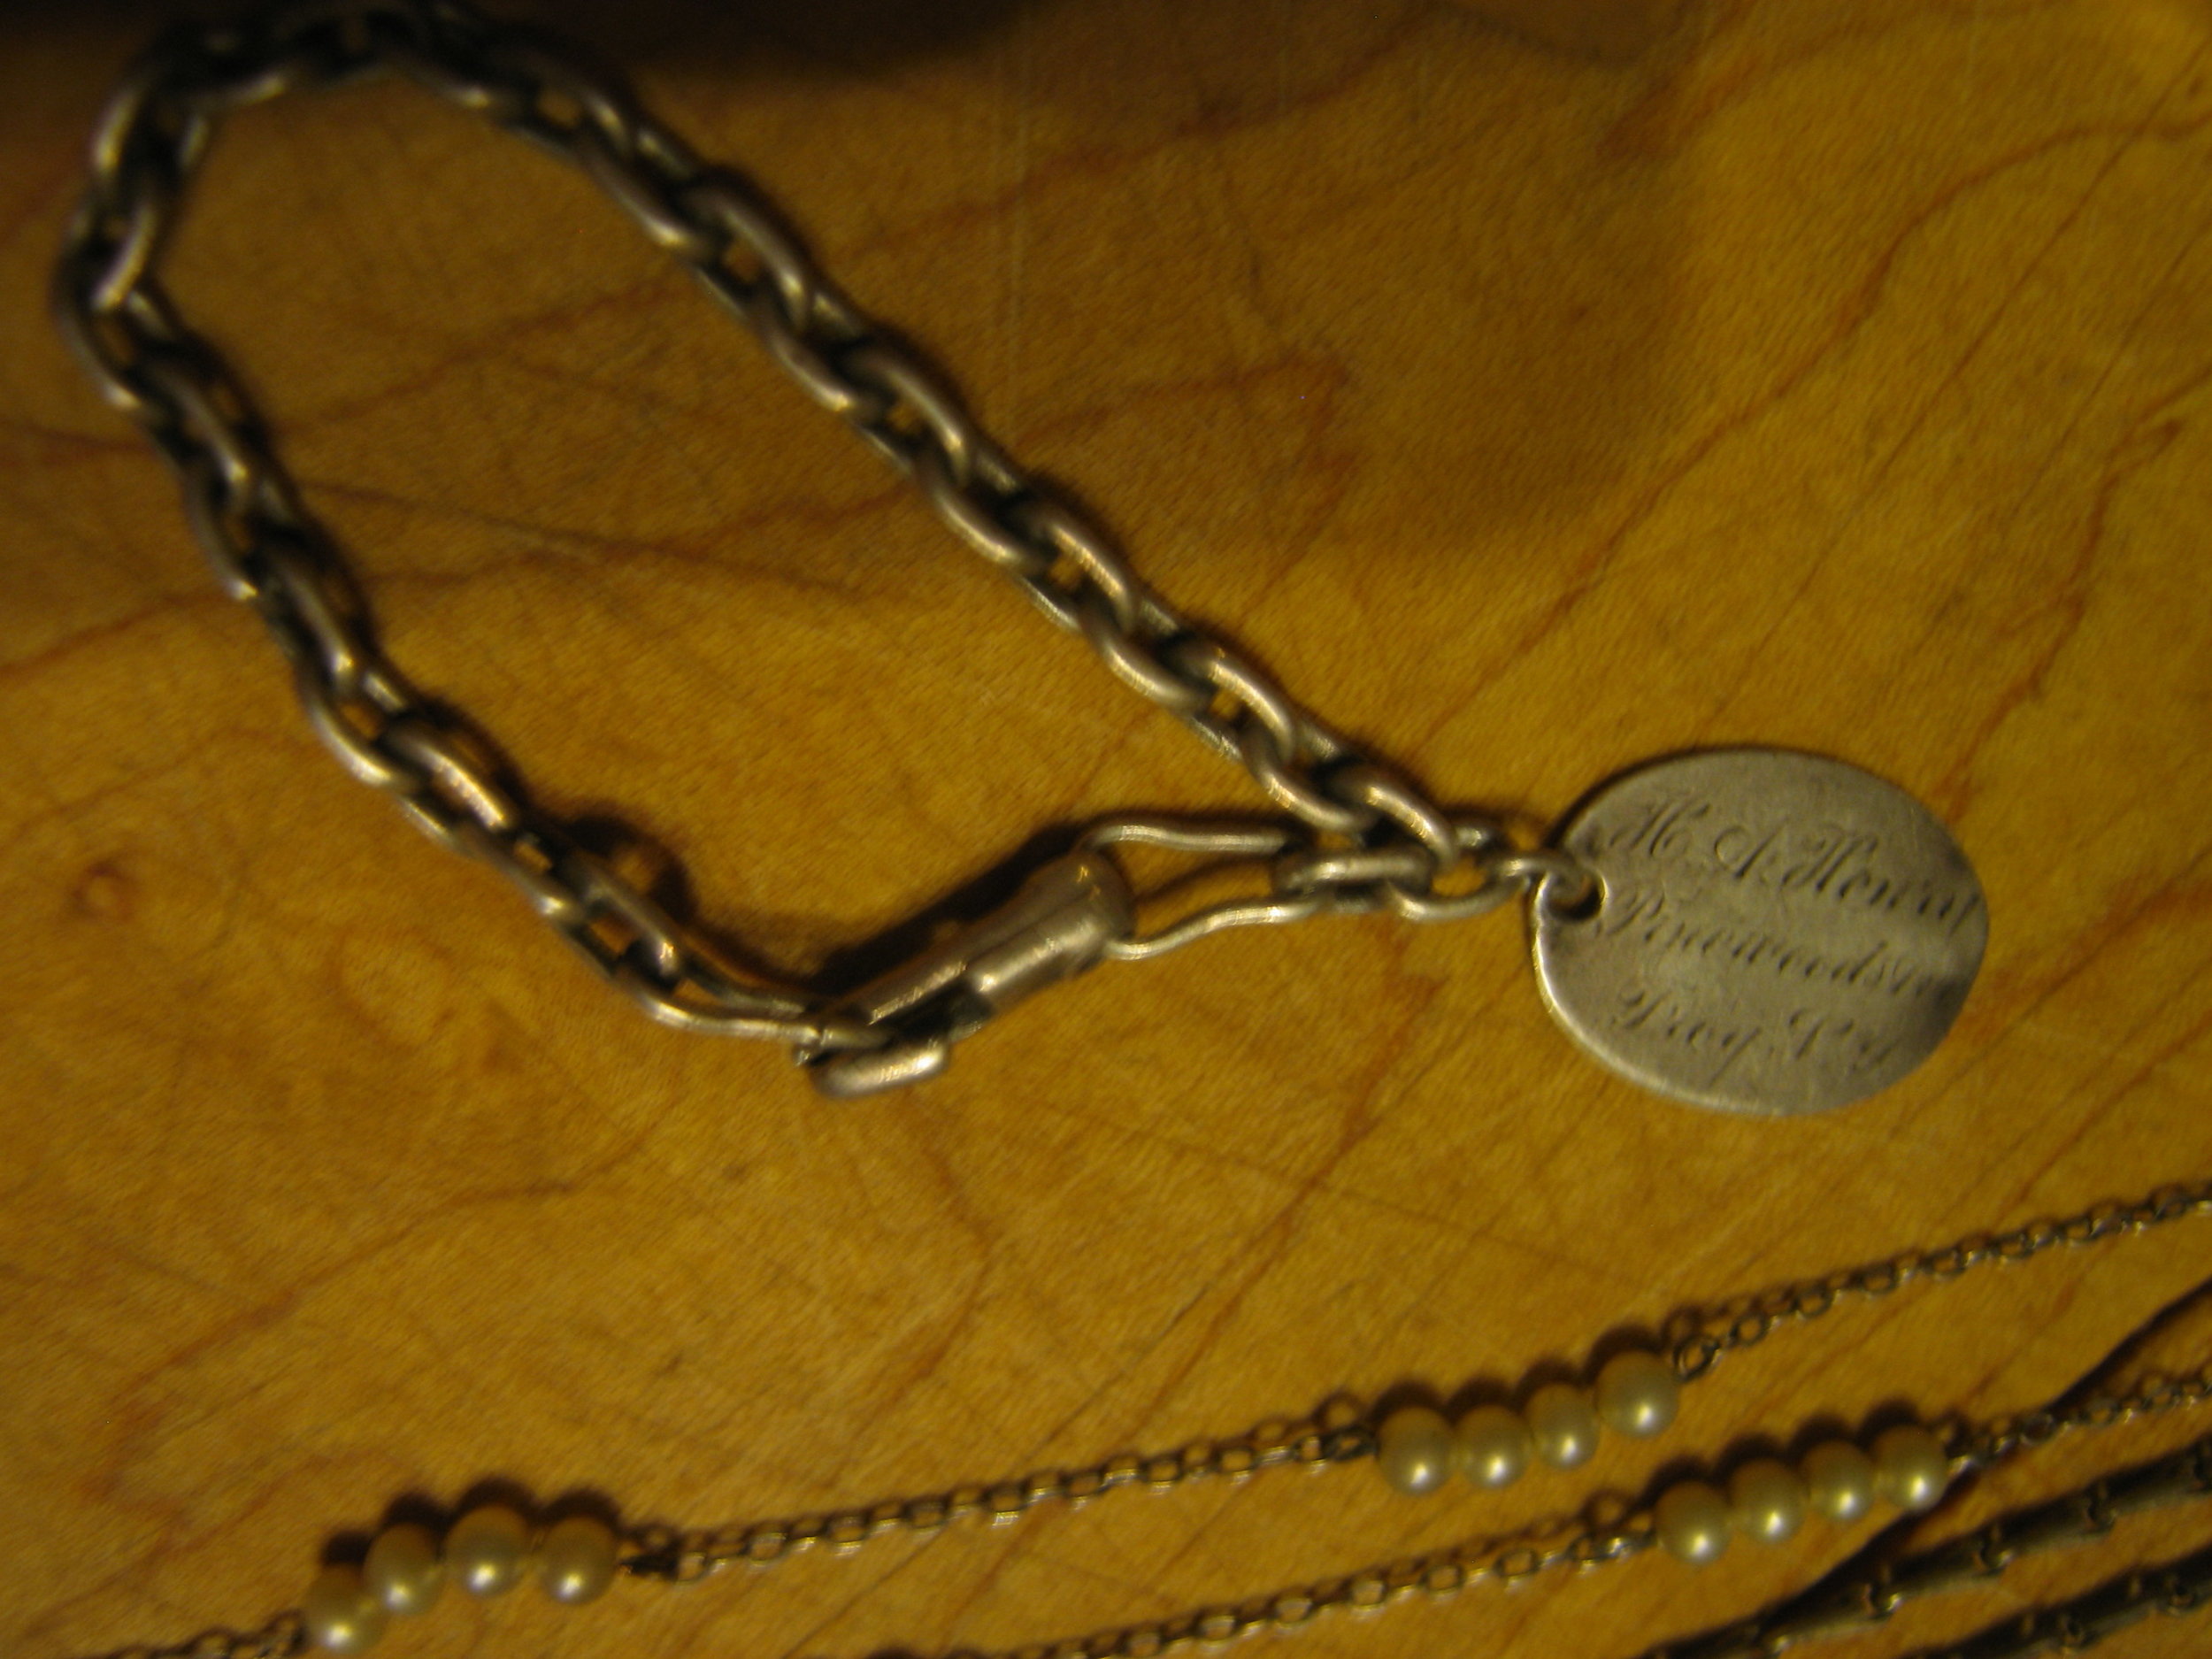
Vintage chains—one with pearls! So delicate & feminine!

A child’s silver identification bracelet, engraved: “H.A. [worn too much o discern] Pinehurst Ave., Troy, NY”

Three vintage cuff links—can’t wait to Steampunk these!

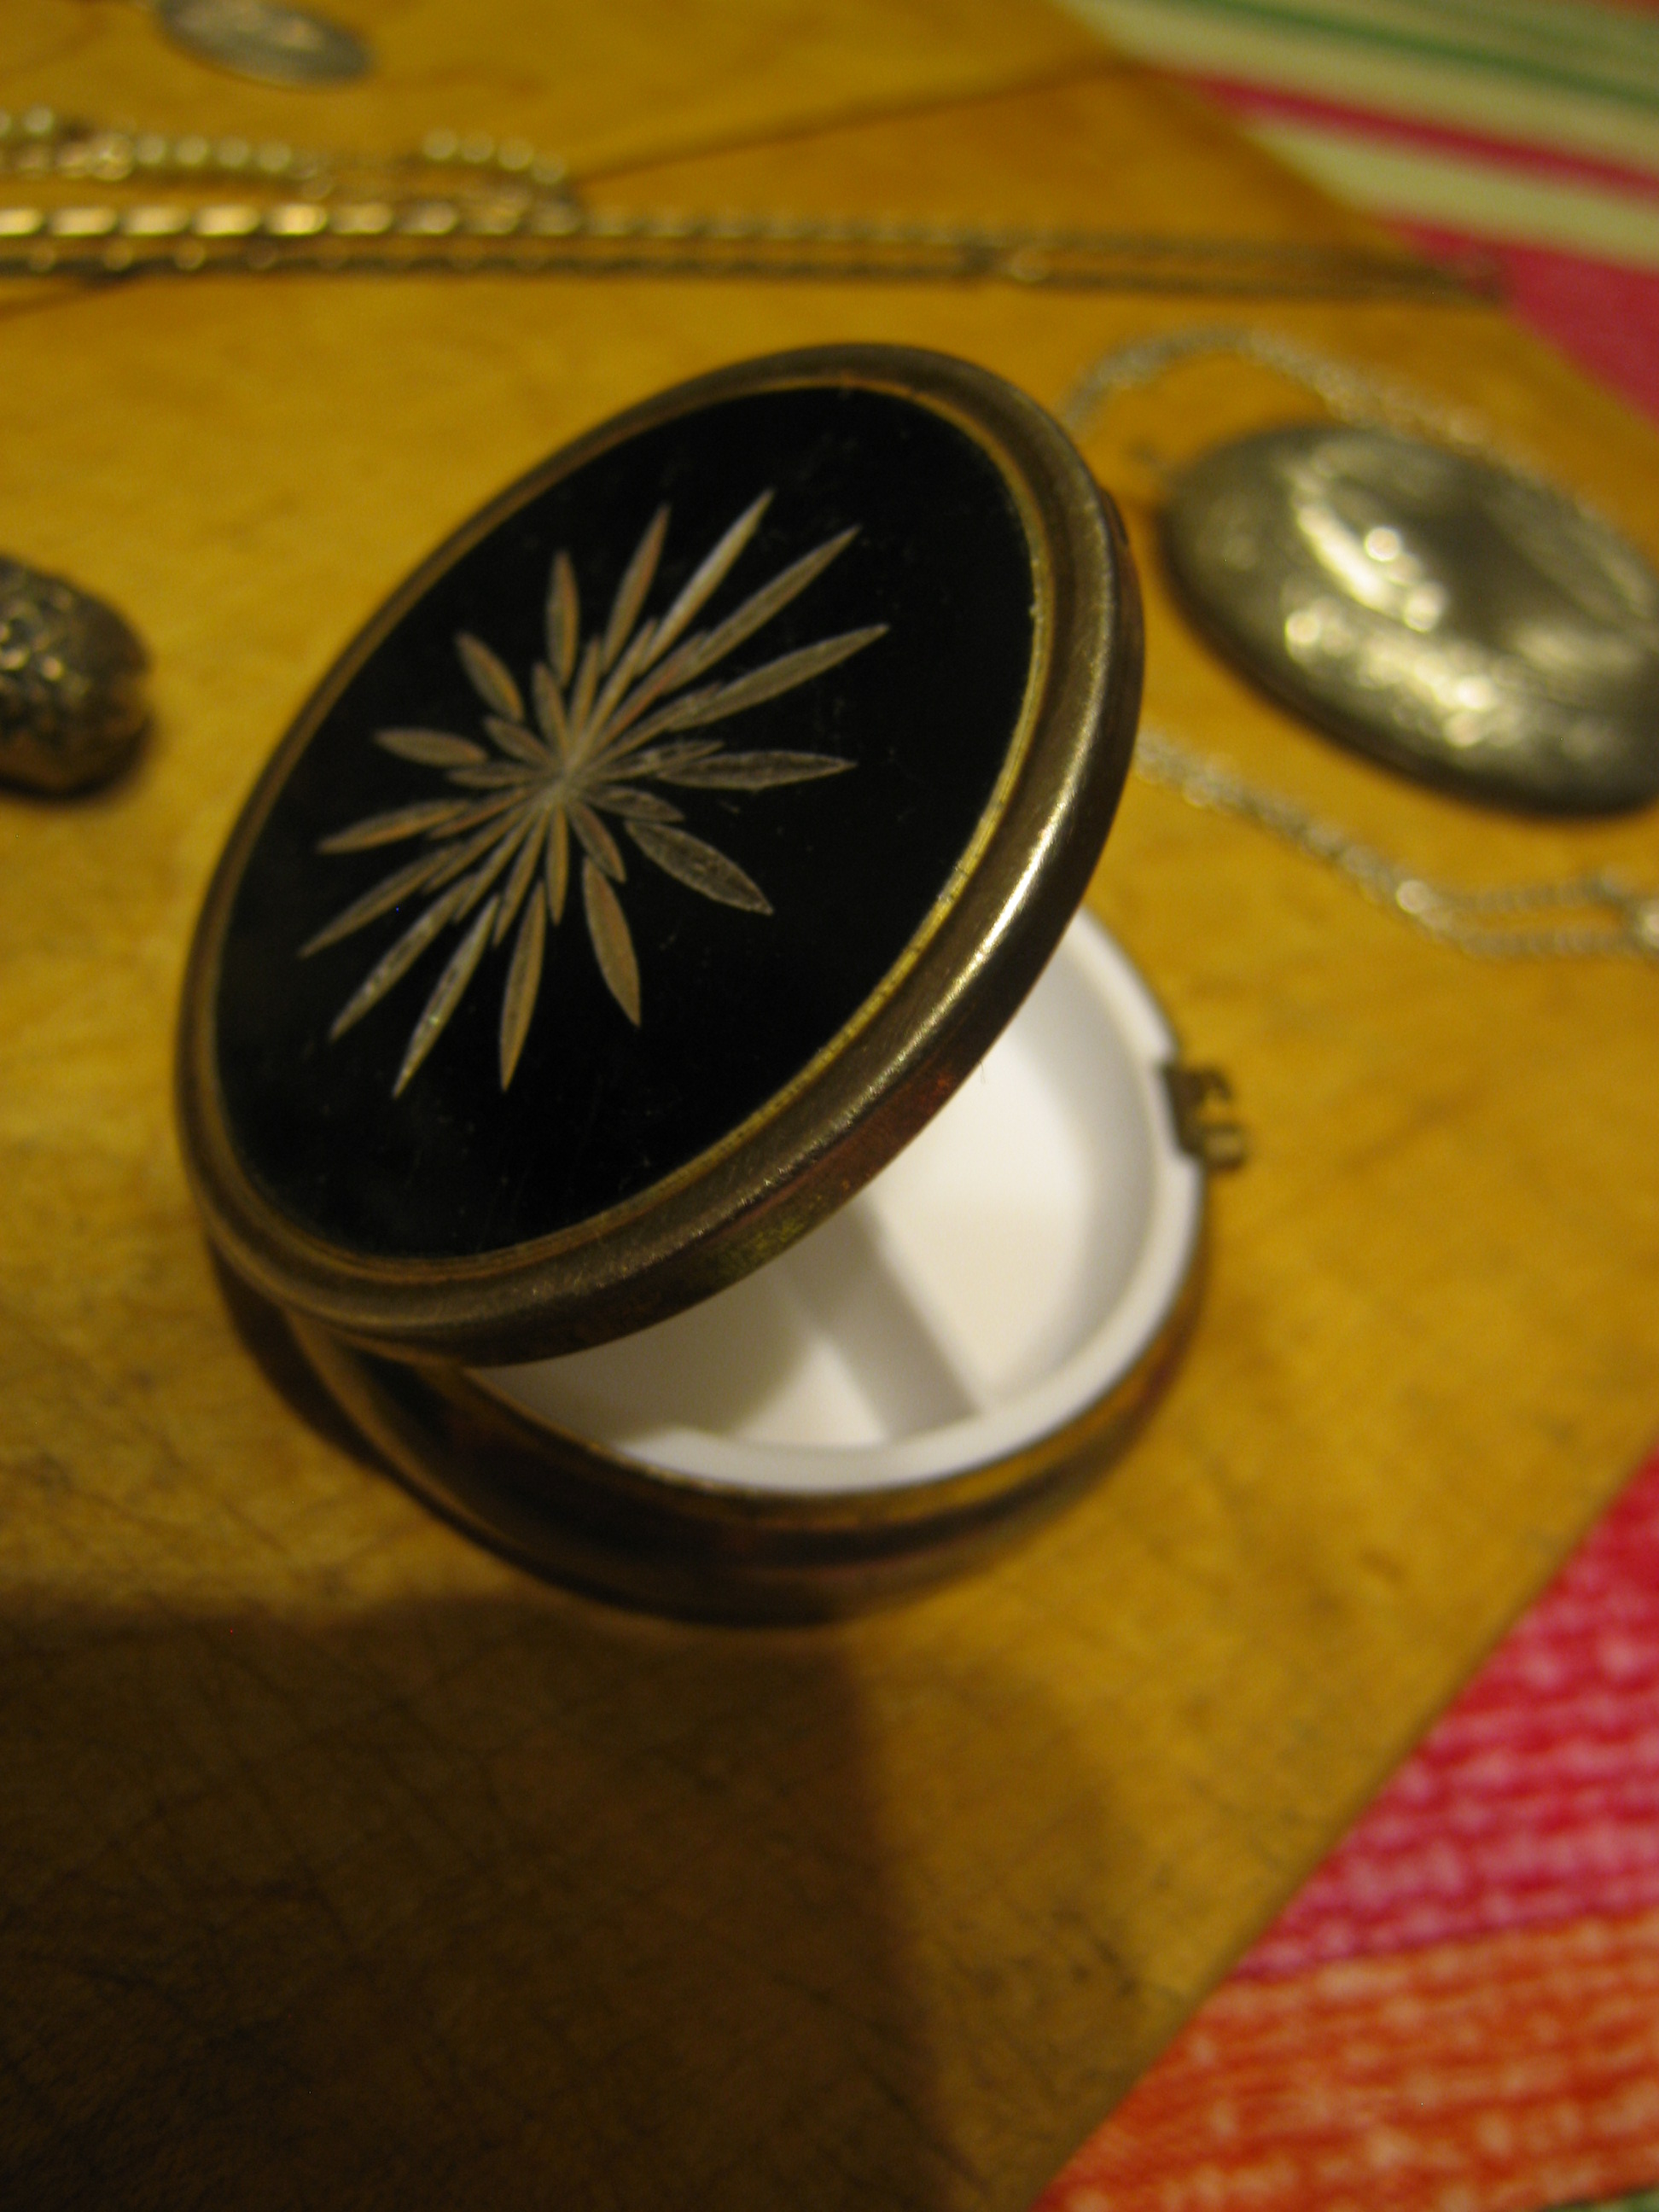
A metal pill box, not vintage but beautiful. I am going to gut the plastic out of the inside and replace it with a very soft velvet.


Two silver lockets—I have already begun collecting lockets for a collaborative project with Tara @ Plume Perfumery. We are going to make a line of Steampunk perfume lockets filled with Victorian scents!

I wish that every Saturday were filled with flea markets & fabric shopping!