I made a friend today, quite literally! His name is Tinker Bear. My favorite part of being a kid was playing with stuffed animals and Barbie dolls--creating worlds for them and then getting lost in those worlds.
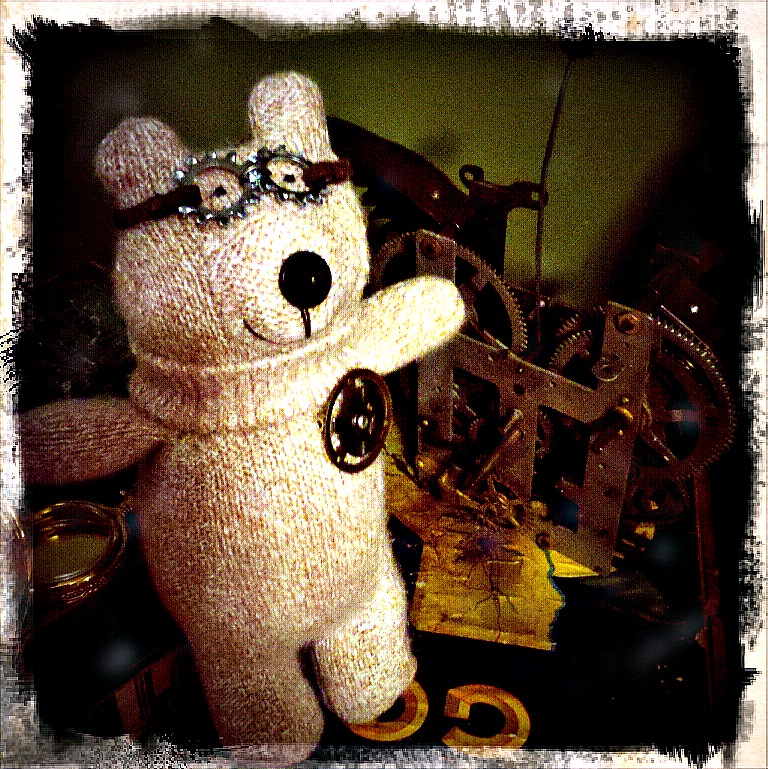 Now that I'm grown up--though not really, ask anyone--I am a still a kid in many ways--I not only invent worlds, but the creatures that inhabit them. Here is a D.I.Y. on how to steampunk your teddy bear. As always, happy crafting!
 Materials & Tools You Will Need:
Flat nosed pliers
1 pair of socks (your choice of color and texture)
Stuffing
Needle & thread (ideally you want black, brown, and whatever color thread matches your sock)
Brown or black embroidery thread (or another kind of heavy thread)
Scissors
2 small black seed beads (for the eyes)
1 button (for the nose)
1 pin back
2 clock cogs (or if you prefer, you can substitute 1 clock cog for a watch face or watch plate)
1 game spinner or clock hand
1 brad
Leather chord
2 lock washers
1 jump ring
 Part One: To Make Your Teddy Bear:
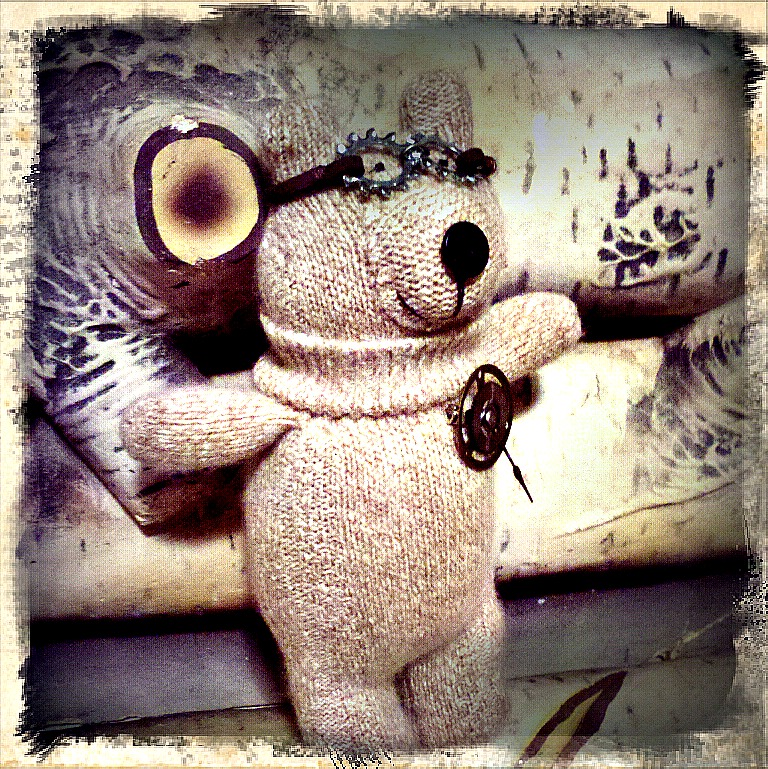
You can certainly steampunk a teddy bear that you already have (& love) or you can make your own. I made mine according to a pattern in Daniel’s Stray Sock Sewing: Making One-of-a-Kind Creatures from Socks—a book I not only love, but highly recommend. There are ample pictures to guide you through the various stitches and steps and the instructions are easy to follow, particularly if you are new to sewing. The Teddy Bear pattern is on pages 122-131. Go buy it. It’s an amazing book and you will spend numerous hours fashioning things from the stray socks lying around your house.
For this pattern, you need the following: 1 pair of socks (your choice of color and texture); Stuffing; Needle & thread (ideally you want black, brown, and whatever color thread matches your sock); Brown or black embroidery thread (or another kind of heavy thread); Scissors; 2 small black seed beads (for the eyes); 1 button (for the nose)
Alterations I Made to Daniel’s Pattern:
- I skipped Step 26 because I think belly buttons on bears look weird.
- I used a thicker sock (a cashmere woven one)
- I slightly altered Step 25—while I did use the sock’s cuff around the neck, instead of rolling the sock cuff I fashioned it to look more like a turtleneck collar (by rolling under the rough edge)
1) Layer each of your elements with your pin at the back. My layers are as follows (from back to front): pin back, larger clock cog, clock hand/game spinner, smaller clock cog, and brad. If you are substituting one clock cog for a watch face or plate, place it where the smaller clock cog would be.
 2) Once you have your layers in place, close your brad by opening its ends. Squeeze the brad tightly—using your flat nosed pliers to ensure extra security.
3) Pin to your bear!
 Part Three: To Make Your Goggles:
1) Take your lock washers and place them over your bear’s eyes. Once you’re satisfied with their placement. Measure the amount of leather chord you will need to fit around your teddy bear’s head. Give yourself an extra ¼ inch to sew loops around each of the lock washers.
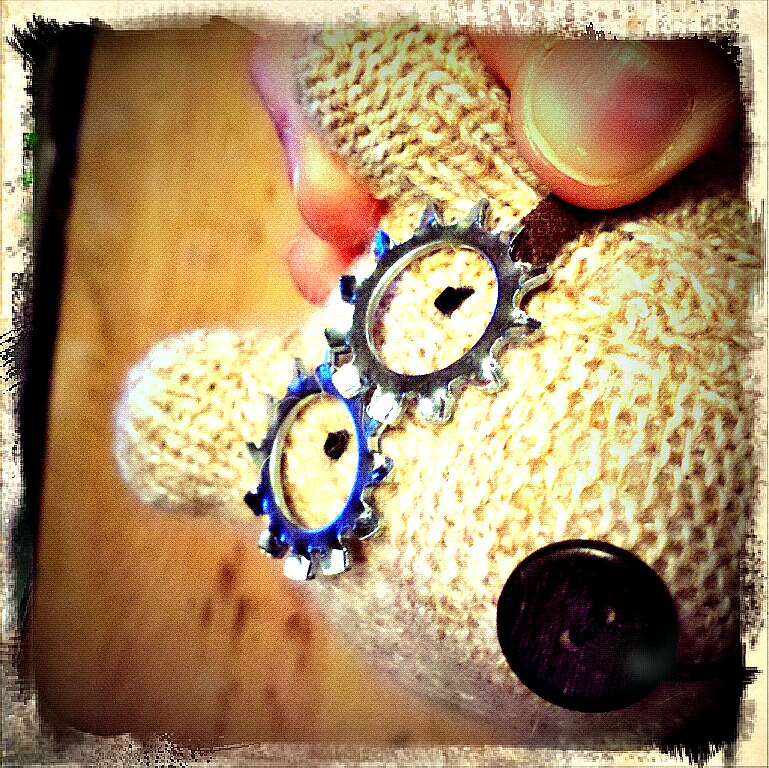 2) Next, take one of your lock washers and loop your leather chord around it. Stitch in place. Stitching through leather can be difficult. If you are having trouble, you can make a small starter hole in the chord using an awl or you can use your flat nosed pliers to pull the needle through the leather. In the latter case, be sure not to place the pliers around the eye of your pin otherwise it will break or close shut.

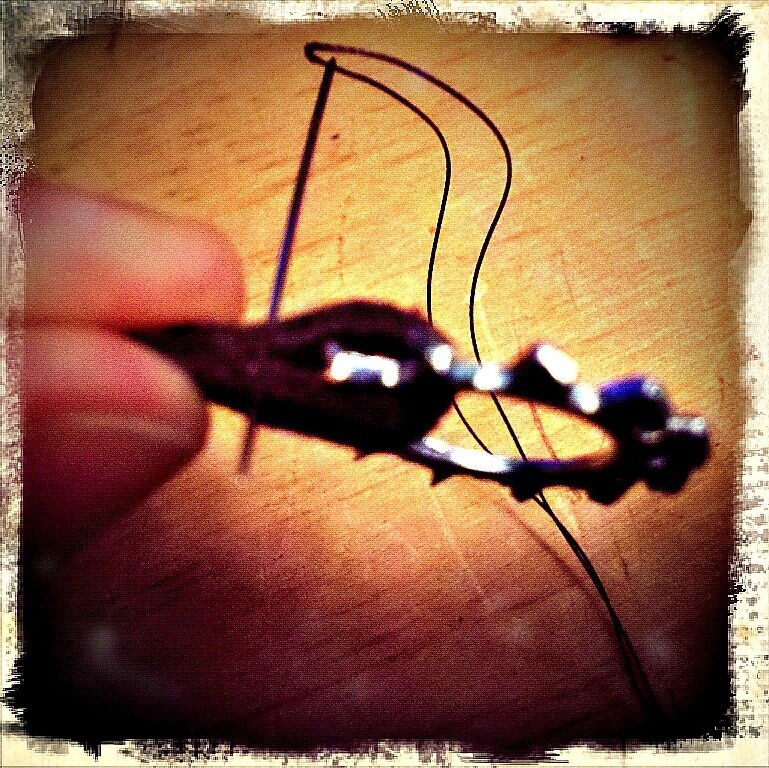
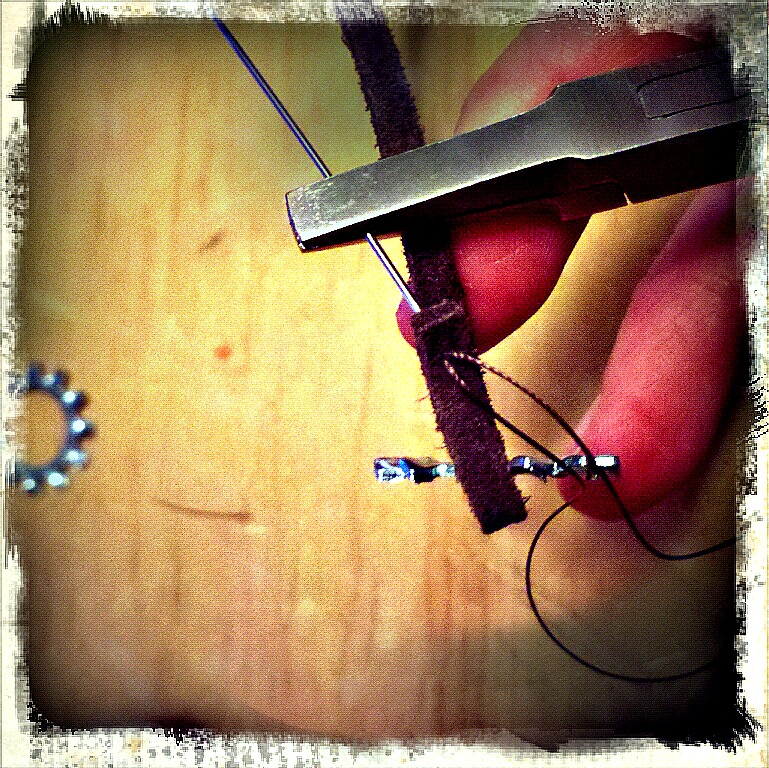 Once you have stitched once through both pieces of your leather chord, wrap your thread around the chord to hold it together. Once you have wrapped it approximately 5-6 times, knot it and cut off any excess thread.
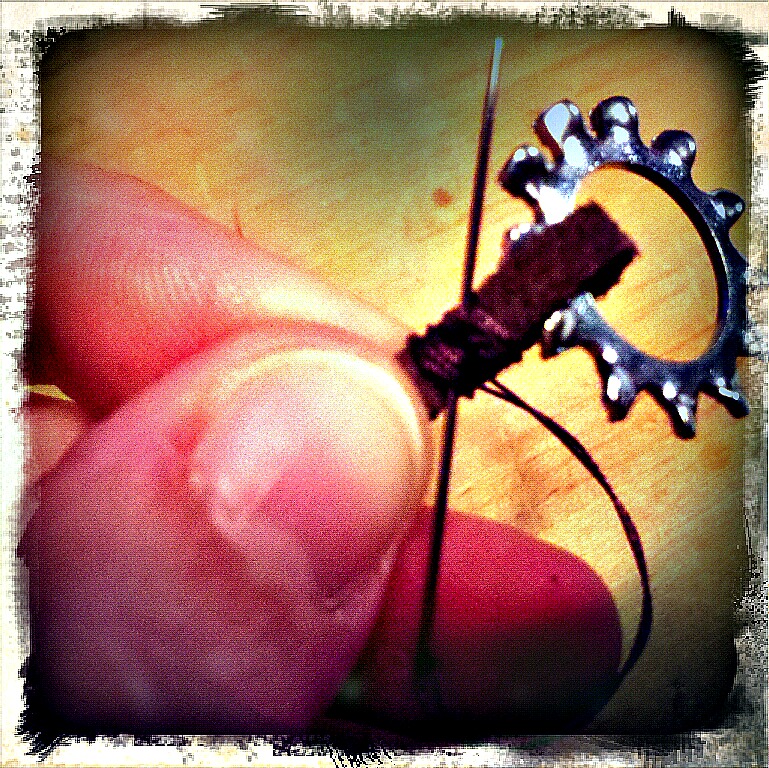 Repeat for the other lock washer, taking care to first measure the leather chord around your teddy bear’s head.
3) Connect your lock washers together with your jump ring using your flat nosed pliers. If you do not have a jump ring or flat nosed pliers, you can either stitch the lock washers together (using embroidery thread or another kind of heaving sewing thread) or use of a bit of wire and wrap them together.
 4) Place your goggles on your teddy bear’s head and stitch the leather chord in place (using your brown thread) for extra security.
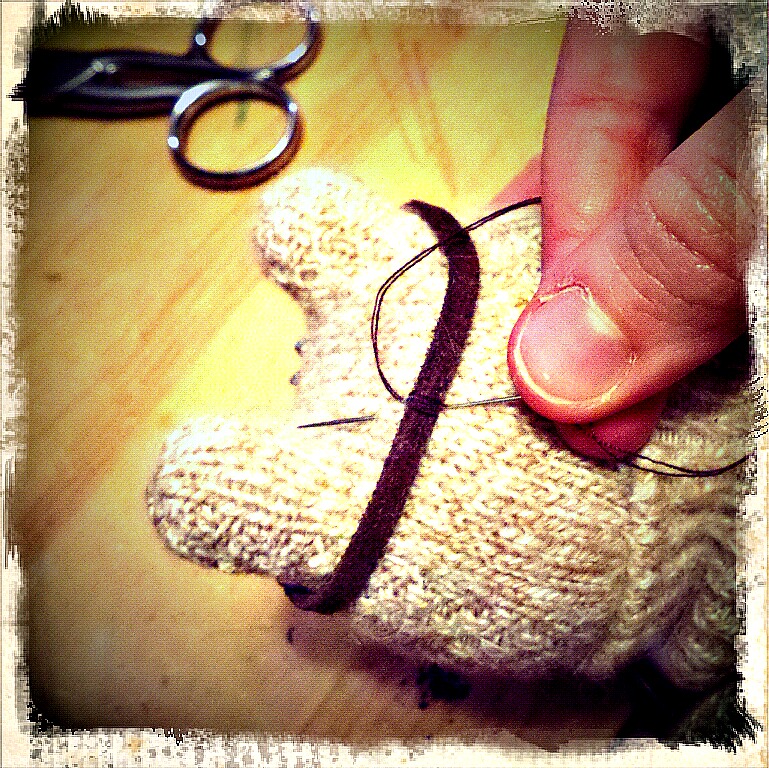 5) And last, and most important, start adventuring!
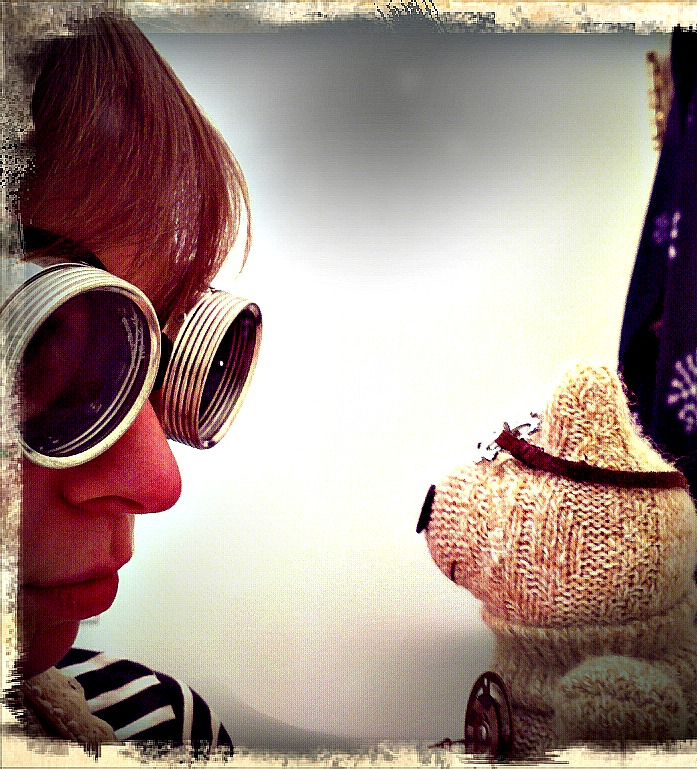 Shall we go on an adventure, Tinker Bear? “Yes!” Well away we go—perhaps our airship will bump into yours along the way!
P.S. If you are looking for other friends to "make" before you go off on your adventure--check out Sarah Skeate & Nicola Tedman's Steampunk Softies: Scientifically Minded Dolls from a Past that Never Was! Craftzine shared a project from their book--you can learn how to make Marveletta, a very Steampunk Lady!
