Bohemian Romance Jewelry

wedding

Custom Order Spotlight:Wedding Earrings

UncategorizedSamantha ExtanceComment

I love custom orders, especially custom orders for weddings. I am always so honored that someone trusts me to create jewelry for their special day. It's also a great excuse to sing sappy love songs in my studio at the top of my lungs and just have a good time making. Besides singing "Chapel of Love" and "Will You Still Love Me Tomorrow," one of the other things I love about custom orders is the challenges they present. Fitting the jewelry to the person, their style and their personality and often keeping within certain parameters.

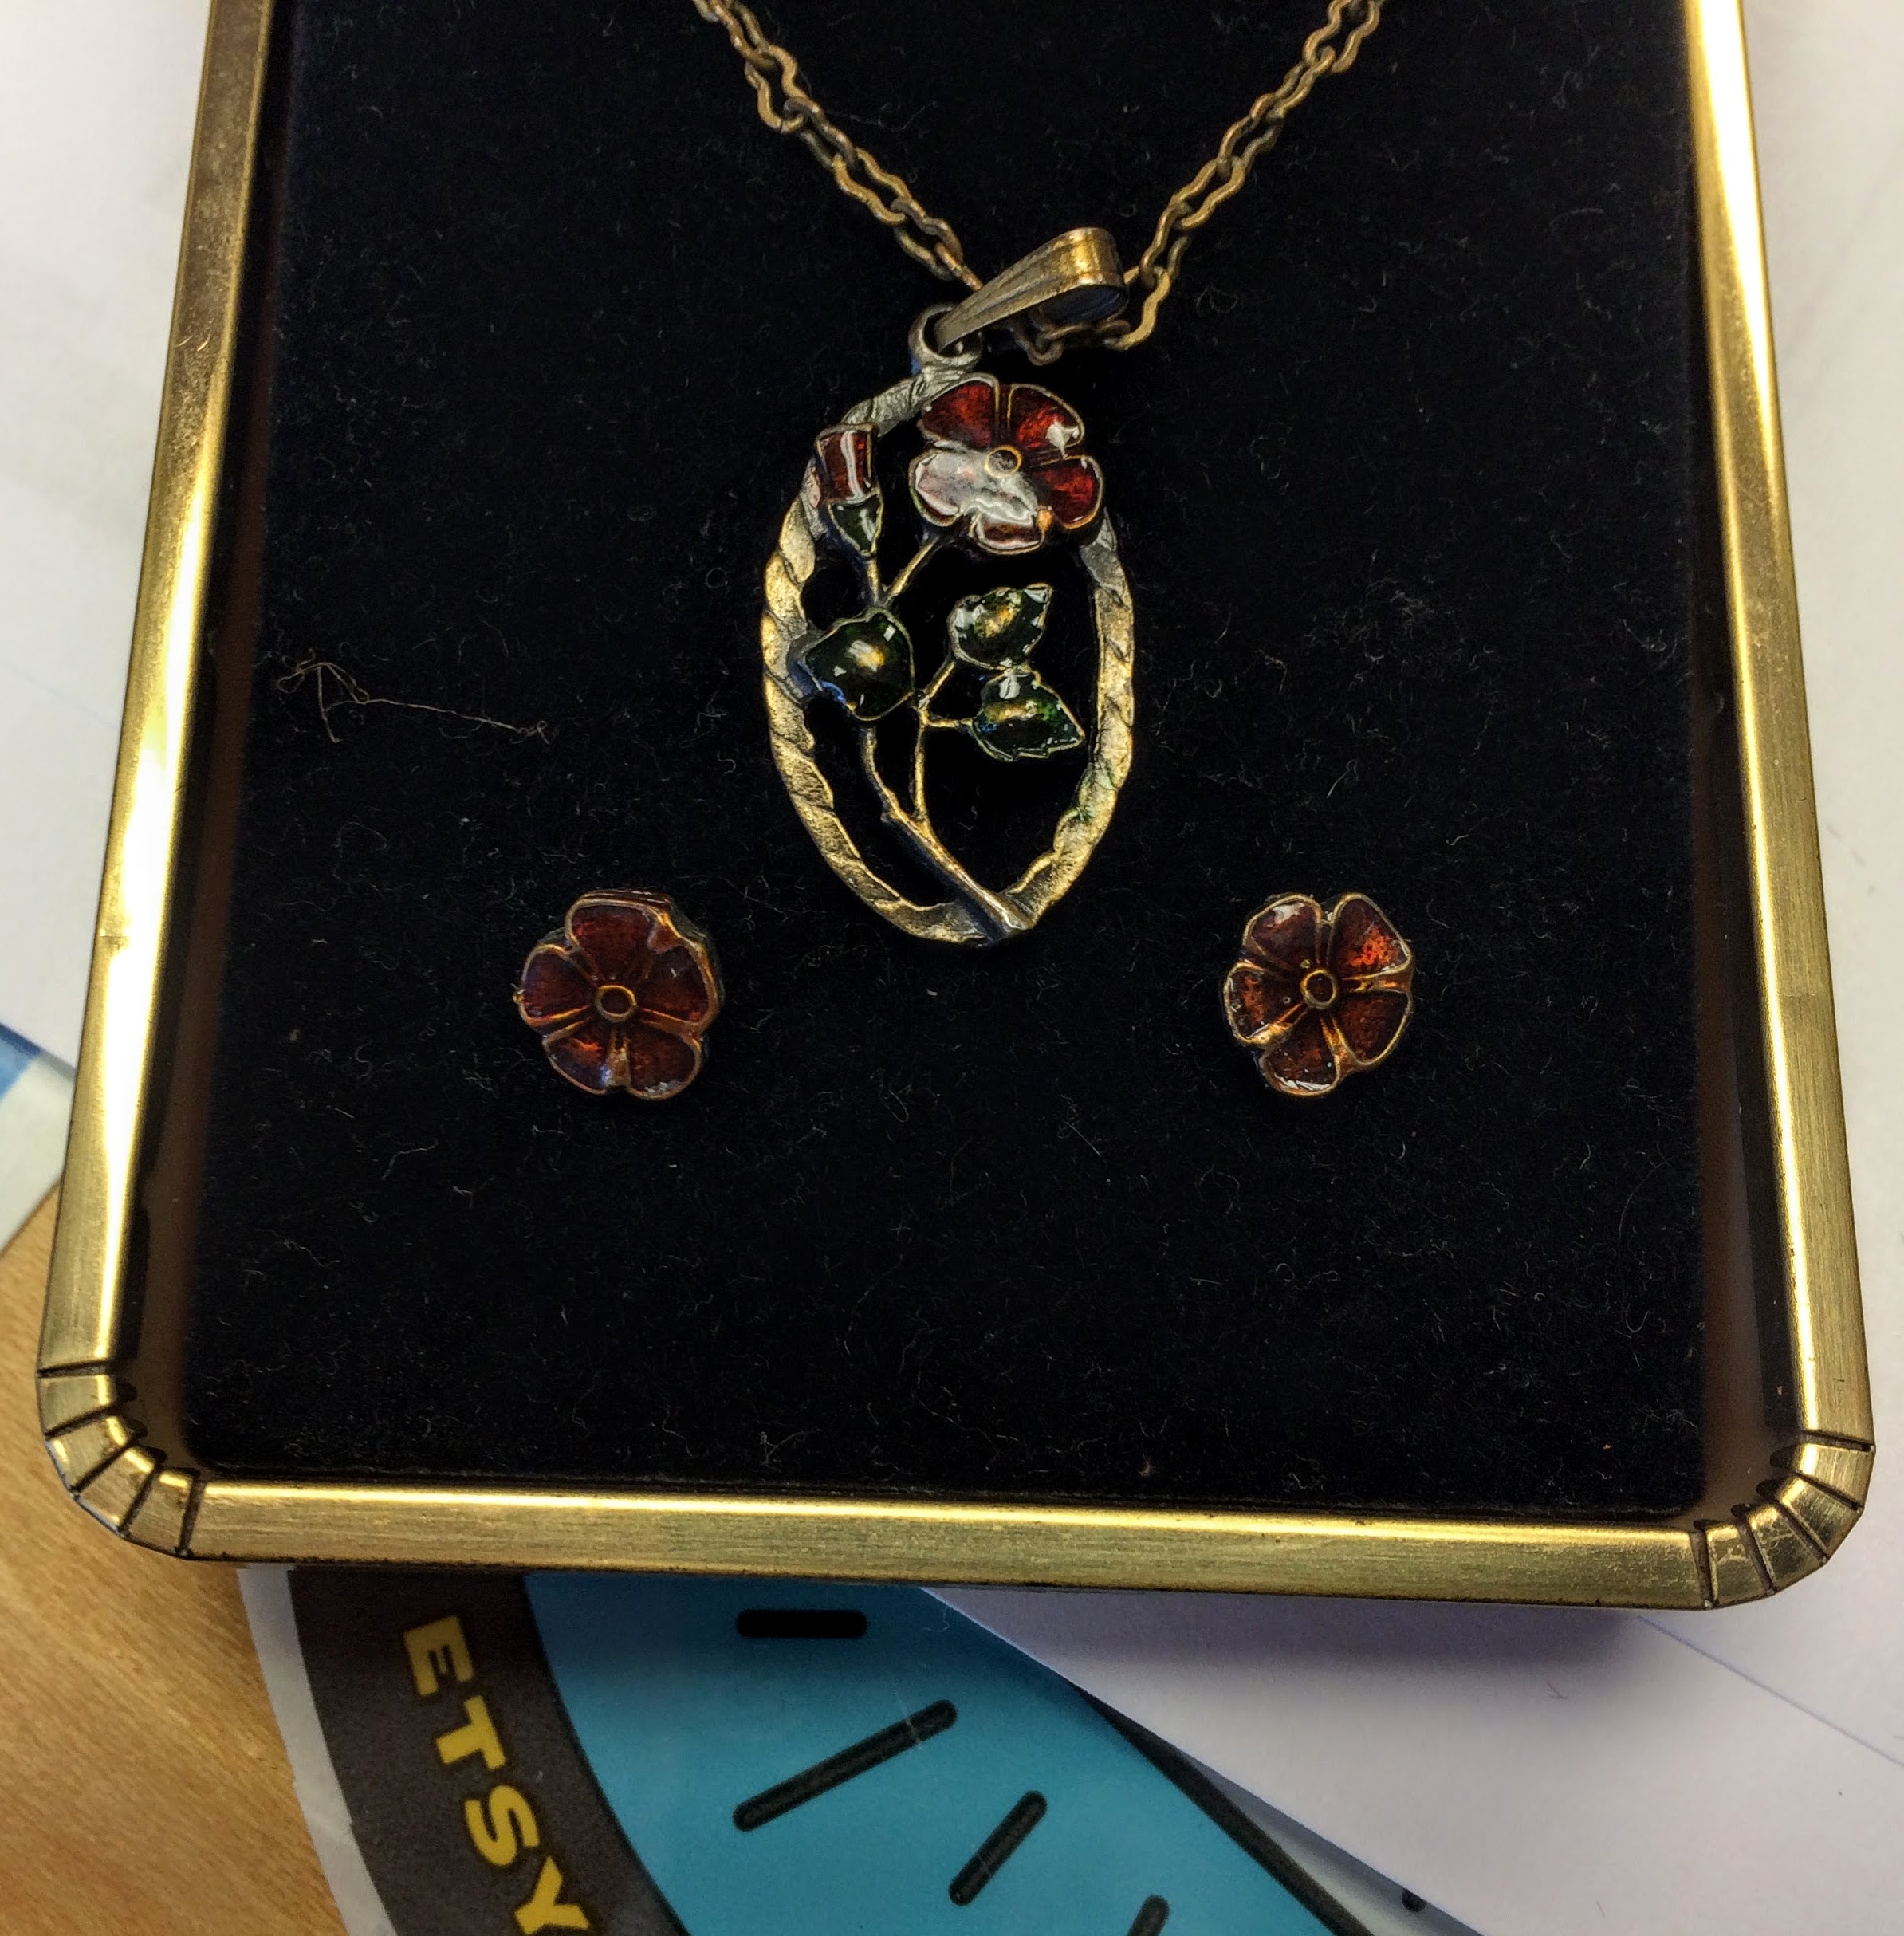
My latest custom wedding order came from one of my co-workers, Sarah. She had a jewelry set from her grandmother that she wanted to wear on her wedding day. The necklace and earrings were beautiful, but the earrings were posts and not the dangle-ly, long earrings that Sarah wanted for her wedding.
Sam 2-3

So, my challenge was how to turn posts into long, dangle-ly earrings. That itself is not much of a challenge, but creating temporary dangles are a different matter.

In a lot of my pieces I try my best to respect the original object, and not create new holes or altering it, and thereby keeping the original piece in tact.

To create dangle-ly earrings out of posts the answer was to build on top of filigree and essentially fasten (as you would to your ear) the earring to the filigree--keeping the earring in its original state and not altering it. Especially since Sarah will want to wear these again.

What's fun about fastening earrings posts to filigree is that you have 2 pairs of earrings, 2 different styles, and 2 different looks that you can easily change up yourself.

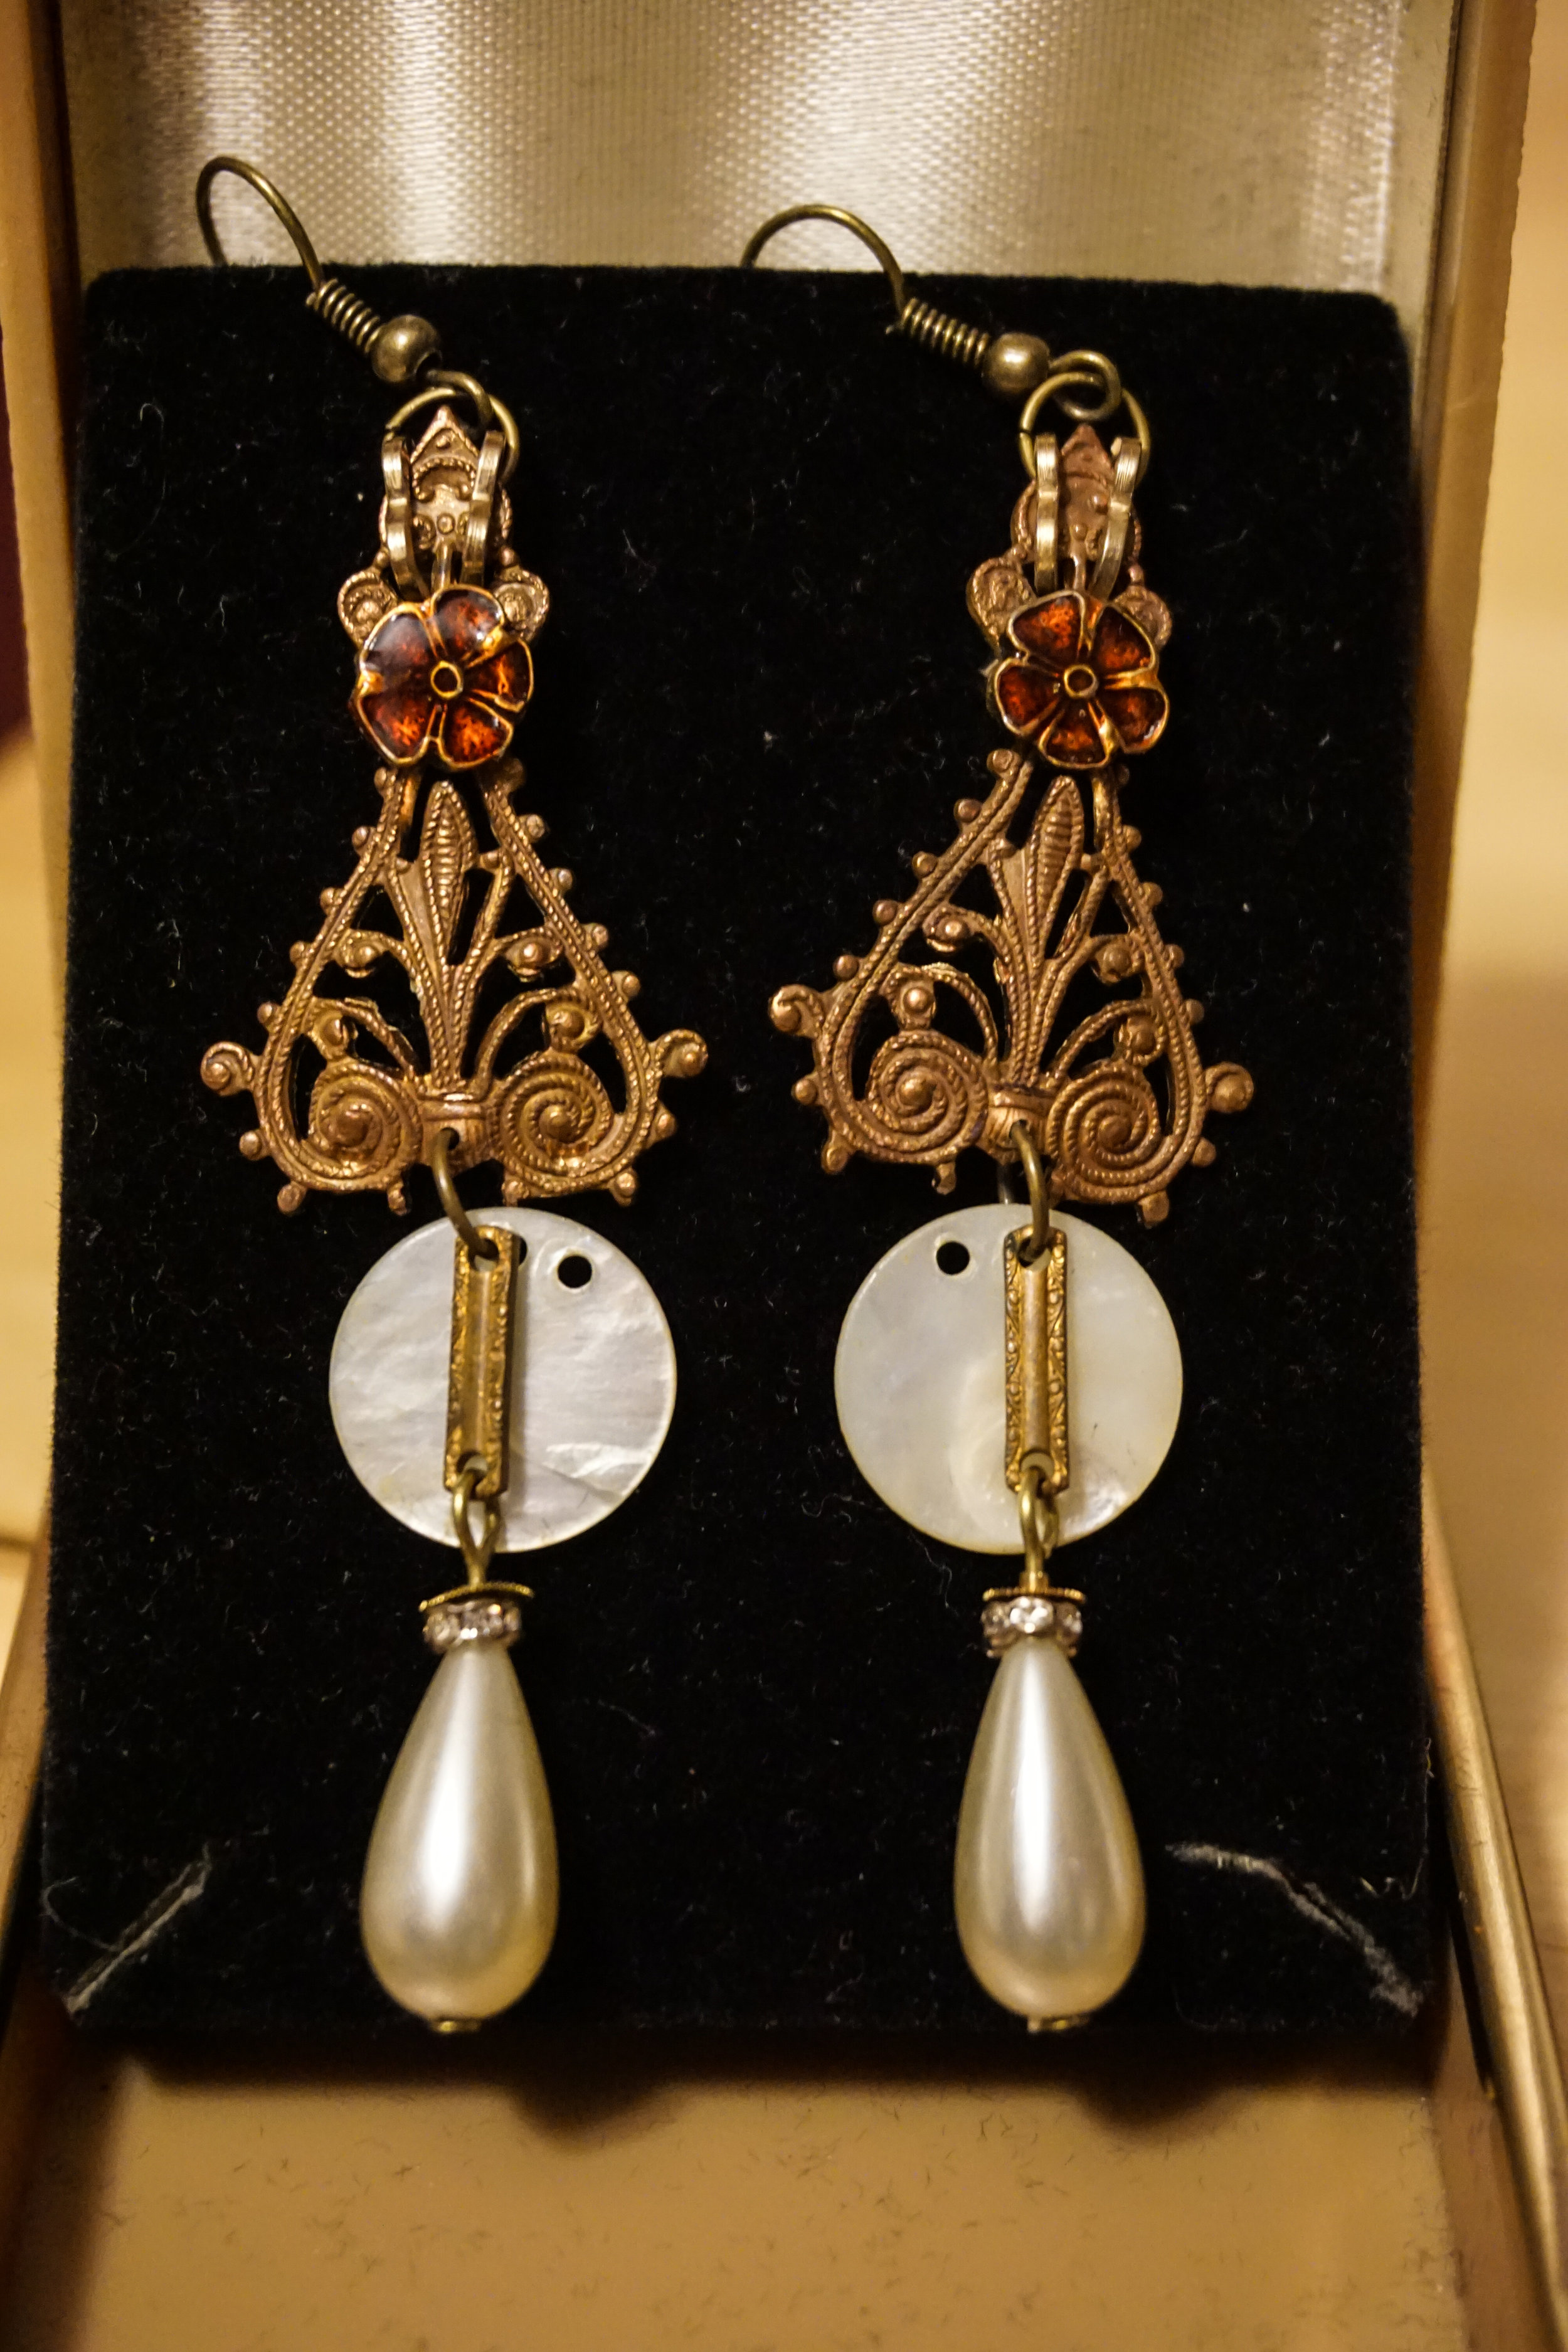
Here's the "After":
Sam 2-4

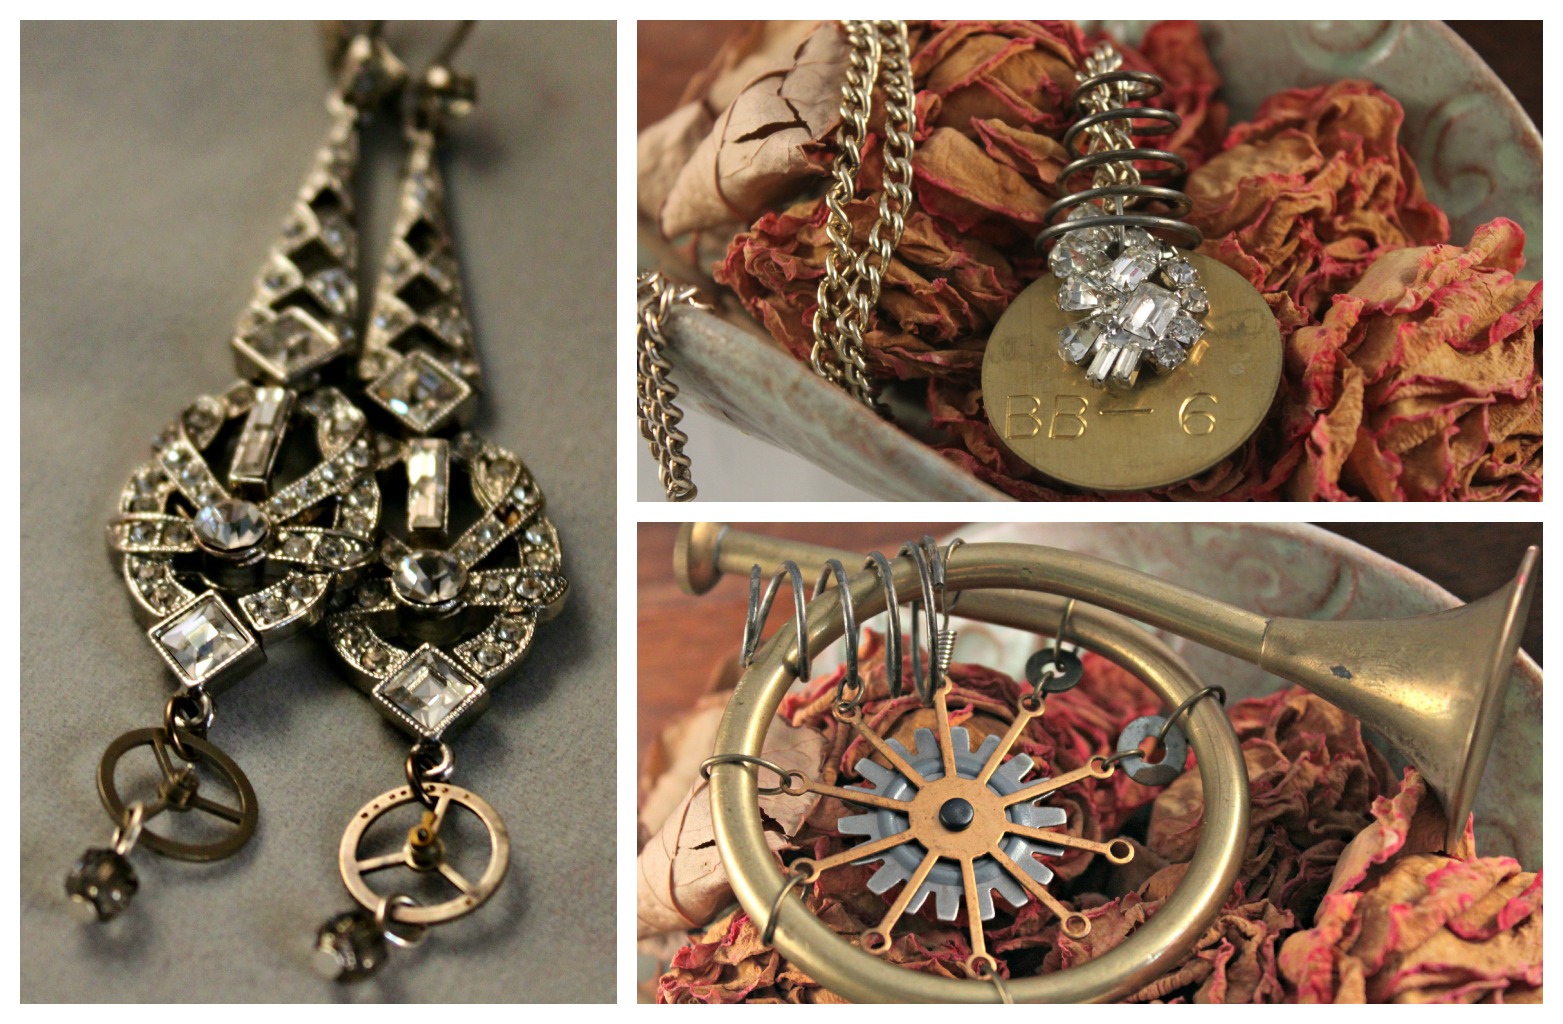
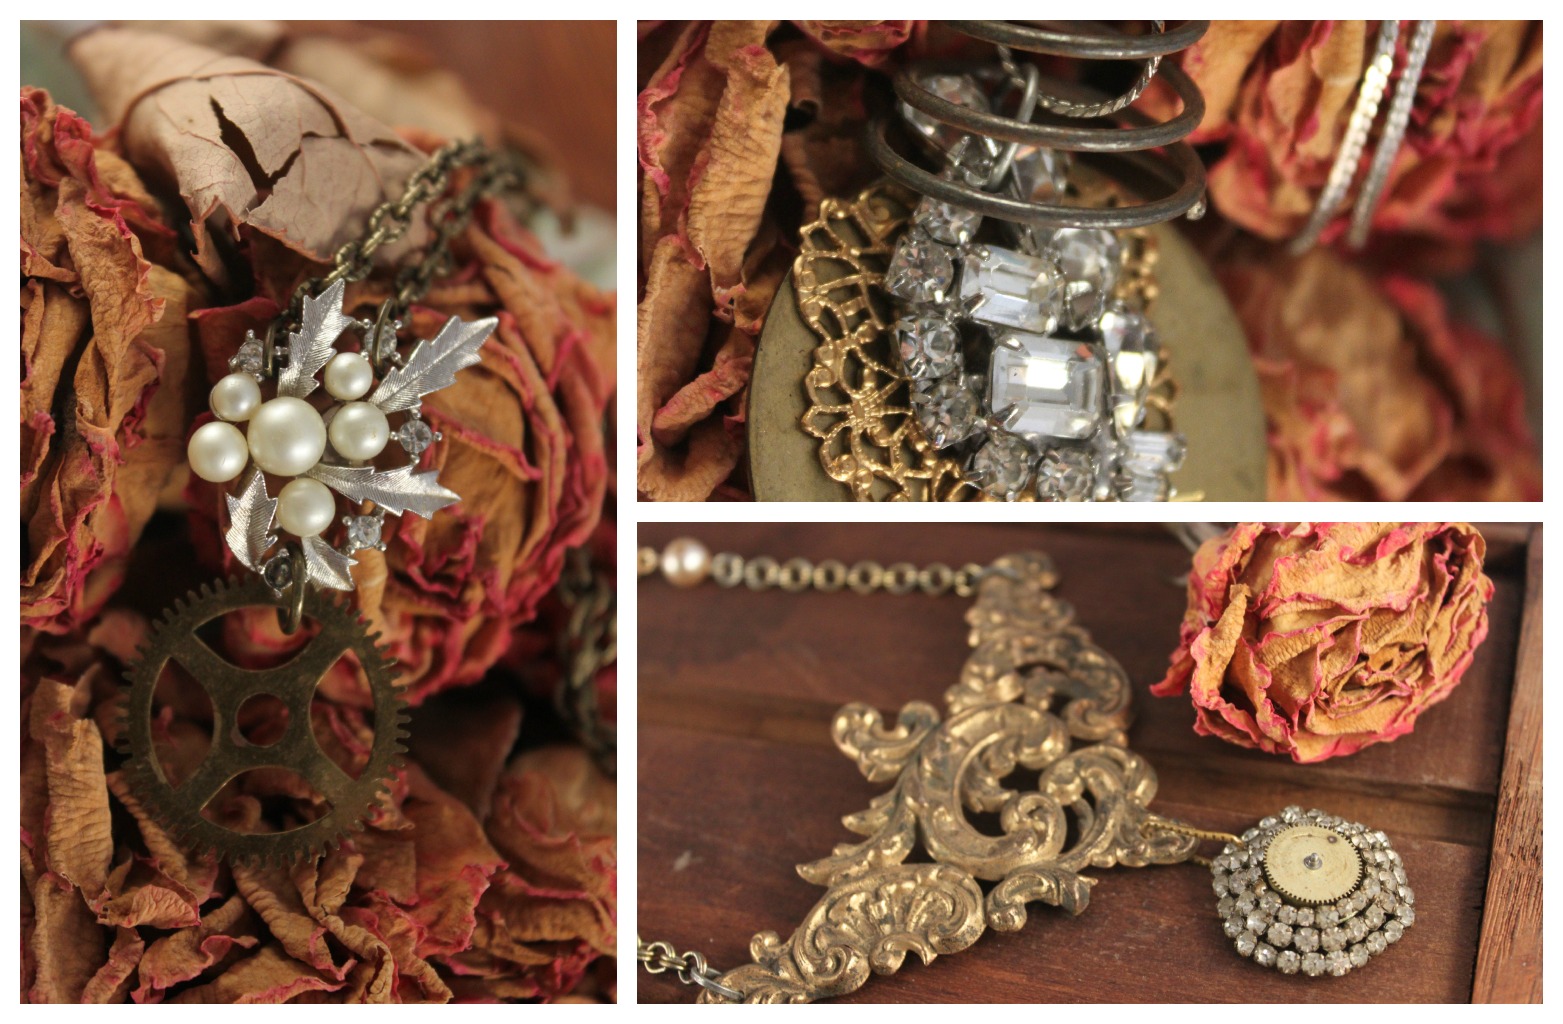
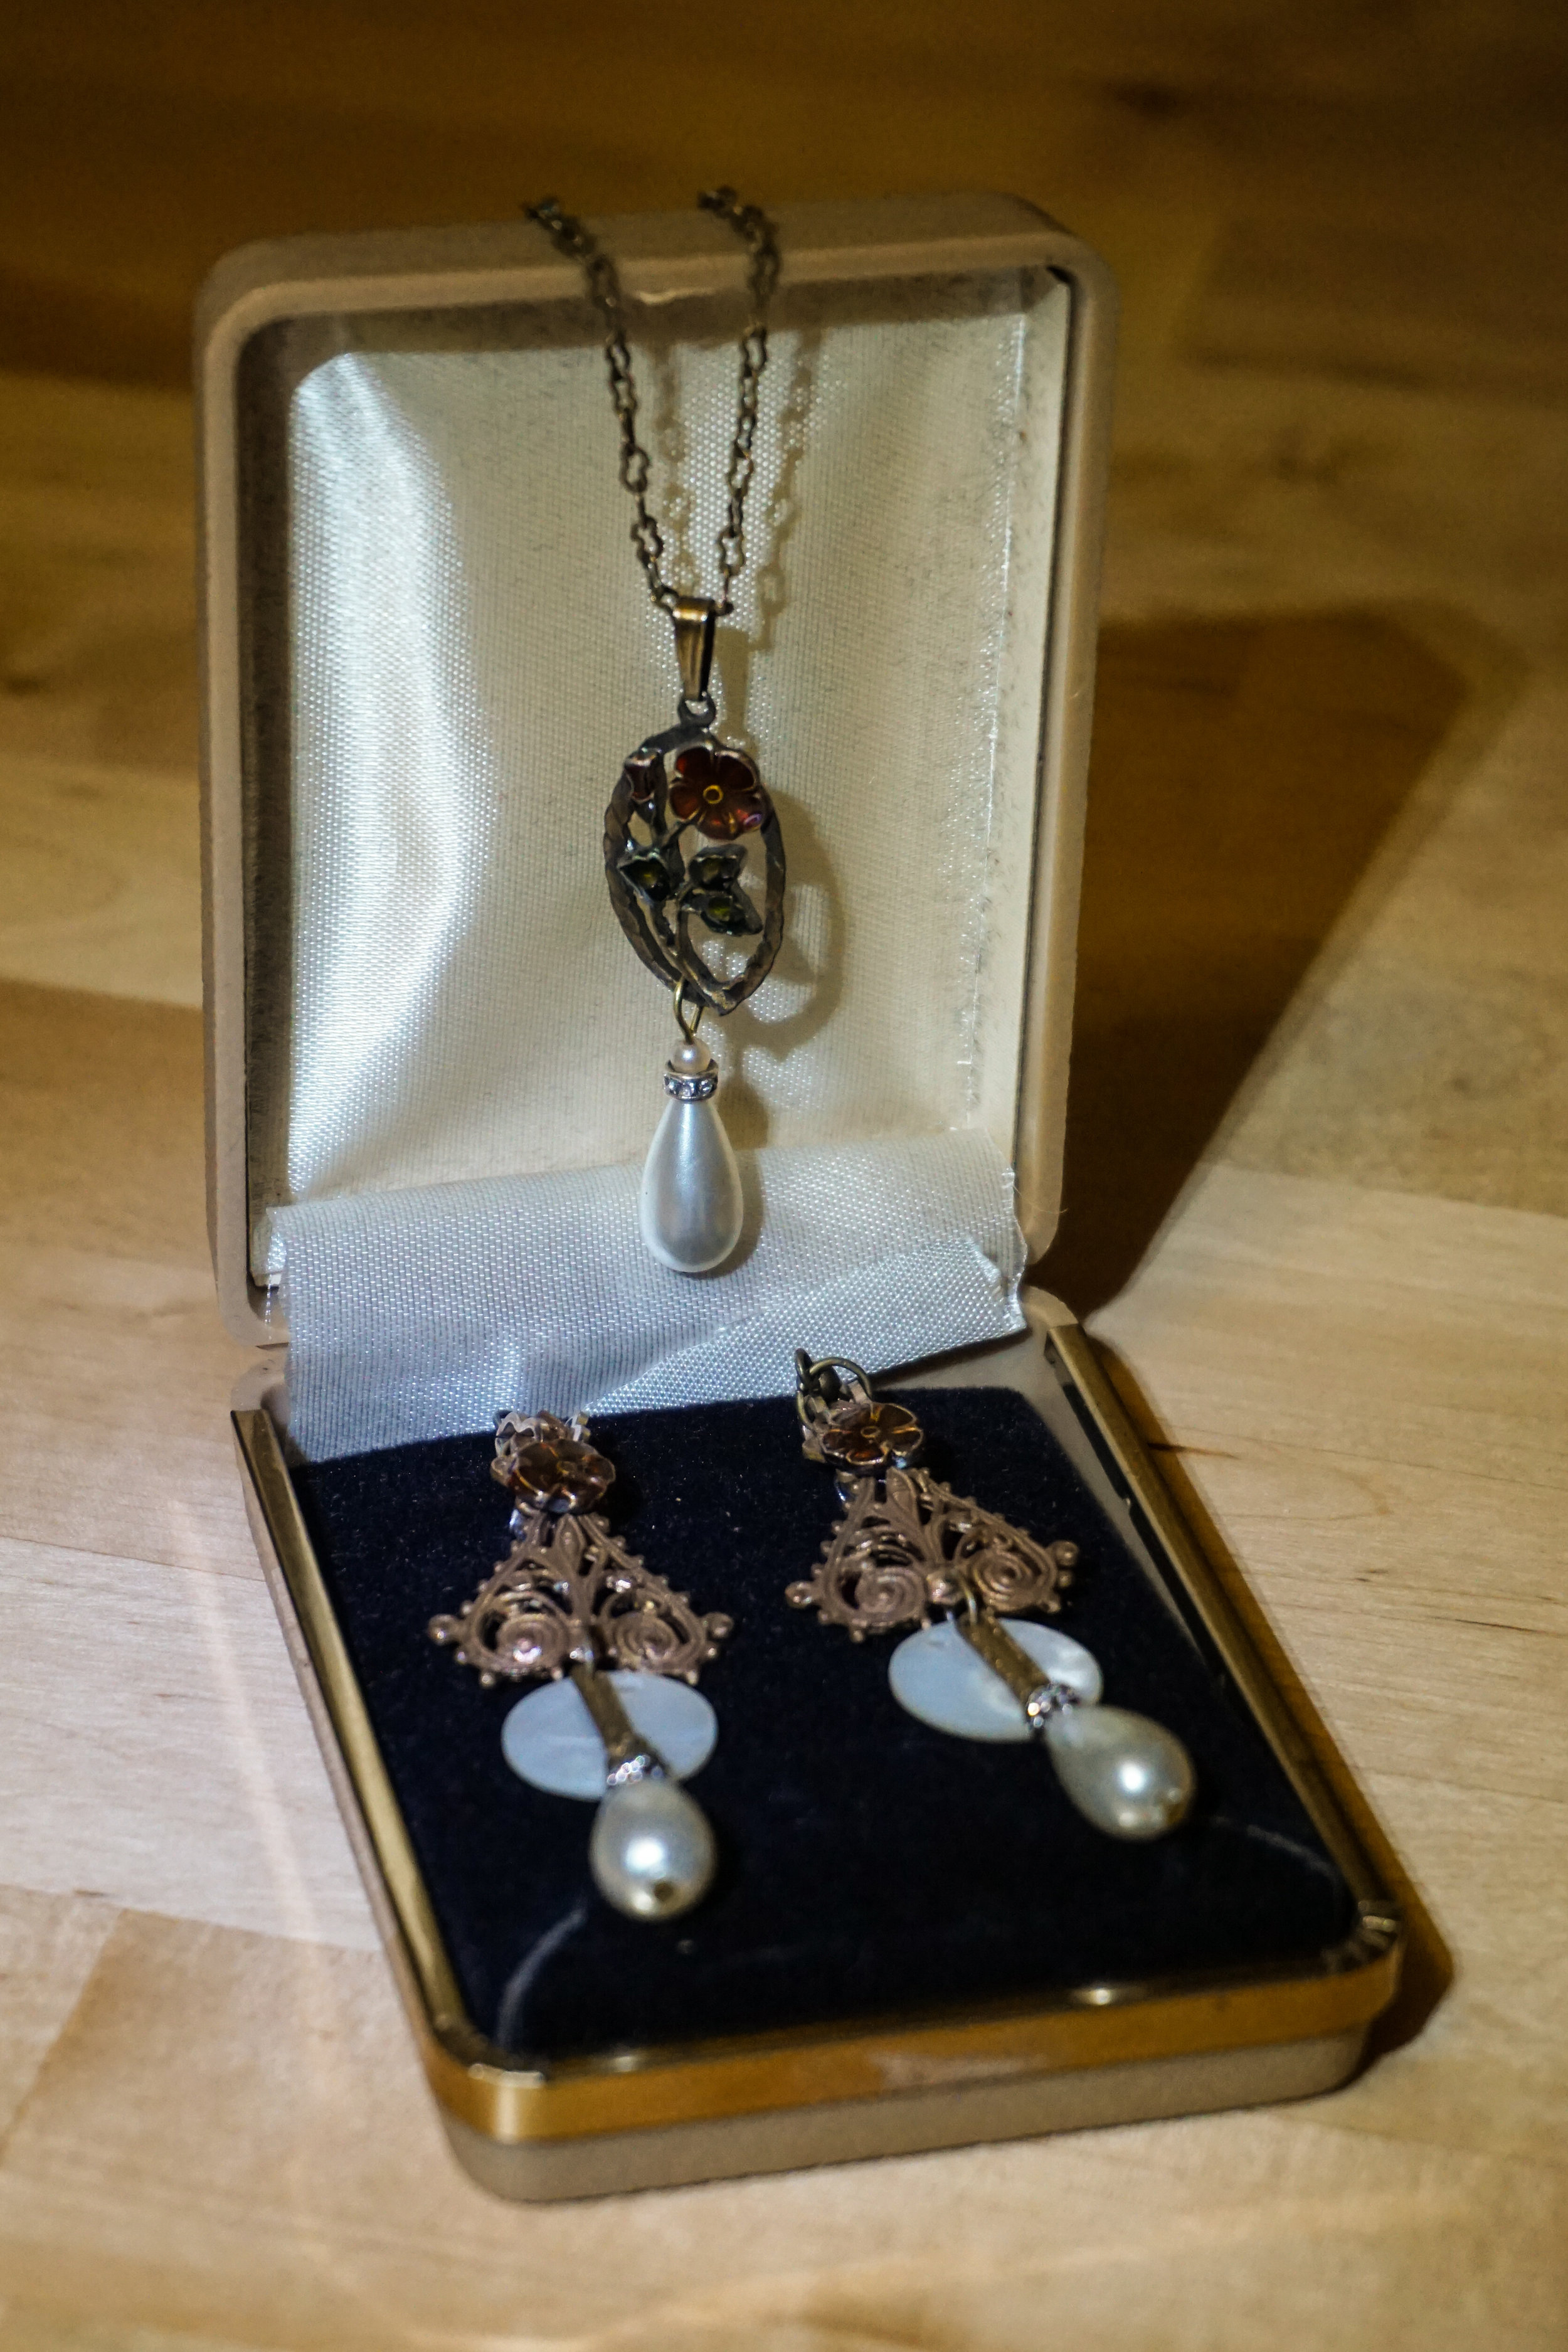
Sarah's wedding earrings are made with vintage brass filigree that my mom and I found at a Paris flea market (I used some of my private stash because the metals matched perfectly!), antique gold watch chain links, clock cogs, rhinestone rondeles, brass chain links (that matched the necklace's chain links), flat mother of pearl buttons,  pear shaped pearls, and Sarah's grandmother's crimson flower earrings.
Sam 2-2

To match the earrings, I added pearls and a rhinestone rondele to the bottom of her grandmother's necklace.

I couldn't wait to go to work Monday morning and see Sarah's face. She is someone with such a big heart and I am so happy that she is getting married in September. She is going to be a beautiful bride. Congratulations Sarah!

For those of you who are interested in custom orders, email me at bohemianromancejewelry@gmail.com. I'm ready for the next fun challenge!
 

DIY Handkerchief

D-I-Y-Samantha Extance4 Comments

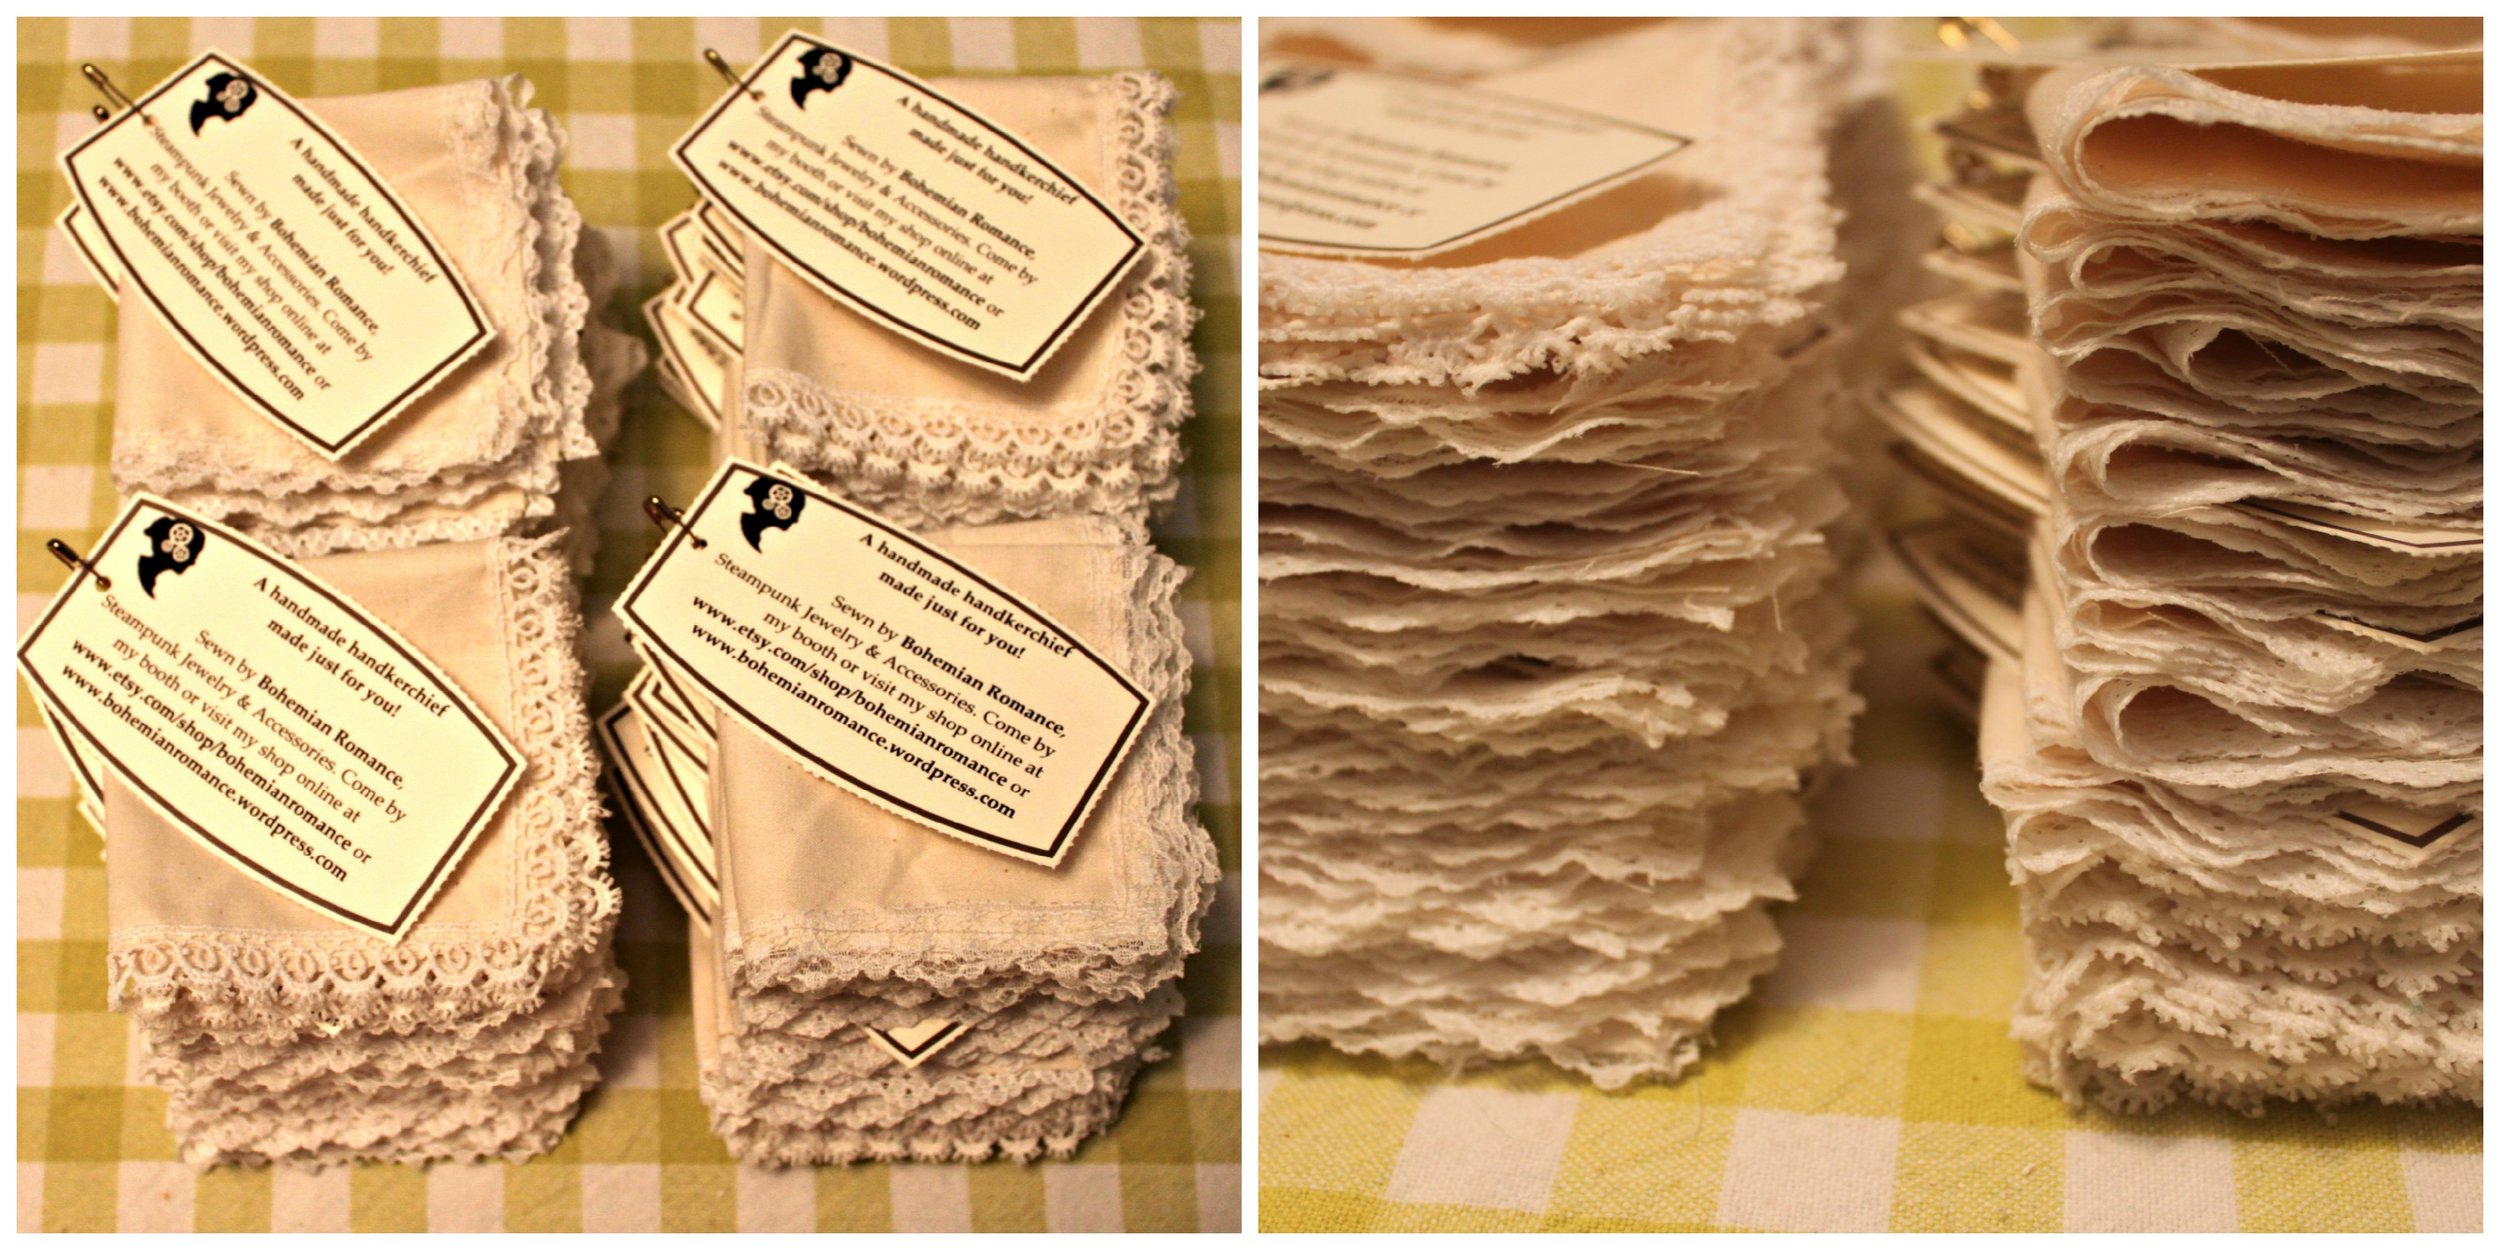
All ladies need a handkerchief, so why not make your own? Here's what you'll need:

  • Square of Absorbent fabric (my fabric is a piece of 5x5 muslin)
  • 20 inches of lace
  • Pins
  • Sewing machine
  • Scissors; Olfa cutter
  • Omnigrid ruler (or any other kind of fabric ruler)
  • Embroidery thread & needle (optional)

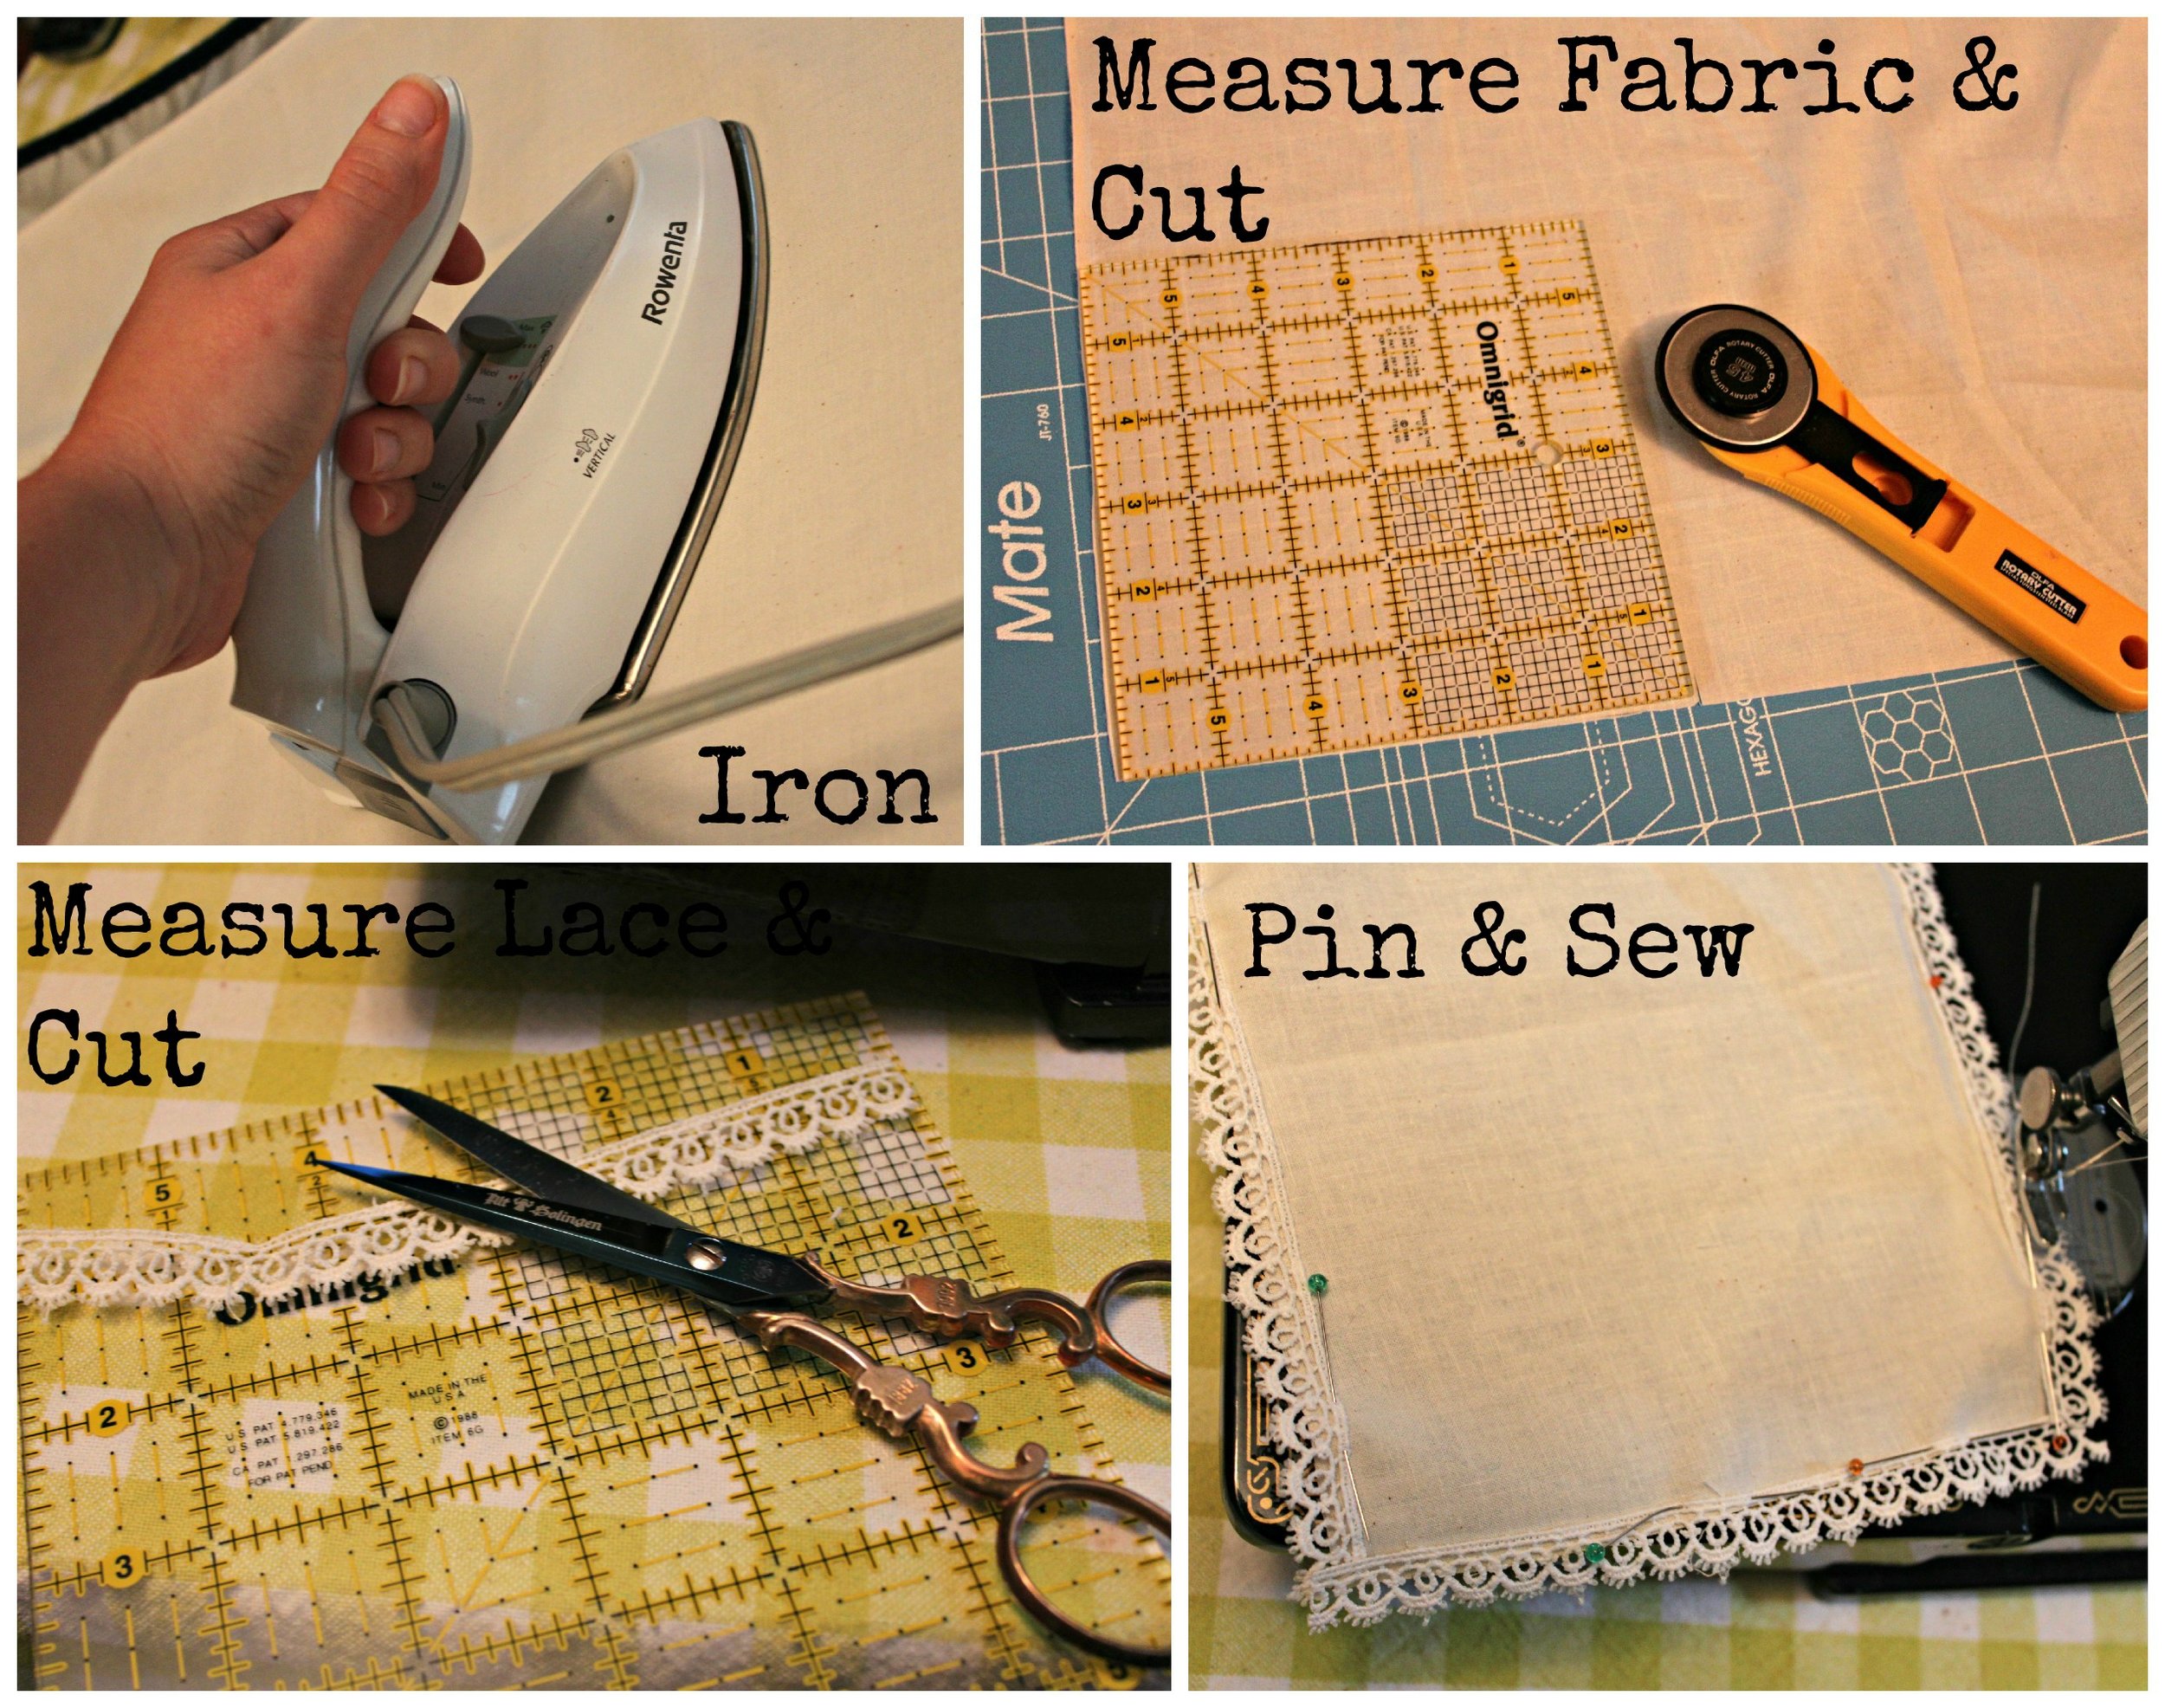
DIY Handkerchief 3Steps:DIY Handkerchief

  1. Iron your fabric.
  2. Measure your fabric with your omnigrid (or other fabric ruler). I wanted a tiny handkerchief so that I could pin it inside my dress or tuck it inside my bodice. I measured it to be a 5x5 square. Equal sides work best (so 6x6, 8x8, 10x10, 12x12 for example) is best. Once you've measured your fabric, cut it out using your olfa cutter or scissors.
  3. Next measure your lace. You want 4 pieces all equal to the length of your handkerchief sides. I measured and cut 4 pieces of 5 inch lace since I have a 5x5 handkerchief. DIY Handkerchief 2
  4. Pin your lace in place. Make sure that your lace overlaps at the edges. Then sew. You can sew continuously by lifting up your machine's foot and pivoting your handkerchief. Cut off any excess threads.
  5. (Optional) Embroider your initials or an elegant design on your handkerchief. You can also both embroider & draw on your handkerchief (as I've done above. I embroidered the initial "C" and drew a pretty floral design using a micropoint fabric pen).

These handkerchiefs are elegant & easy to make. They are a perfect bridesmaid gift! I am making handkerchiefs as a giveaway for Marry Me Indie! The first 50 brides to attend will receive a bag full of free goodies from each of the vendors. So if you want a handmade muslin & lace handkerchief of your very own--come by the show early!

DIY Steampunk Illumination, Live Demo

D-I-Y-Samantha ExtanceComment

I had so much fun Thursday morning on Great Day Green Country filming a live DIY! I made 2 versions of Steampunk Candle Holders (one for tea candles & one for candlesticks). They are easy, elegant, and cheap to reproduce (bet. $5-10 to make). In case you missed it, here it is! Enjoy! And as always, Happy Making! http://eplayer.clipsyndicate.com/embed/iframe?aspect_ratio=3x2&auto_next=1&auto_start=0&page_count=4&pf_id=9204&pl_id=26017&rel=3&show_title=0&tags=GDGC&va_id=3969819&volume=8&windows=1

Steampunk Wedding Fashion Show!

FashionSamantha Extance1 Comment

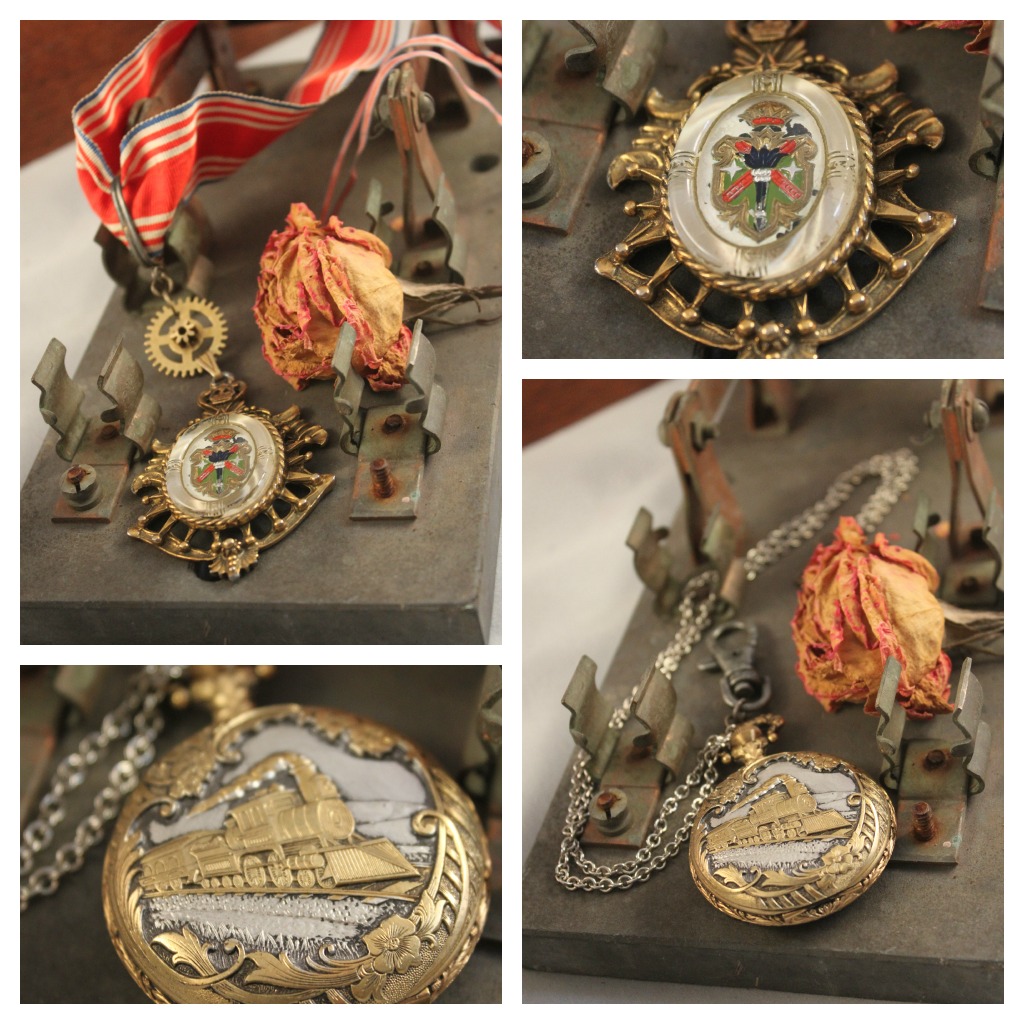
I am excited to announce that I will be creating a steampunk wedding fashion show for Tulsa's first indie wedding show--Marry Me Indie! Mark June 1st on your calendar! There will be 30 vendors, a fashion show, a surprise (wish I could tell you it's so good!), and grab bags! I have been so inspired and already created a number of pieces. I'll be fashioning looks for a Royal Steampunk Wedding--think pearls, lace, gears & soft golden brass, and vintage rhinestones and you're only halfway there! Here's a sneak peek at what I've been making for you ladies...Steampunk Wedding 1

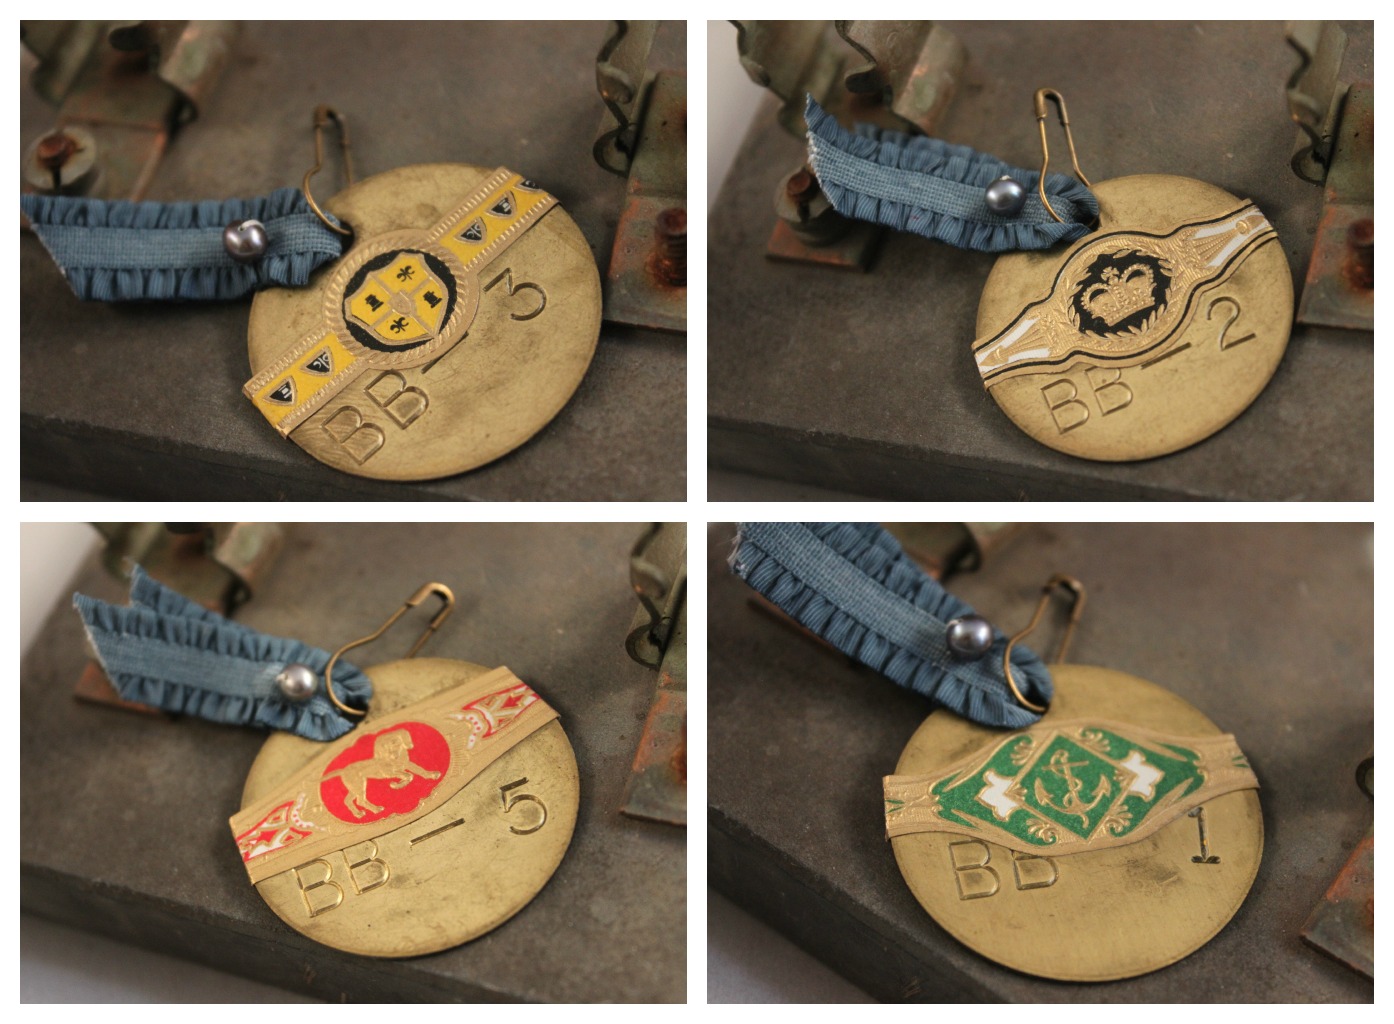
Steampunk Wedding 2Steampunk Wedding 3And don't think I forgot you gents--I'll have more steampunked bow ties and accessories in lieu of your more traditional menswear pieces--cufflinks, tie clips, and boutonnieres! Here's a little preview...Steampunk Wedding MensI really love these boutinneres! They're made with brass construction co. tags, pins, bits of blue ribbon, gray pearls, and the piece de resistance--vintage cigar labels! Here are a few more things I have in store for you gents--

Steampunk Wedding Mens 2Check out the Marry Me Indie website for updates & more details! Can't wait for June 1st!

DIY Steampunk Wedding Bouquet

D-I-Y-Samantha ExtanceComment

Materials & Tools:

  • Flowers, real or synthetic (your choice)
  • Floral wire (or any green colored wire) & wire cutters (or toenail clippers)
  • Needle & thread & scissors
  • Lace & ribbon (or you can choose any kind of fabric you'd like instead of lace)
  • clock gear
  • Pin


Steps:

  1. Arrange your flowers.
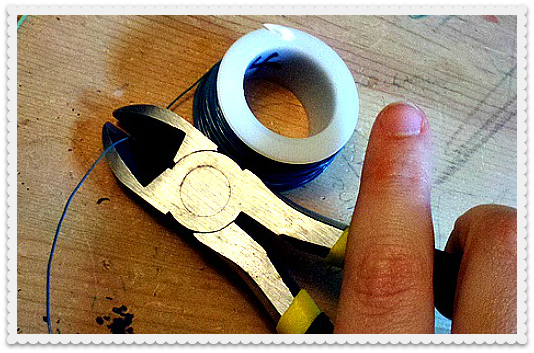
  2. Cut your floral wire using your wire cutters/toenail clippers. Wrap your flowers tightly with the wire to secure them.
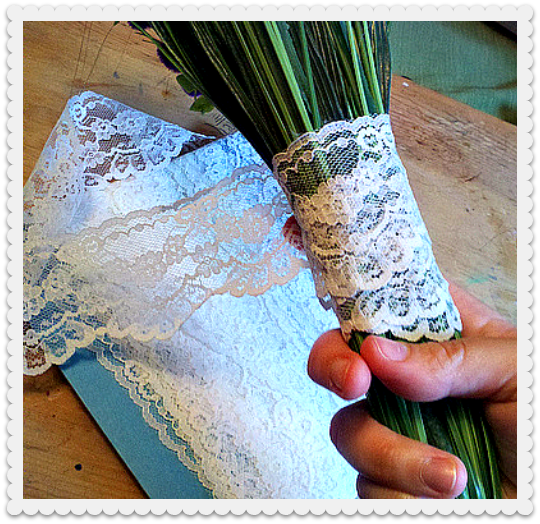
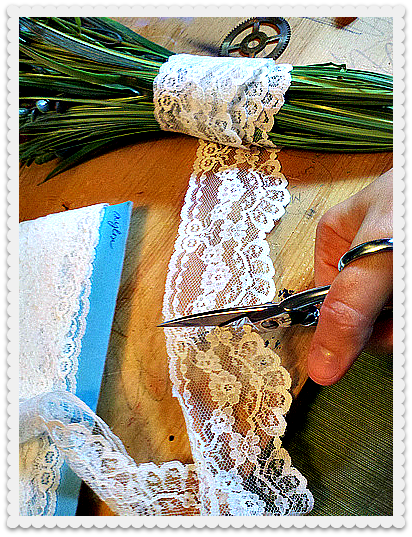
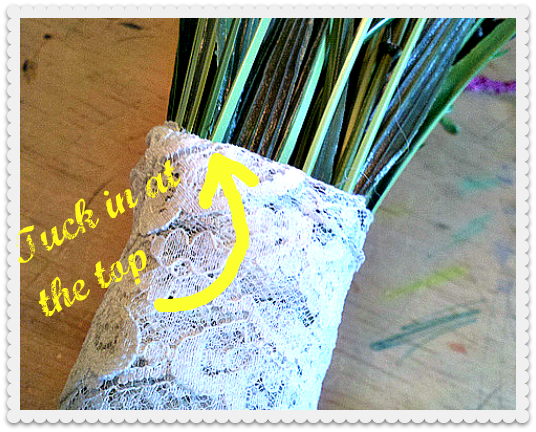
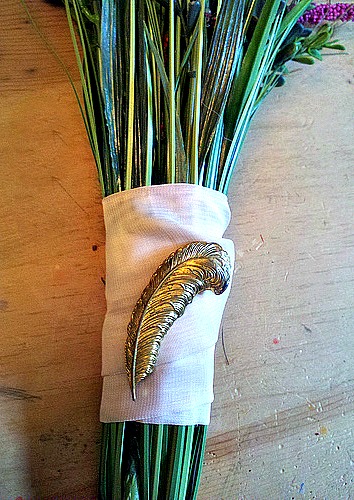
  3. Measure your lace by wrapping it around your flowers' stems for your desired width/look. I wrapped the lace 2-3 times around the stems. Once you are done wrapping your lace tuck the end into the top of your lace. 
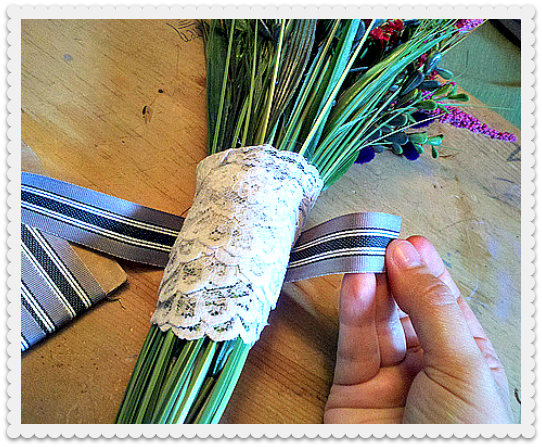
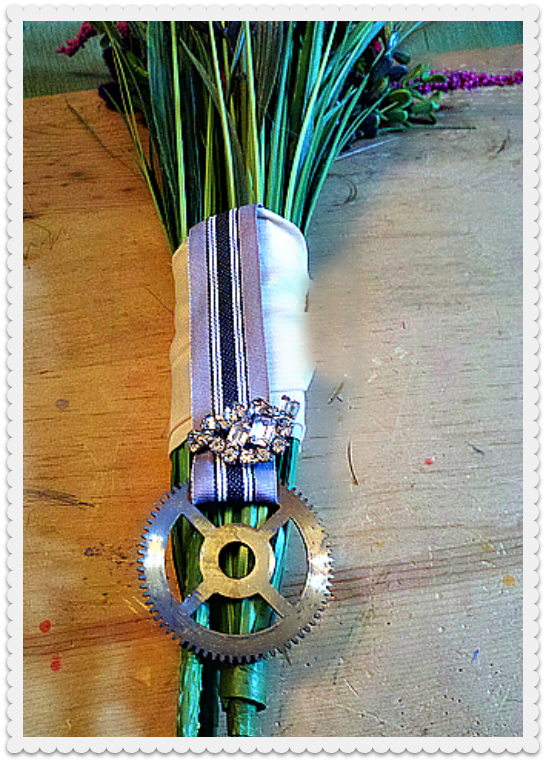
  4. Next, measure  the amount of ribbon you'll need to fit tightly around your bouquet. Be sure to leave yourself at least a 1/2 inch on one side for sewing the ribbon to your gear.
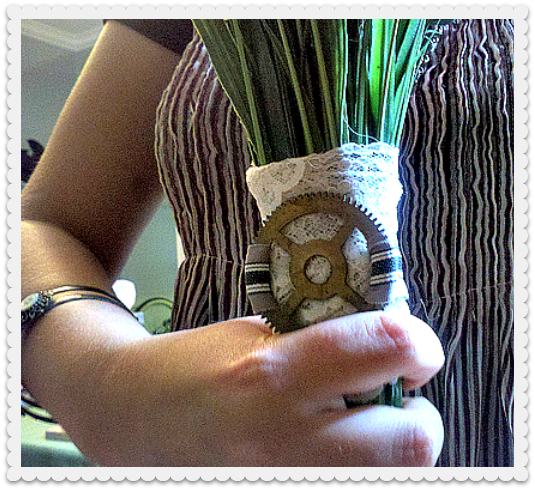
  5. Loop your ribbon through the gear. Sew your ribbon to your gear. Keep your stitches small and close. (You can also secure the ribbon to your gear with a hot glue gun.)
  6. Next, wrap the ribbon around your bouquet. Be sure to hold the gear in place in the front of your bouquet when you pull the loose end of the ribbon through the gear. Pin it in place with your pin (or hatpin). Cut off excess ribbon and tuck it under.
  7. Promenade proudly down the aisle!Variations:

Instead of a gear, maybe pin a cameo to your bridal bouquet. It's a romantic & nostalgic twist and yet is elegant & simple.

Or look for any other kinds of pins that you could attach to your fabric or lace that ties into your wedding's theme, your heritage, or your story as a couple. Here is another variation that combines both the cameo pin & clock gear, ribbon, and simple pastel pink fabric. It's more textured & intricate--offering a much more Stemapunk vibe.

This last variation is more simple than the above pictured cameo & gear bouquet & offers a hint of sparkle. Clip-on earrings are easy enough to find at vintage stores, flea markets, & estate sales which makes them even more appealing as materials for your bridal bouquet.

Happy Wedding Planning (or day-dreaming)!

There's a Whole Lotta Love to Be Thankful For

D-I-Y-, UncategorizedSamantha ExtanceComment

I have a lot to be thankful for this November--my brother married his longtime girlfriend on Sunday in the village of Piermont, down by the Hudson River. It was a beautiful day! Last week the whole house was abuzz, baking and making and getting ready for the big day. My grams made them a stunning Hidden Star quilt (where each block has a star hidden within the block). I made the happy couple a Scrabble picture frame with their names interlocking to hang in their hallway. And my mom and I fashioned earring and bracelet sets for the bridesmaids.

I tried a handful of recipes out this week--all from A Taste of Home magazine (which is fabulous by the way). I baked to my heart's content--a Chocolate cake with raspberry filling and white chocolate frosting, a rich strawberry & champagne cheesecake, and a lemon meringue pie. A new family favorite is the Apple Orchard Pork Loin Roast (very simple to make and incredibly tasty).

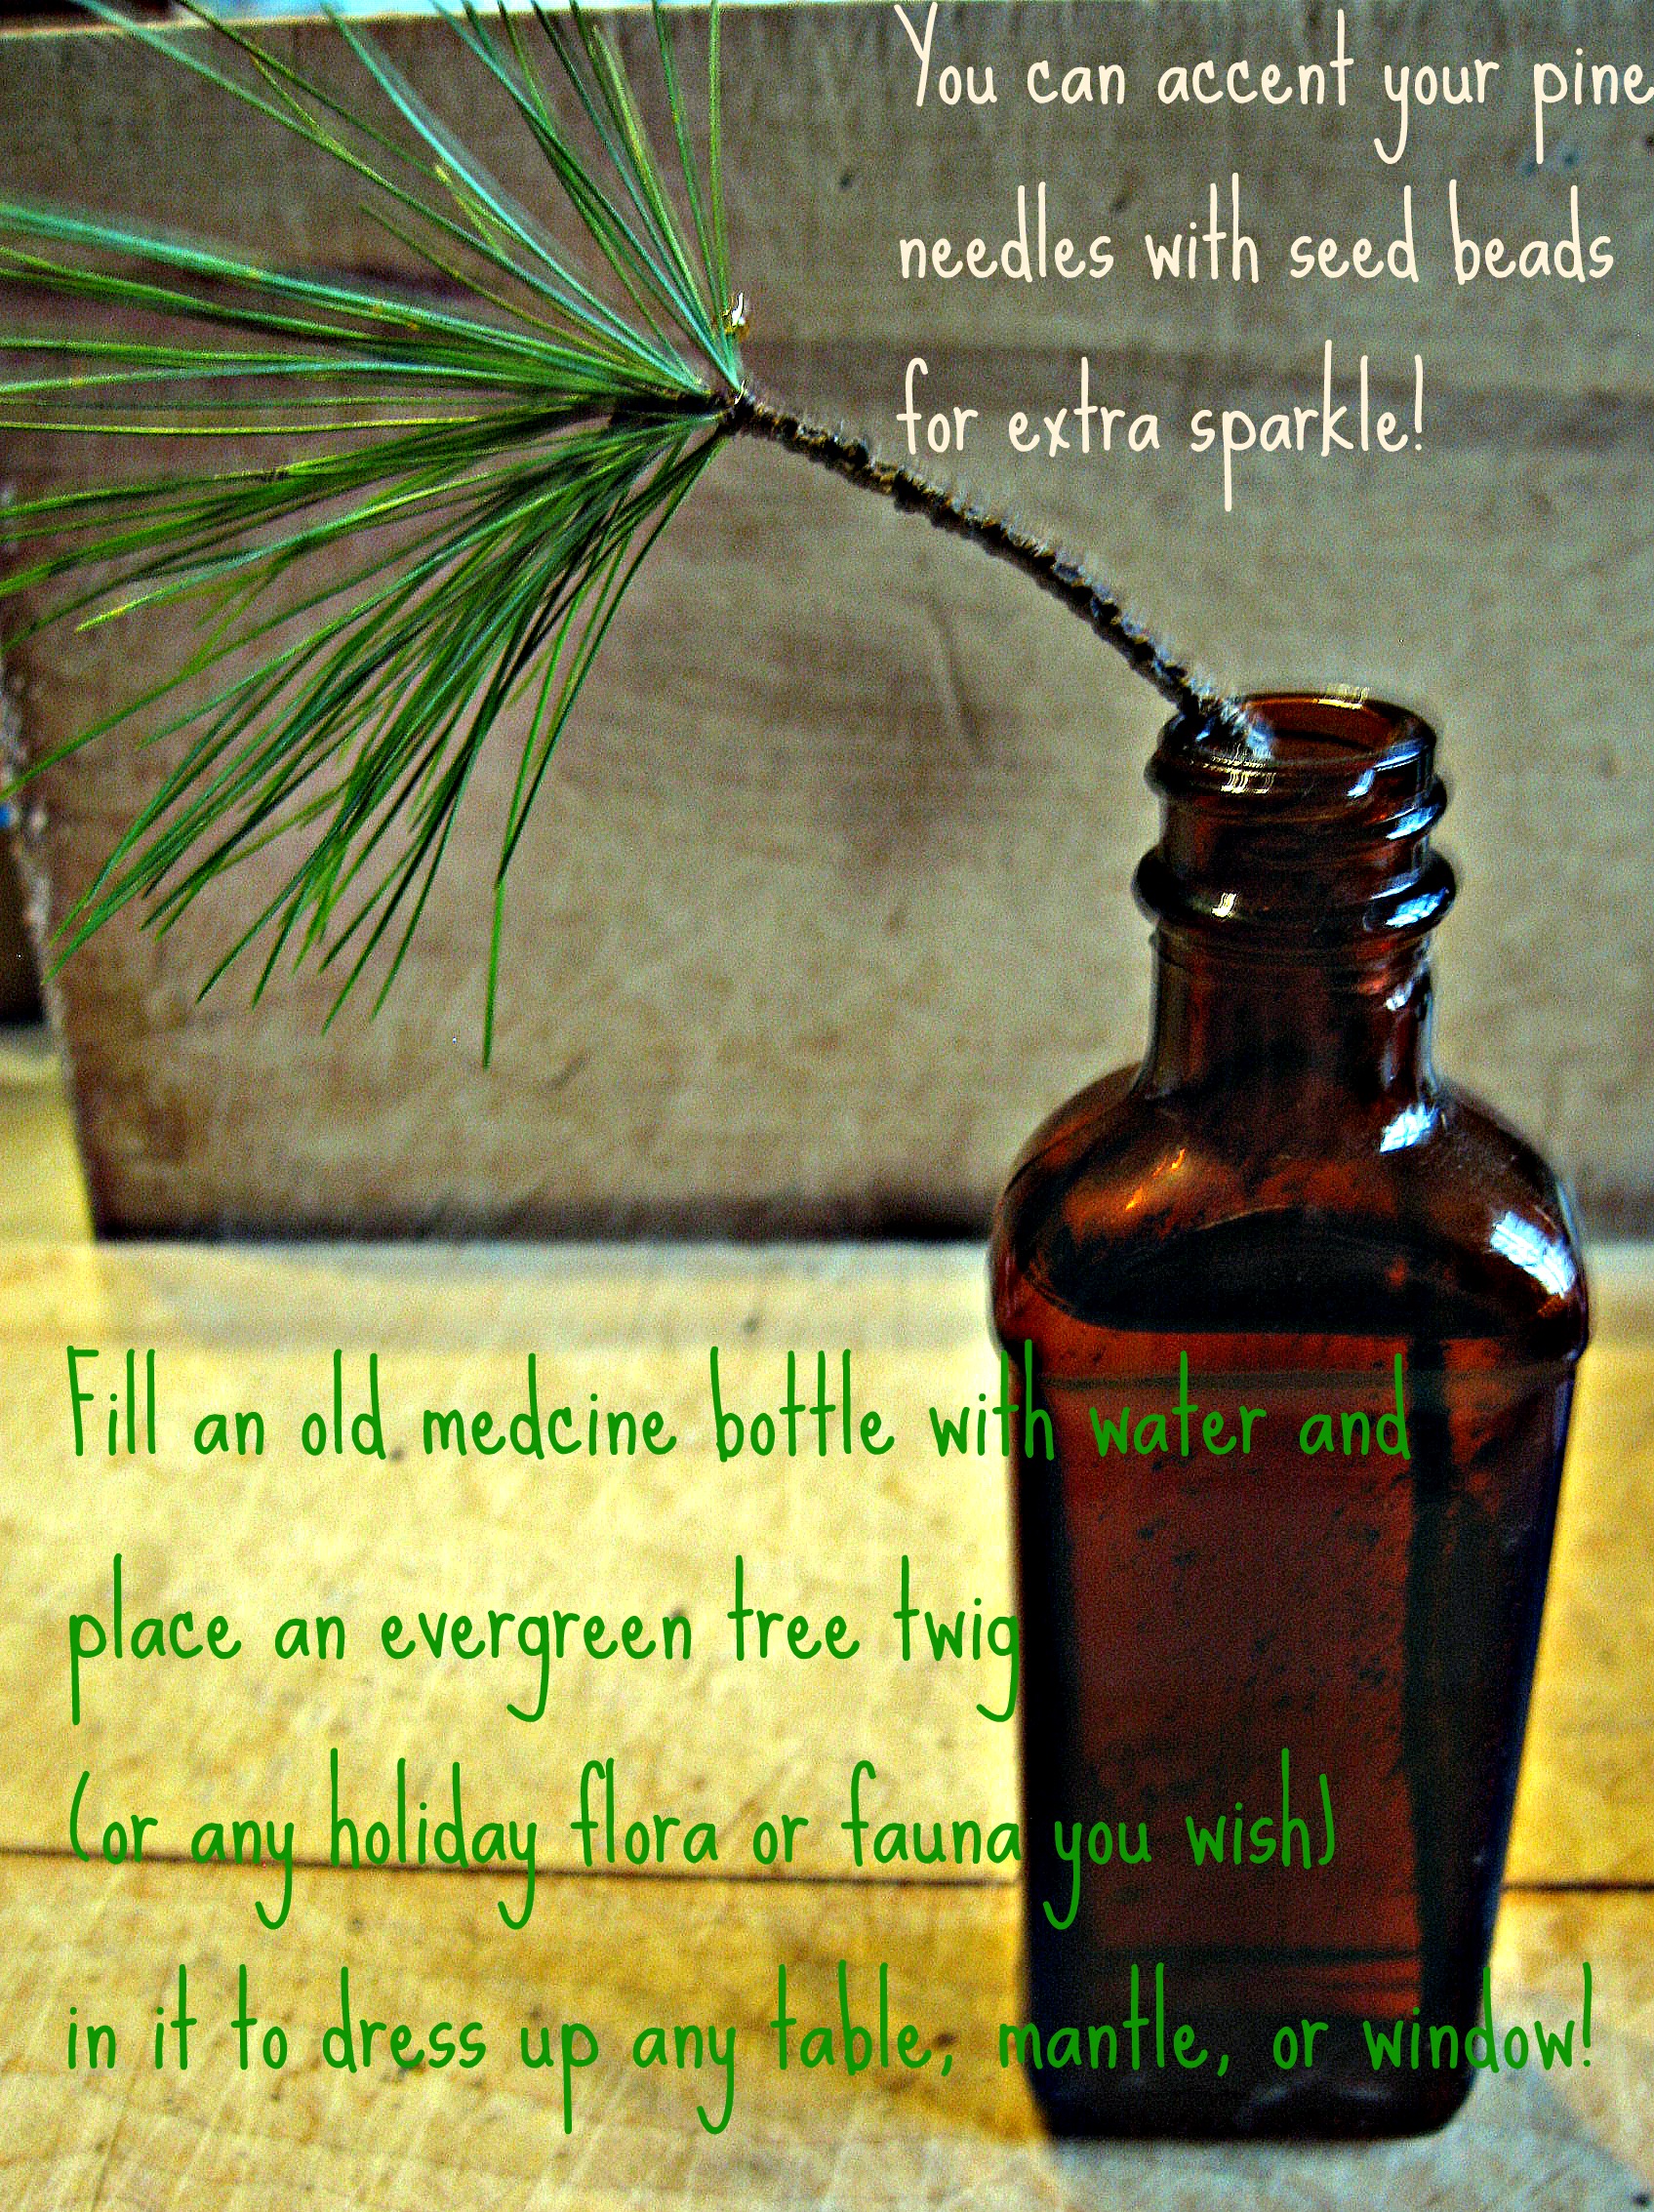
Here's an easy & elegant D.I.Y. for your dinner table, mantle place, or window sill:

Hope you have a lovely Thanksgiving this Thursday! Check later this week for holiday gift tag D.I.Y.S!