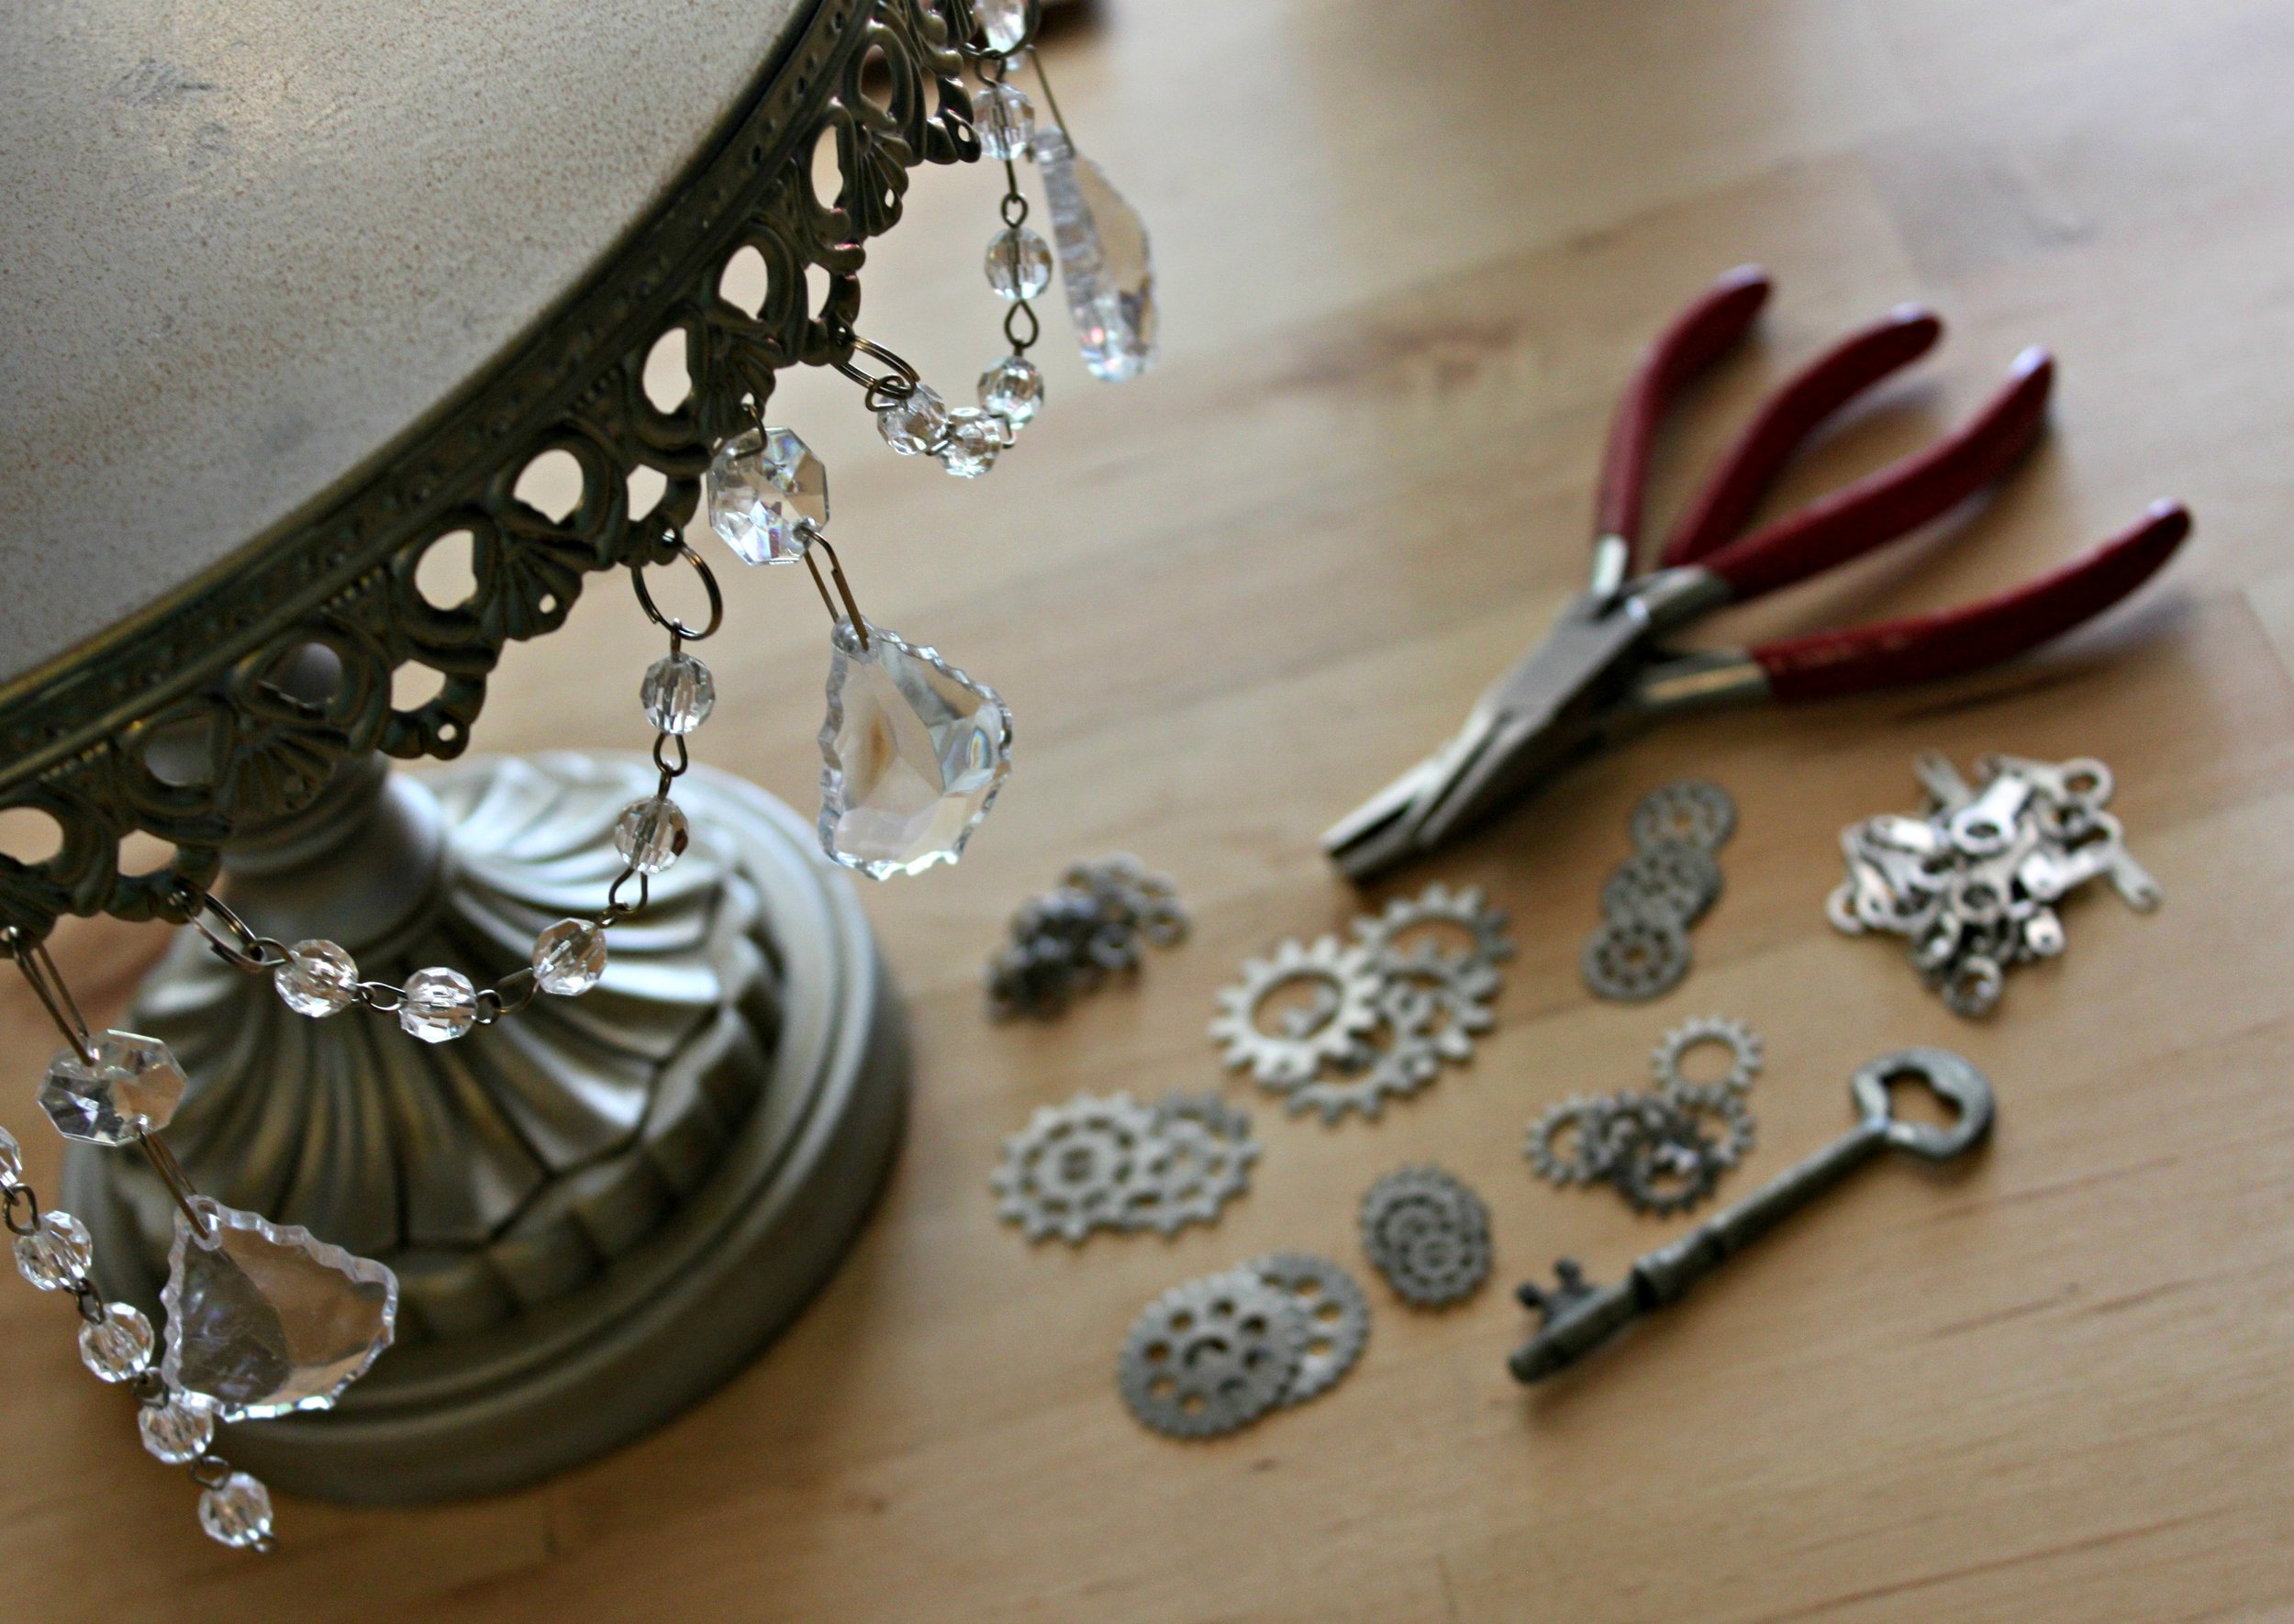
This is a fun & easy way to unleash a little steampunk flair in your kitchen, or perhaps add to a steampunk-themed party you're hosting. Here's what you'll need: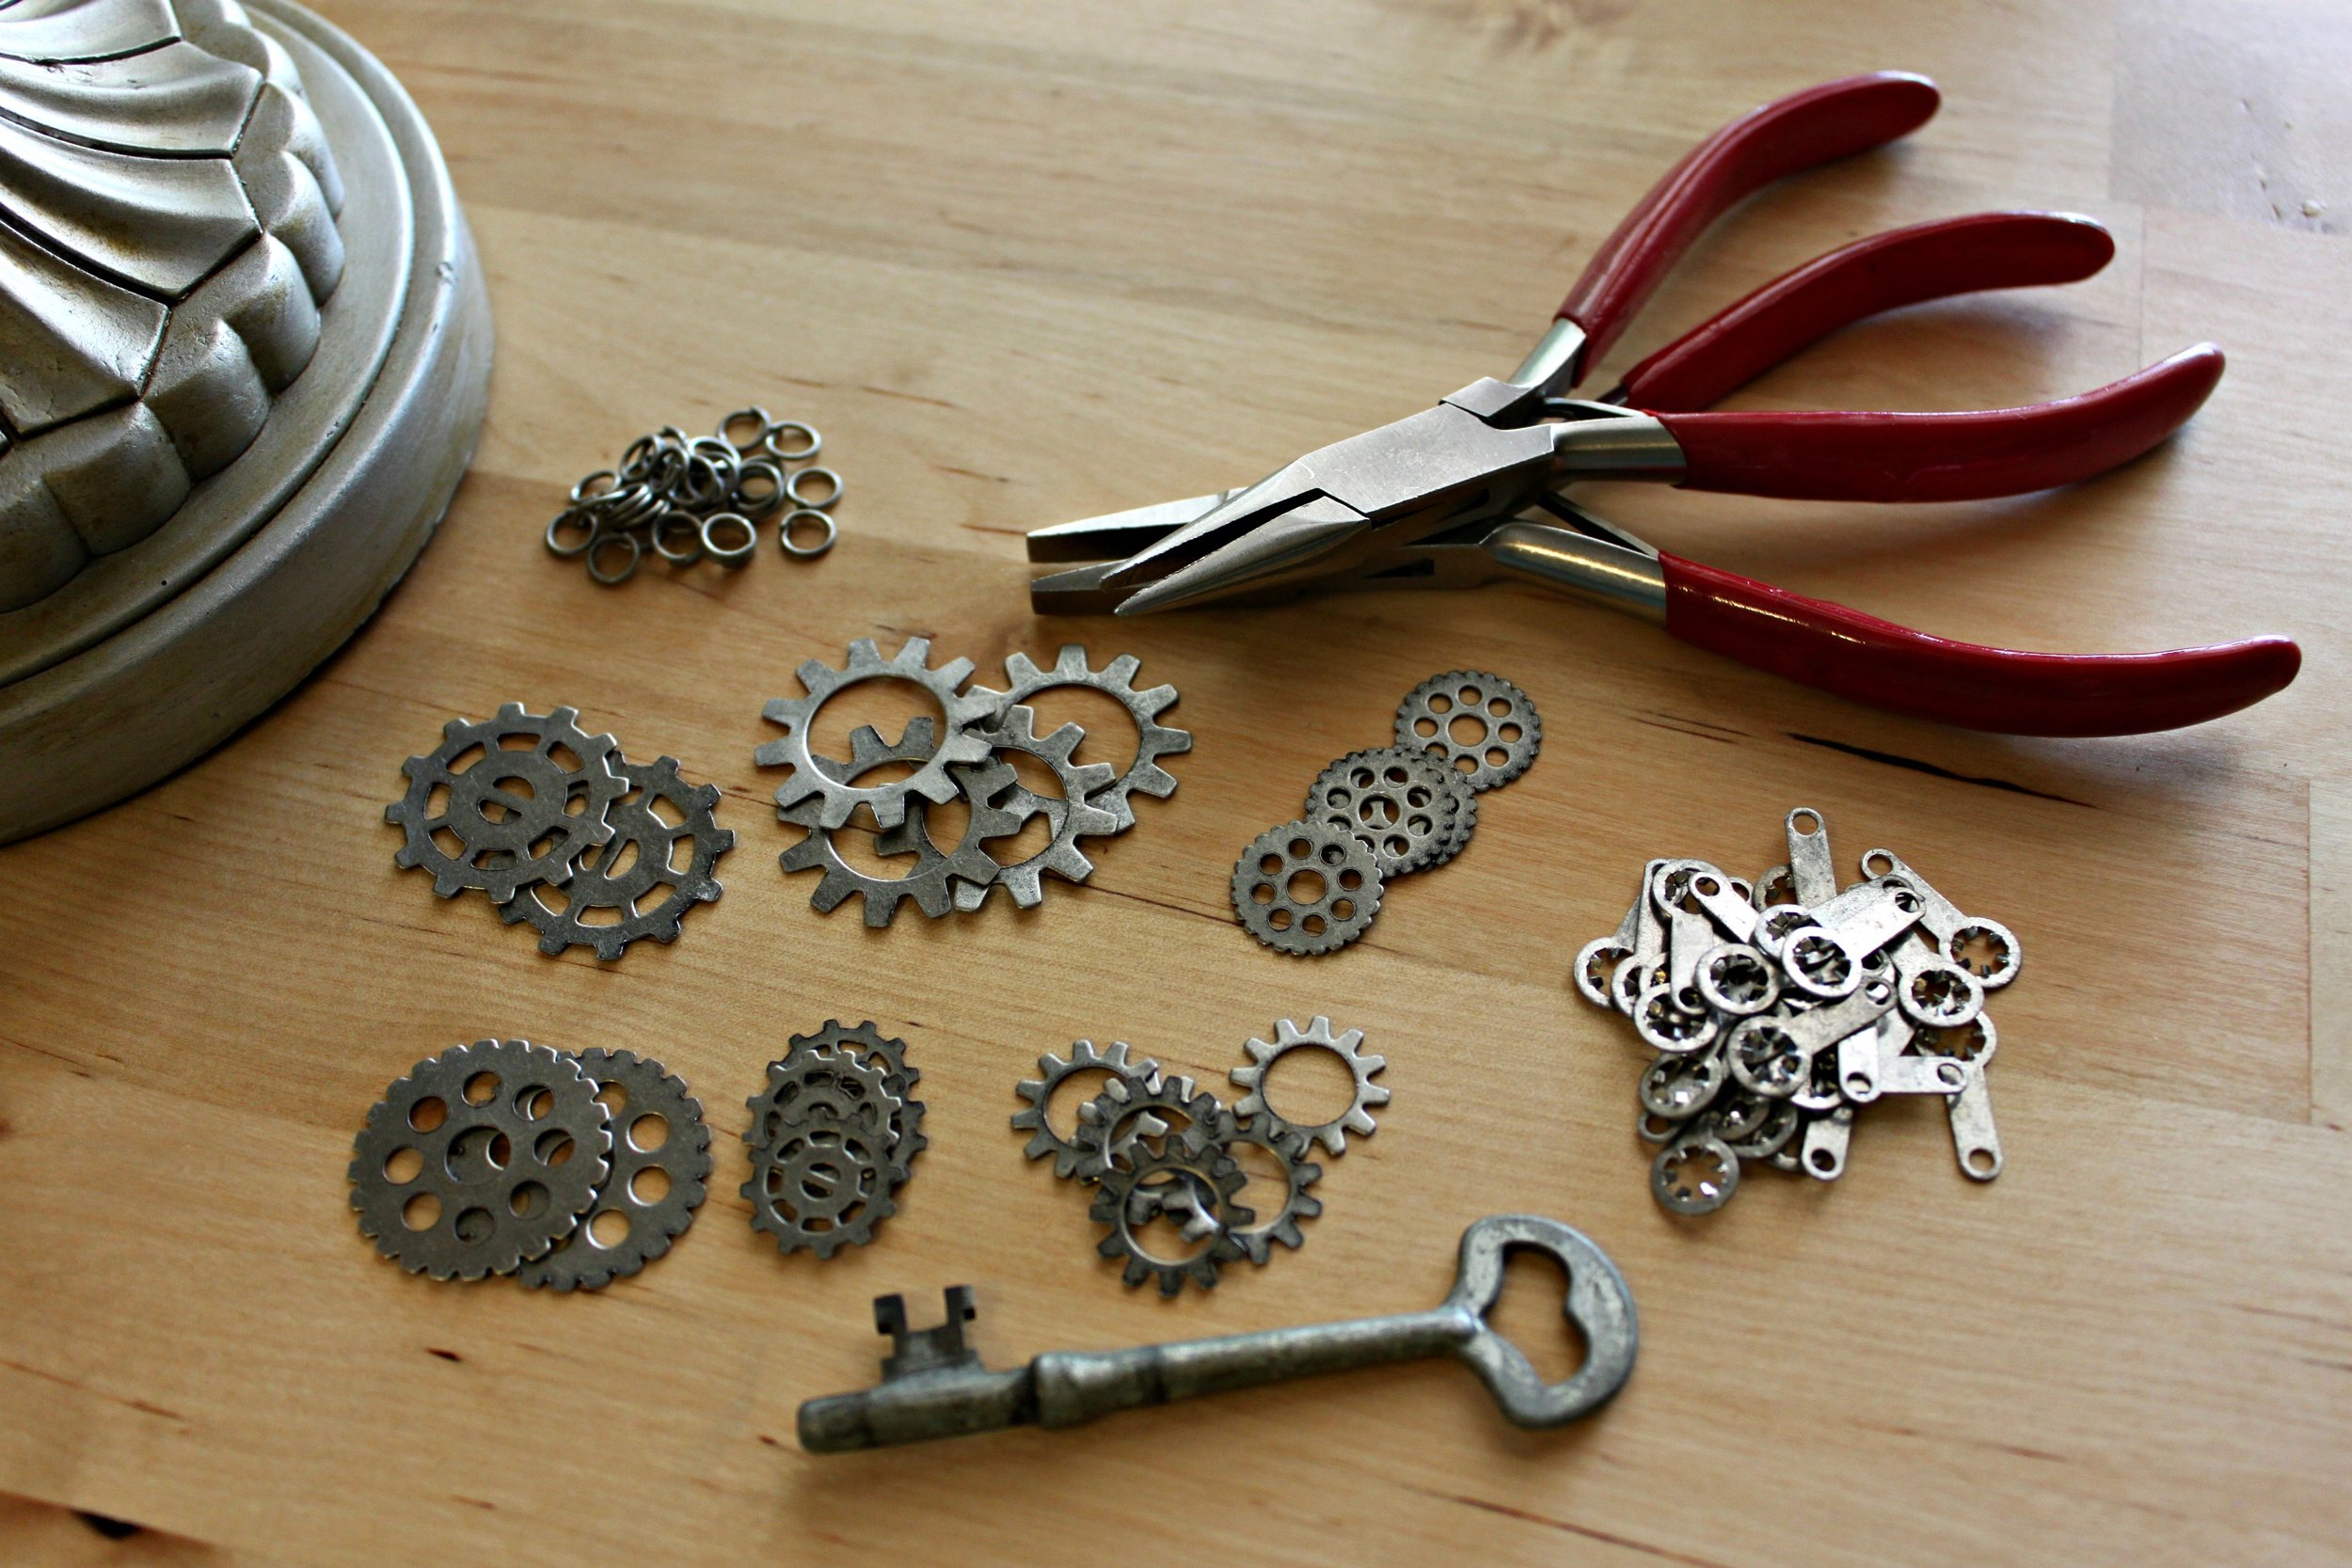
- Cake Stand (Available at your local Michaels, or online); I've chosen a filigree metal cake stand--one, because it's pretty schmancy and two, there are already holes to work with. Also, this cake came with beads already attached. (If you're purchasing a different style cake stand, then you will also need: 45 medium round crystal beads; 45 eyepins; 9 medium oval faceted crystal beads; and 9 large teardrop-shaped faceted crystal beads, preferably with a flat back so that the gears remain flush against the teardrop-shaped crystals)
- 10 small gears & 9 large gears (For this DIY, I'd recommend reproduction gears over salvaged gears because the gears will be around a lot more moisture; Reproduction gears are available at your local craft store)
- 1 skeleton key
- 9 lock washers
- 27 small jump rings (45 if you are adding the beads yourself)
- 9 large jump rings
- Flat nosed pliers (and also needle nosed pliers & wire cutters, if you are adding beads yourself)
- If you do not need to add beads, move on to Step 2. If you are adding beads, read on. First, put all of your small round crystal beads onto eyepins. Use your flat nosed & needle nosed pliers along with your wire cutters to close off each bead's eyepin. (If you do not know how to do this, check out any basic beading book which will cover how to close eyepins. You can also click here for an online tutorial.) Once you are done, connect 5 beads together in a string. You should have a total of 9 strings. Once you have strung all of your 9 strings, connect them to your filigree cake stand with a jump ring leaving at least 1 or 3 spaces (or holes in the filigree) above where your string dangles. Also be sure to leave a space/hole in the filigree between each individual string.
- In between each string--directly in the middle, add a small gear. (This is why I suggested having 1 or 3 spaces specifically). Use your flat nosed pliers & small jump rings to connect your gears to your cake stand. Repeat for each string.

- Next, lay out the order of your large gear & teardrop crystal pendants. For mine, I layered them as follows: lock washer, medium round crystal bead, and large gear & large teardrop shaped crystal bead along with the jump rings I would need to connect each of these materials together.

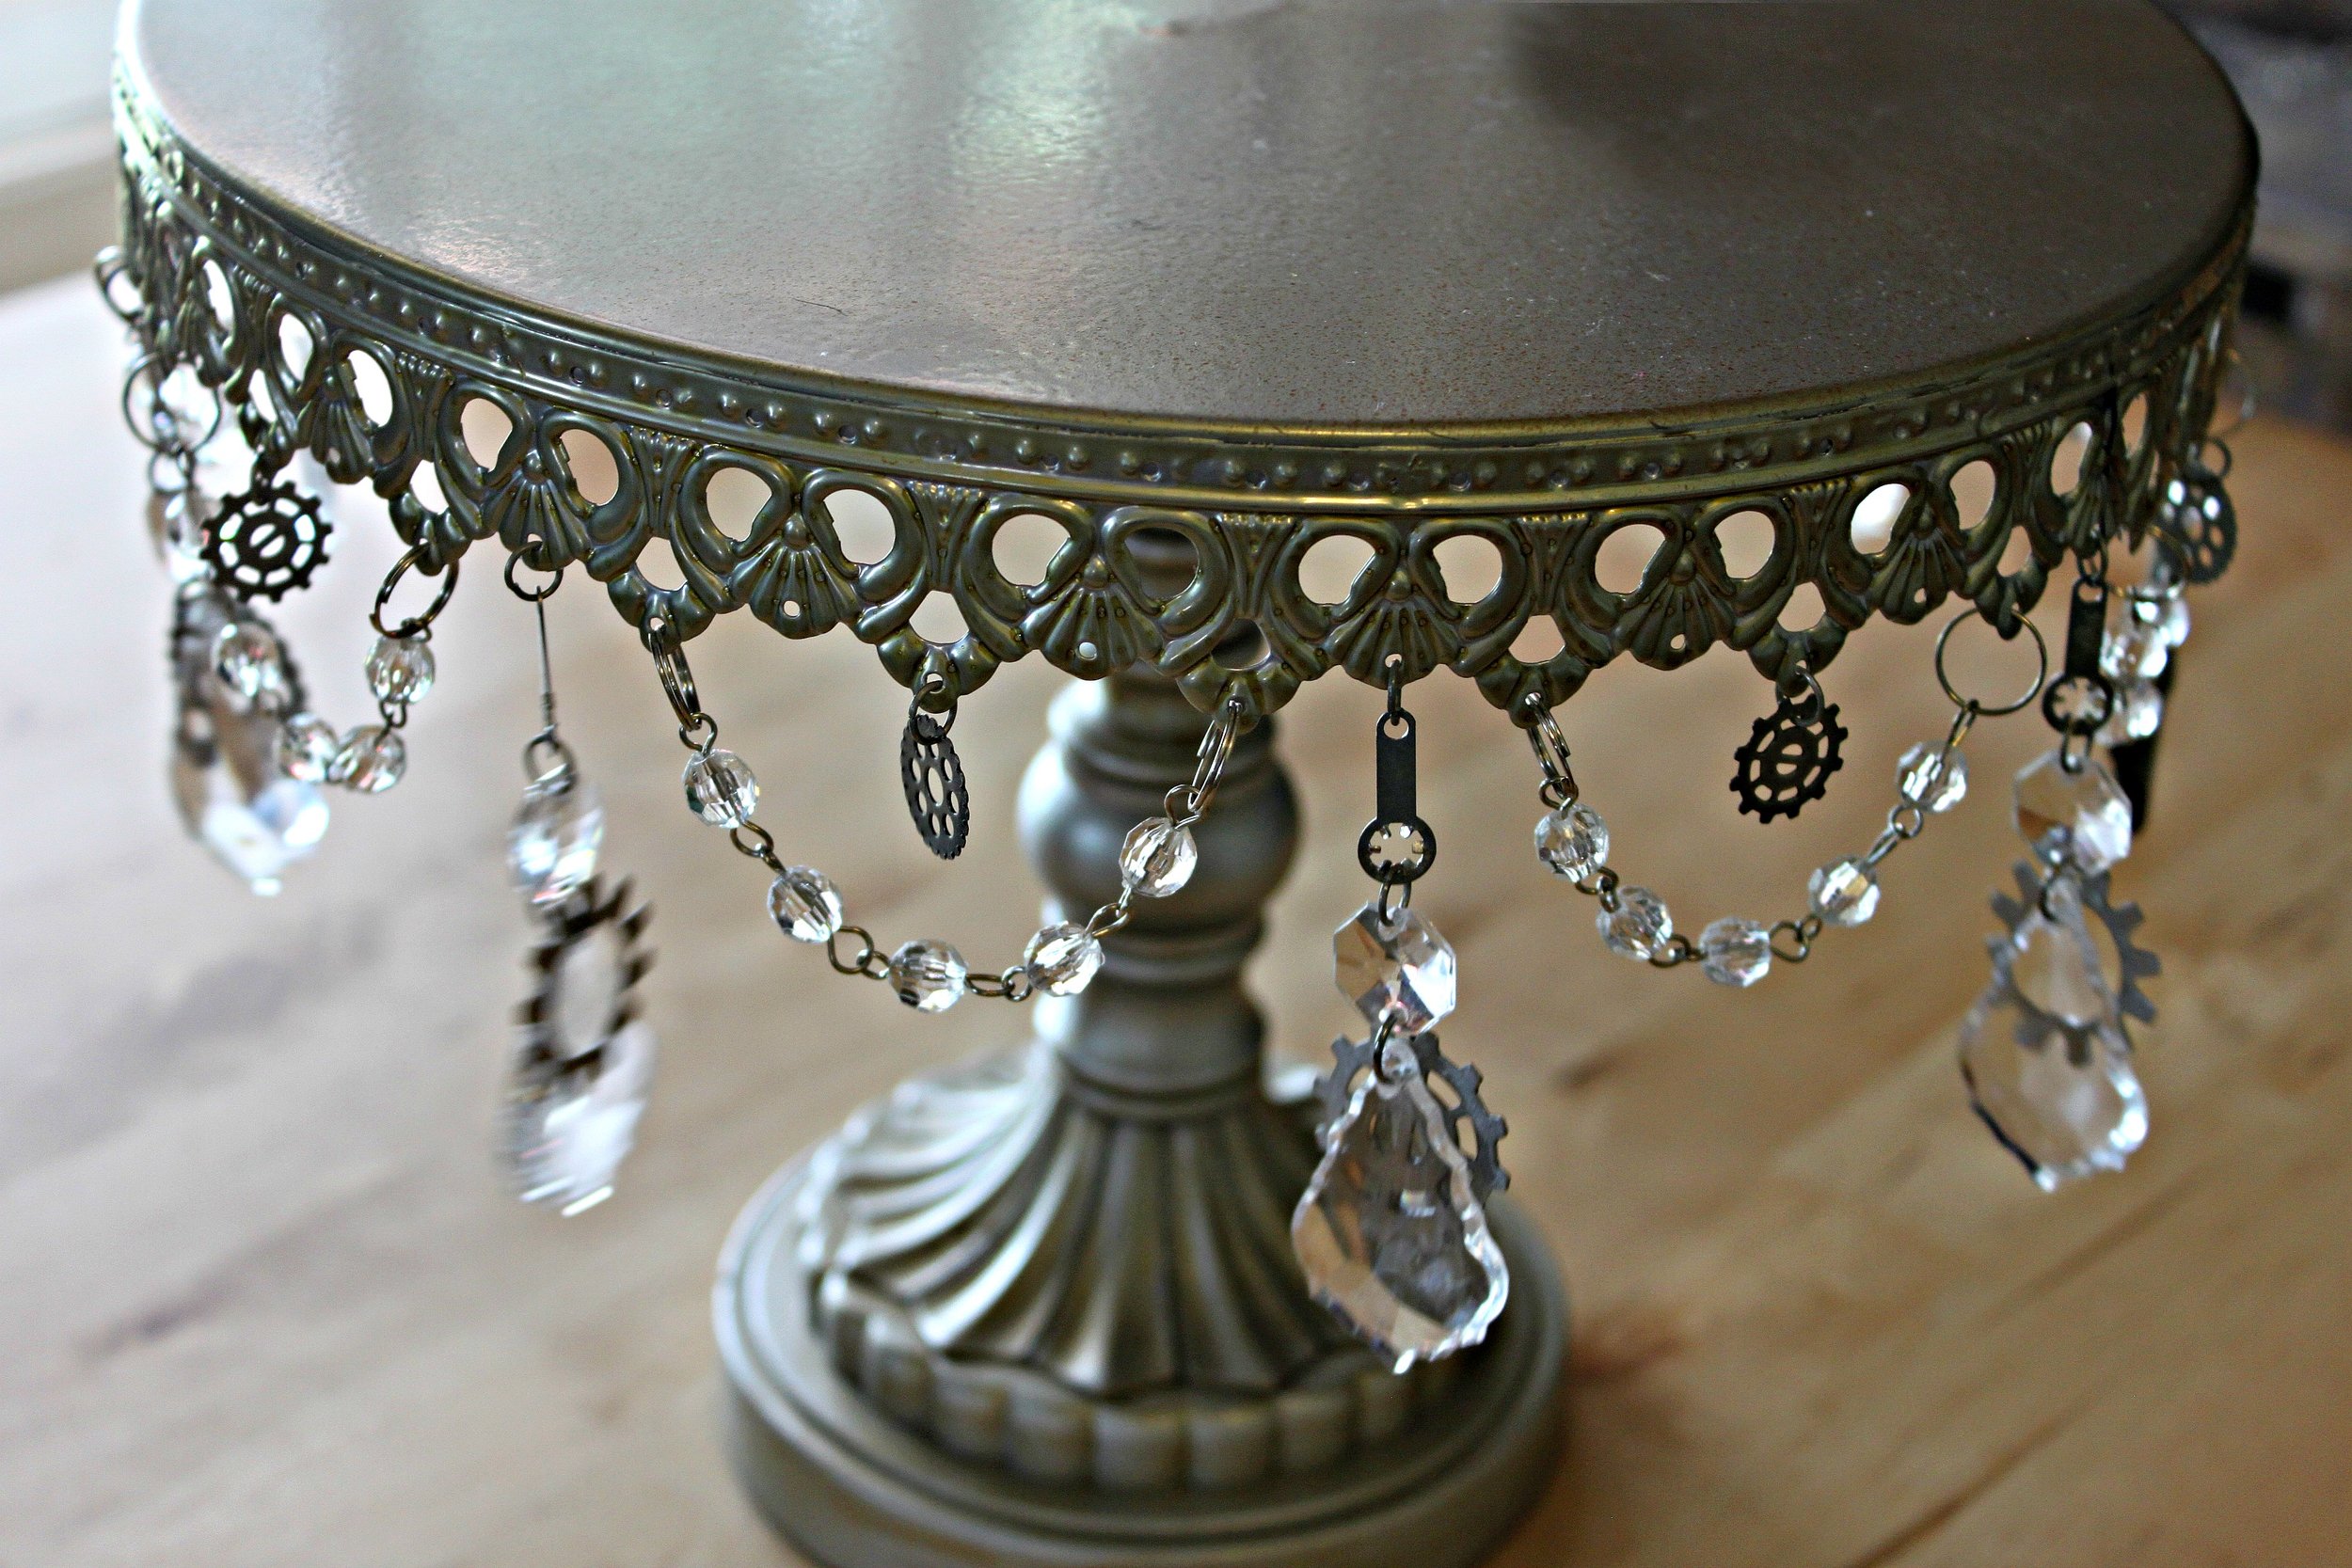
- Once you're happy with the order of your pendants, connect all of the individual materials together using your flat nosed pliers and jump rings. Use your large jump rings to connect the medium round crystal bead to the large gear & teardrop crystal.
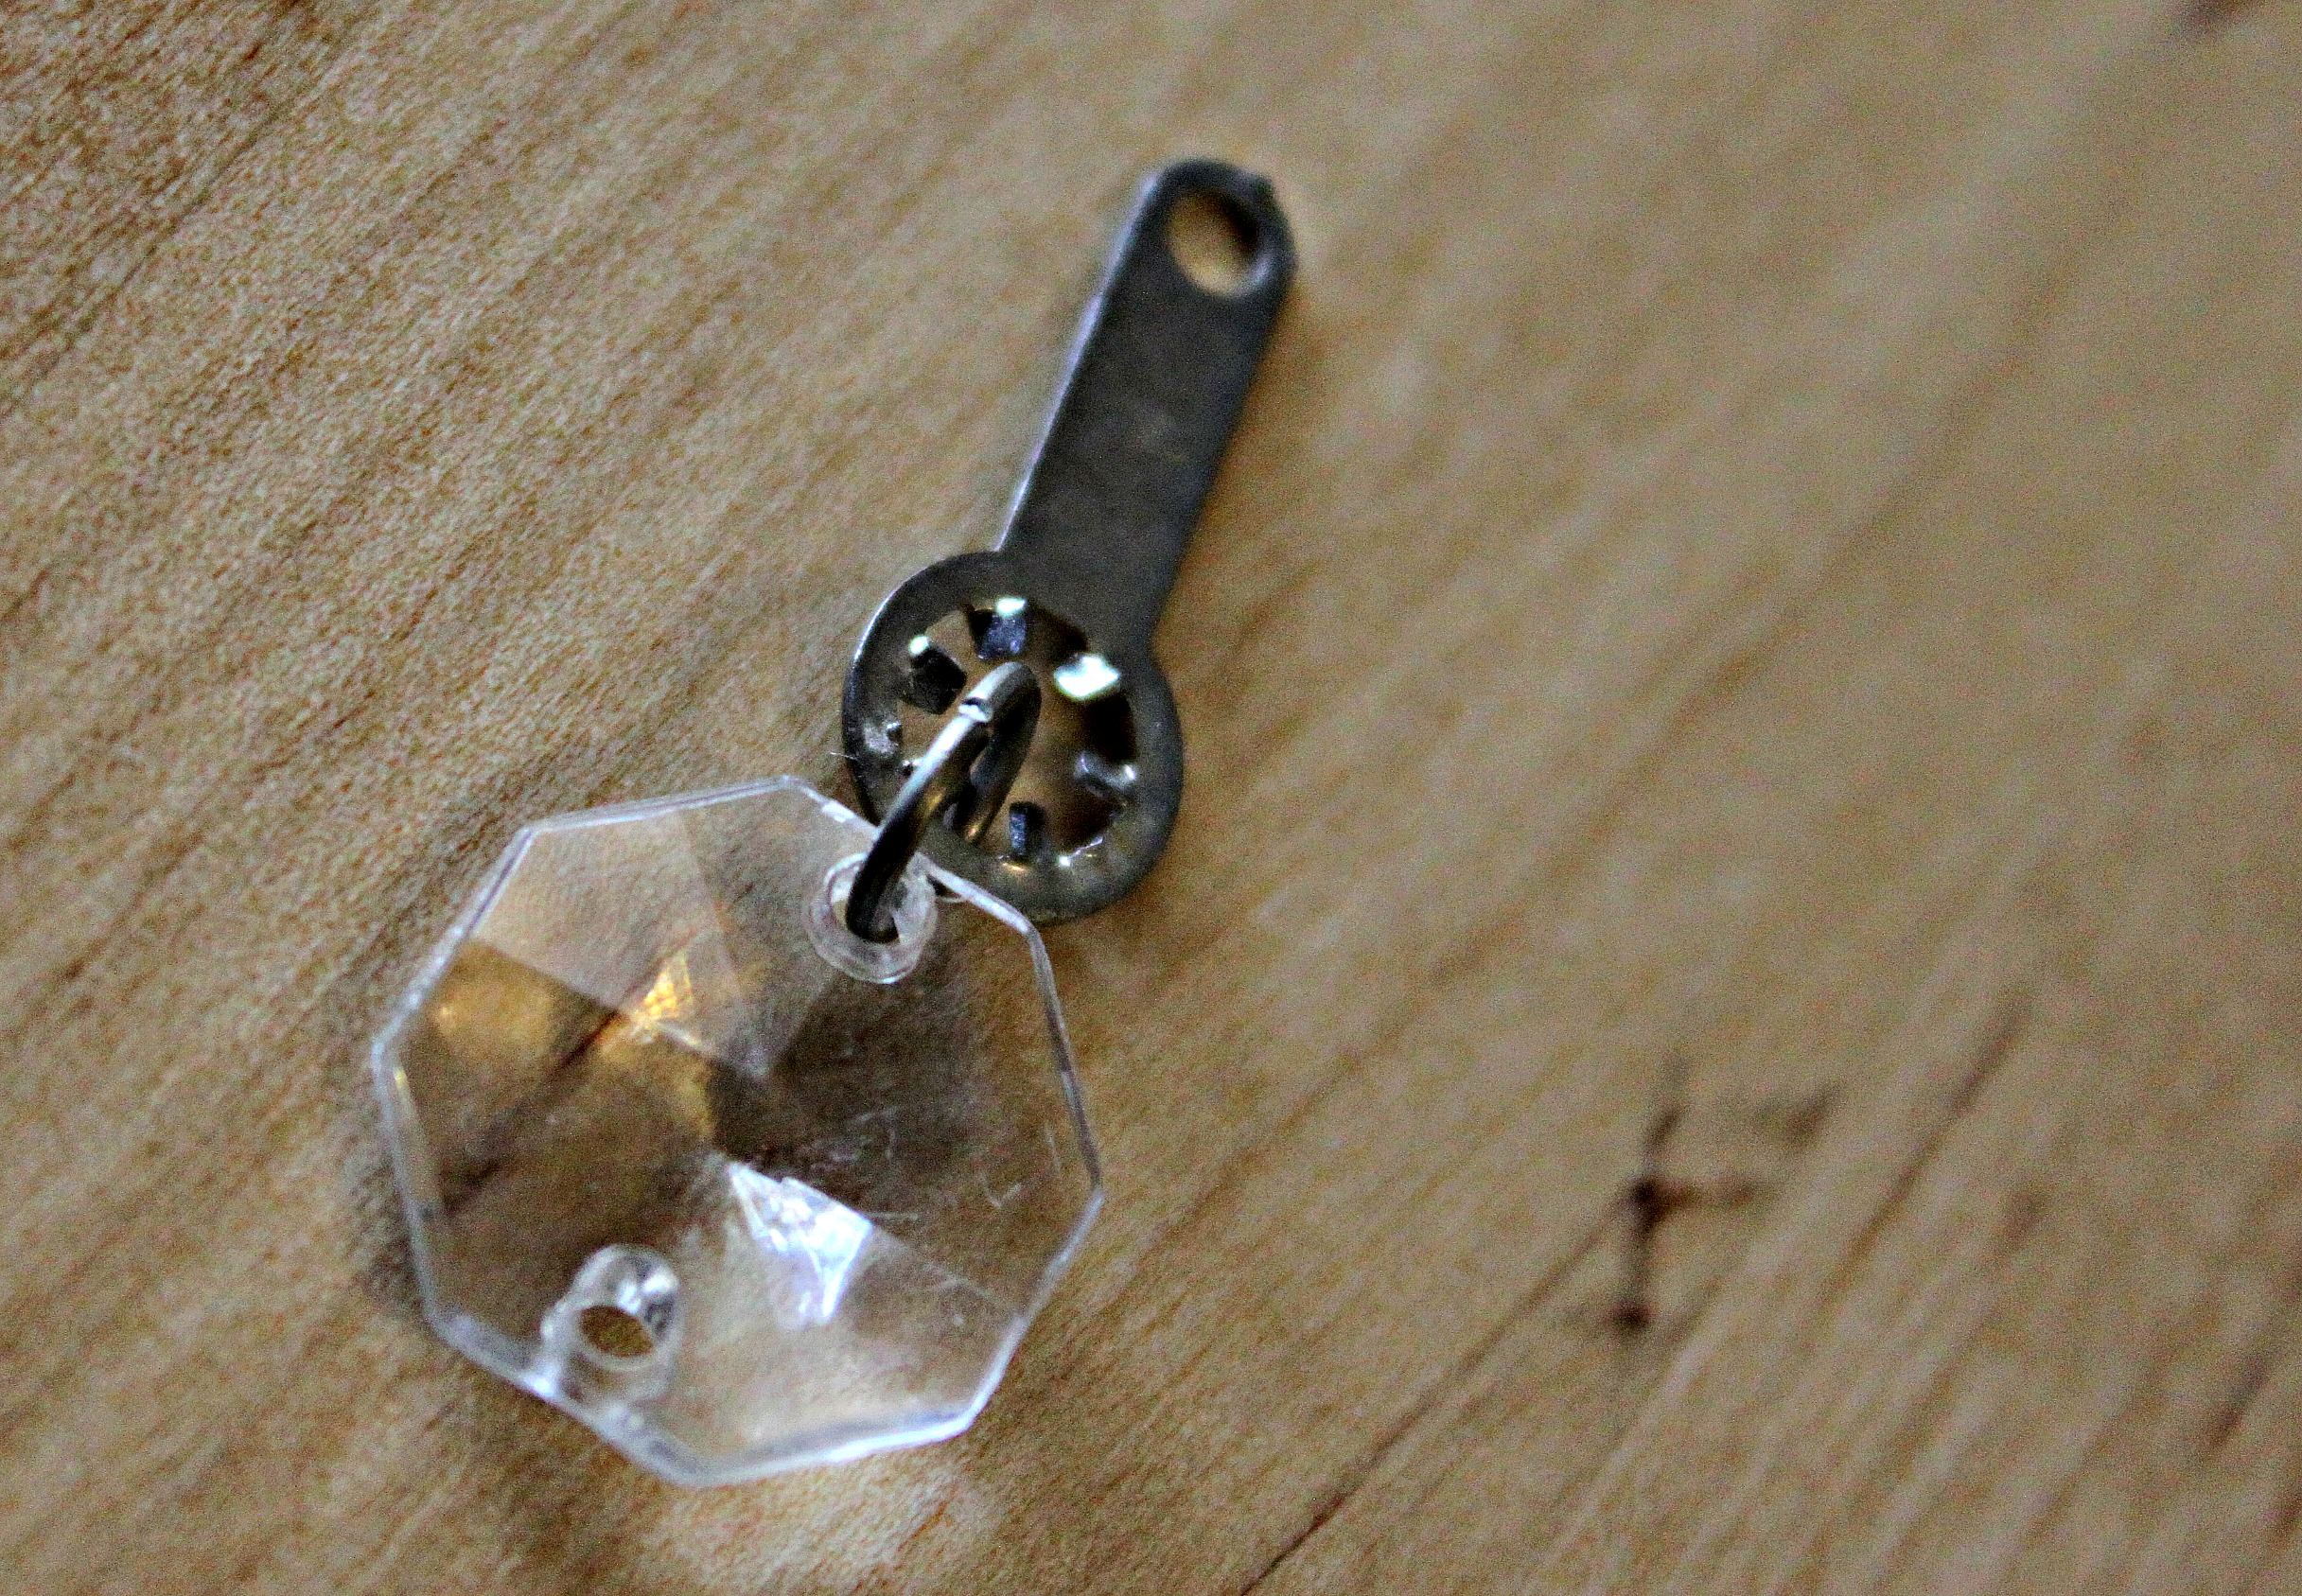 The lock washer connects to the medium bead (it helps if you sing along: "oh the lock washer's connected to the bead..."--very much like "Dem Bones")
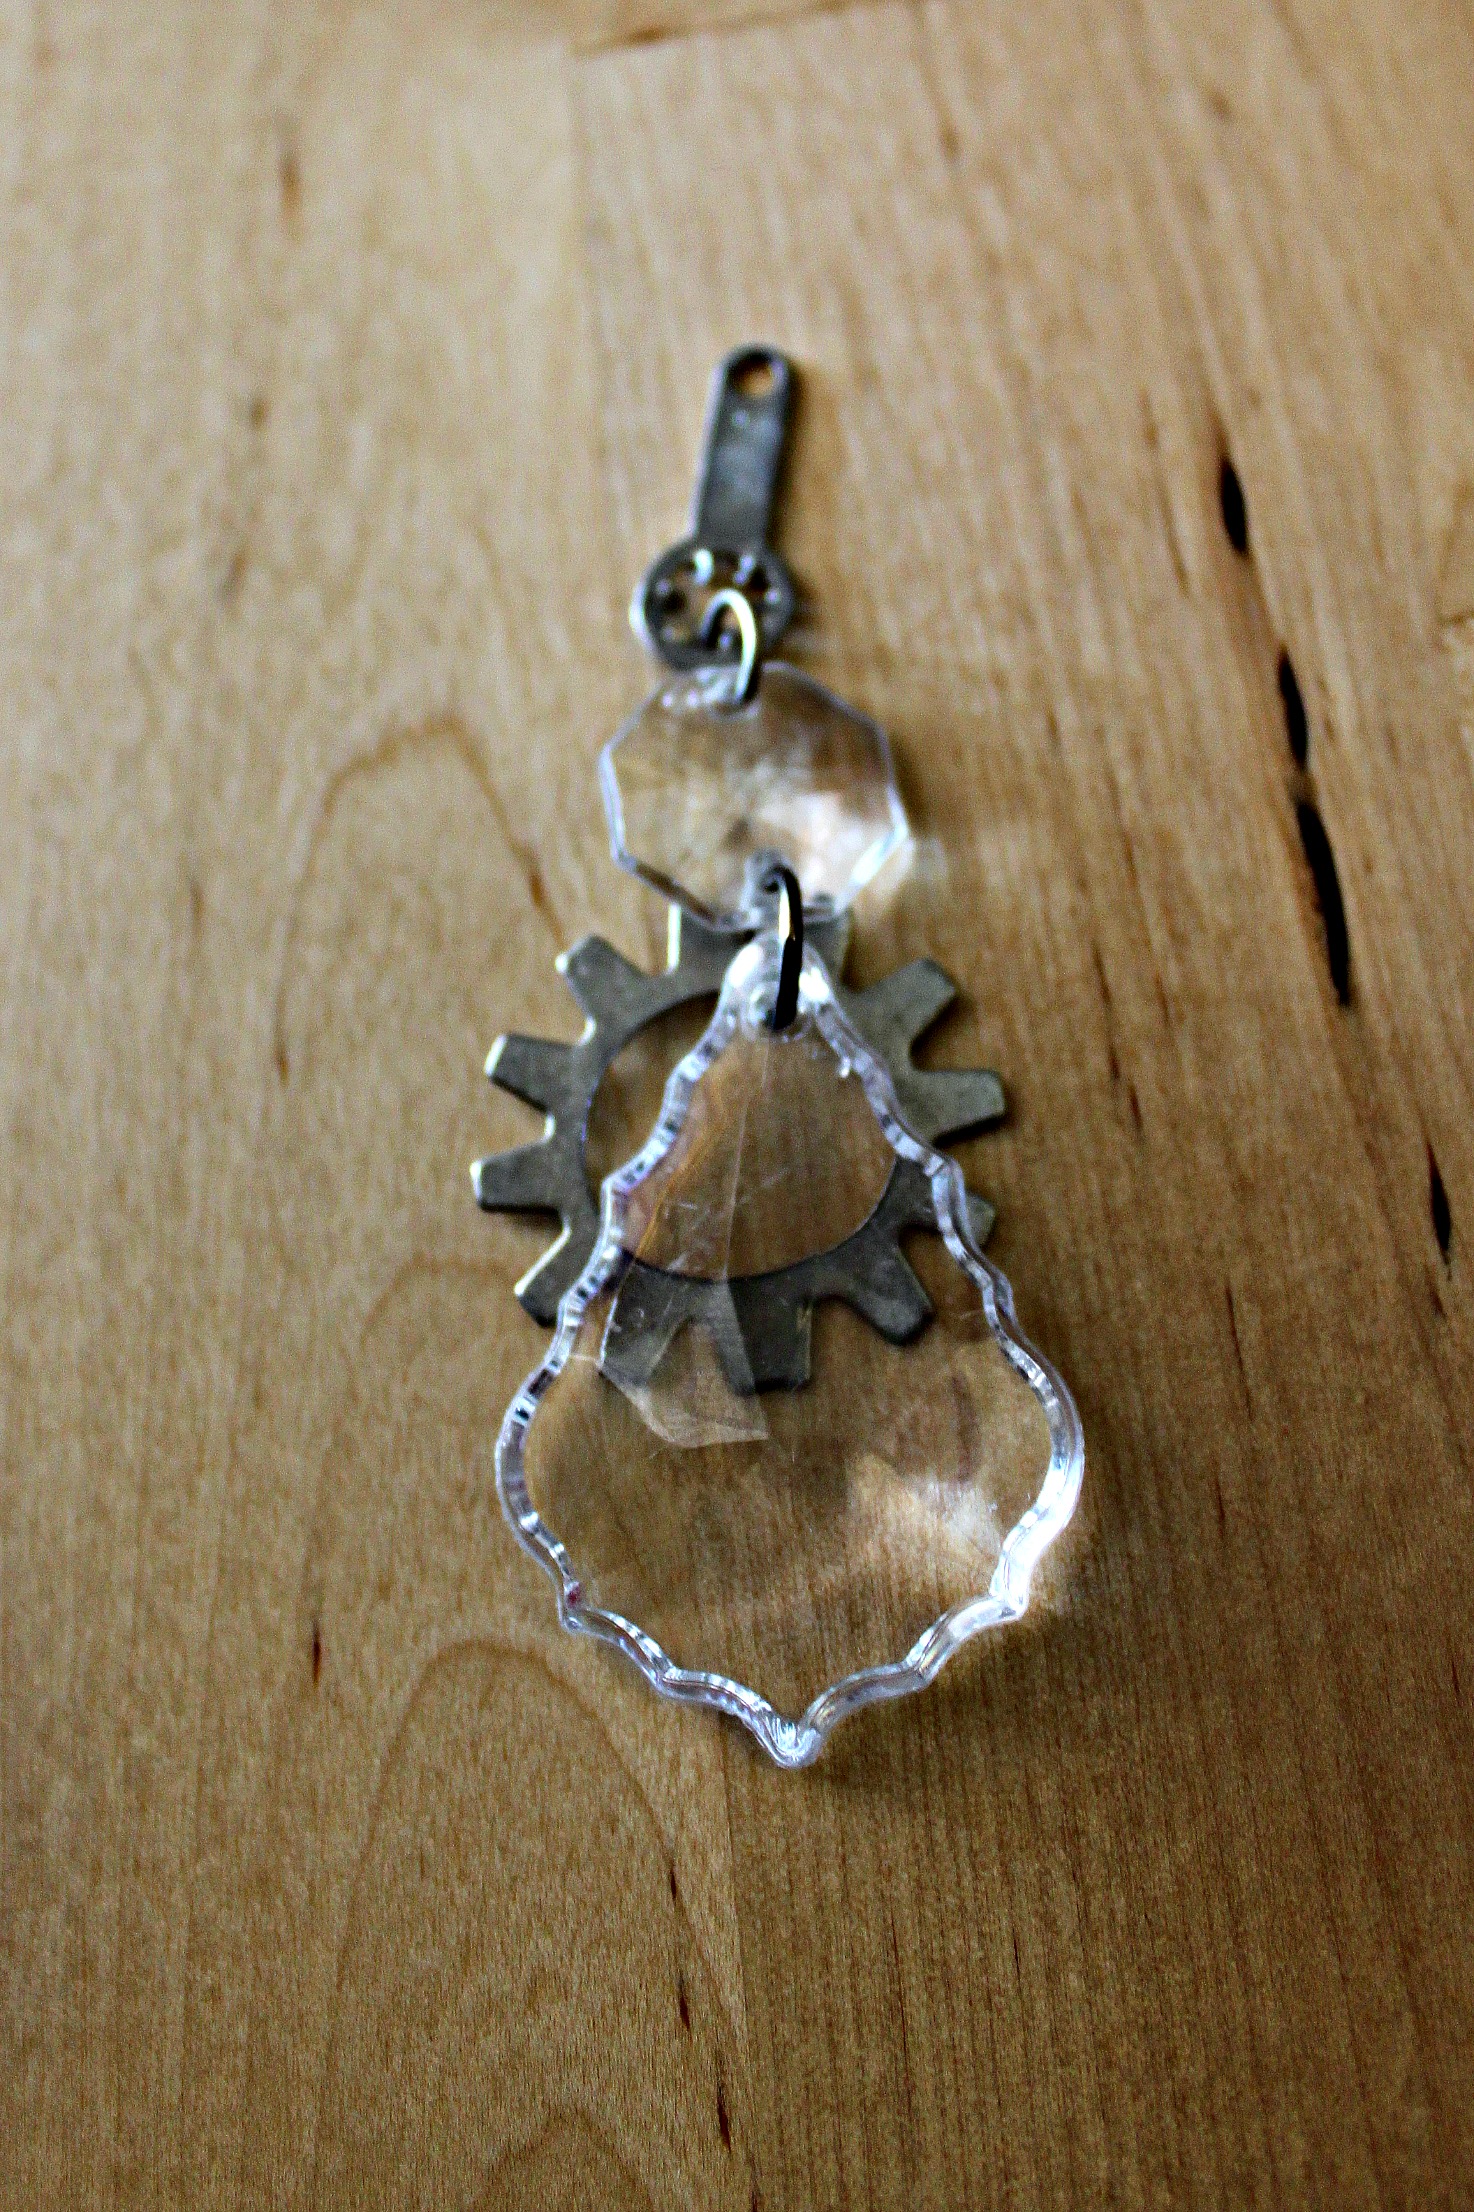 All of the materials are connected in the picture above. Be sure that you put the teardrop bead & the large gear on the same jump ring so that the gear hangs behind the crystal.
 - Next, attach each large crystal & gear pendant to your cake stand using your flat nosed pliers & small jump rings. Attach each large crystal & gear pendant in between your individual bead strings in the space/1 hole you left empty.

- (Optional) Instead of having all teardrop & gear crystal pendants, you could replace one with a skeleton key. If you don't wish to do so, then move on to the next step. (Funny story, this DIY came about because one of my crystal pendants on the cake stand broke, and I decided to steampunk it anyway and replace the crystal for a key. So keep this step in mind if one of your crystals breaks.) Lay out all of the materials for your key pendant along with jump rings. Then connect all of your materials together with your pliers. Then attach to the cake stand in one of the spaces/holes between an individual string of beads.
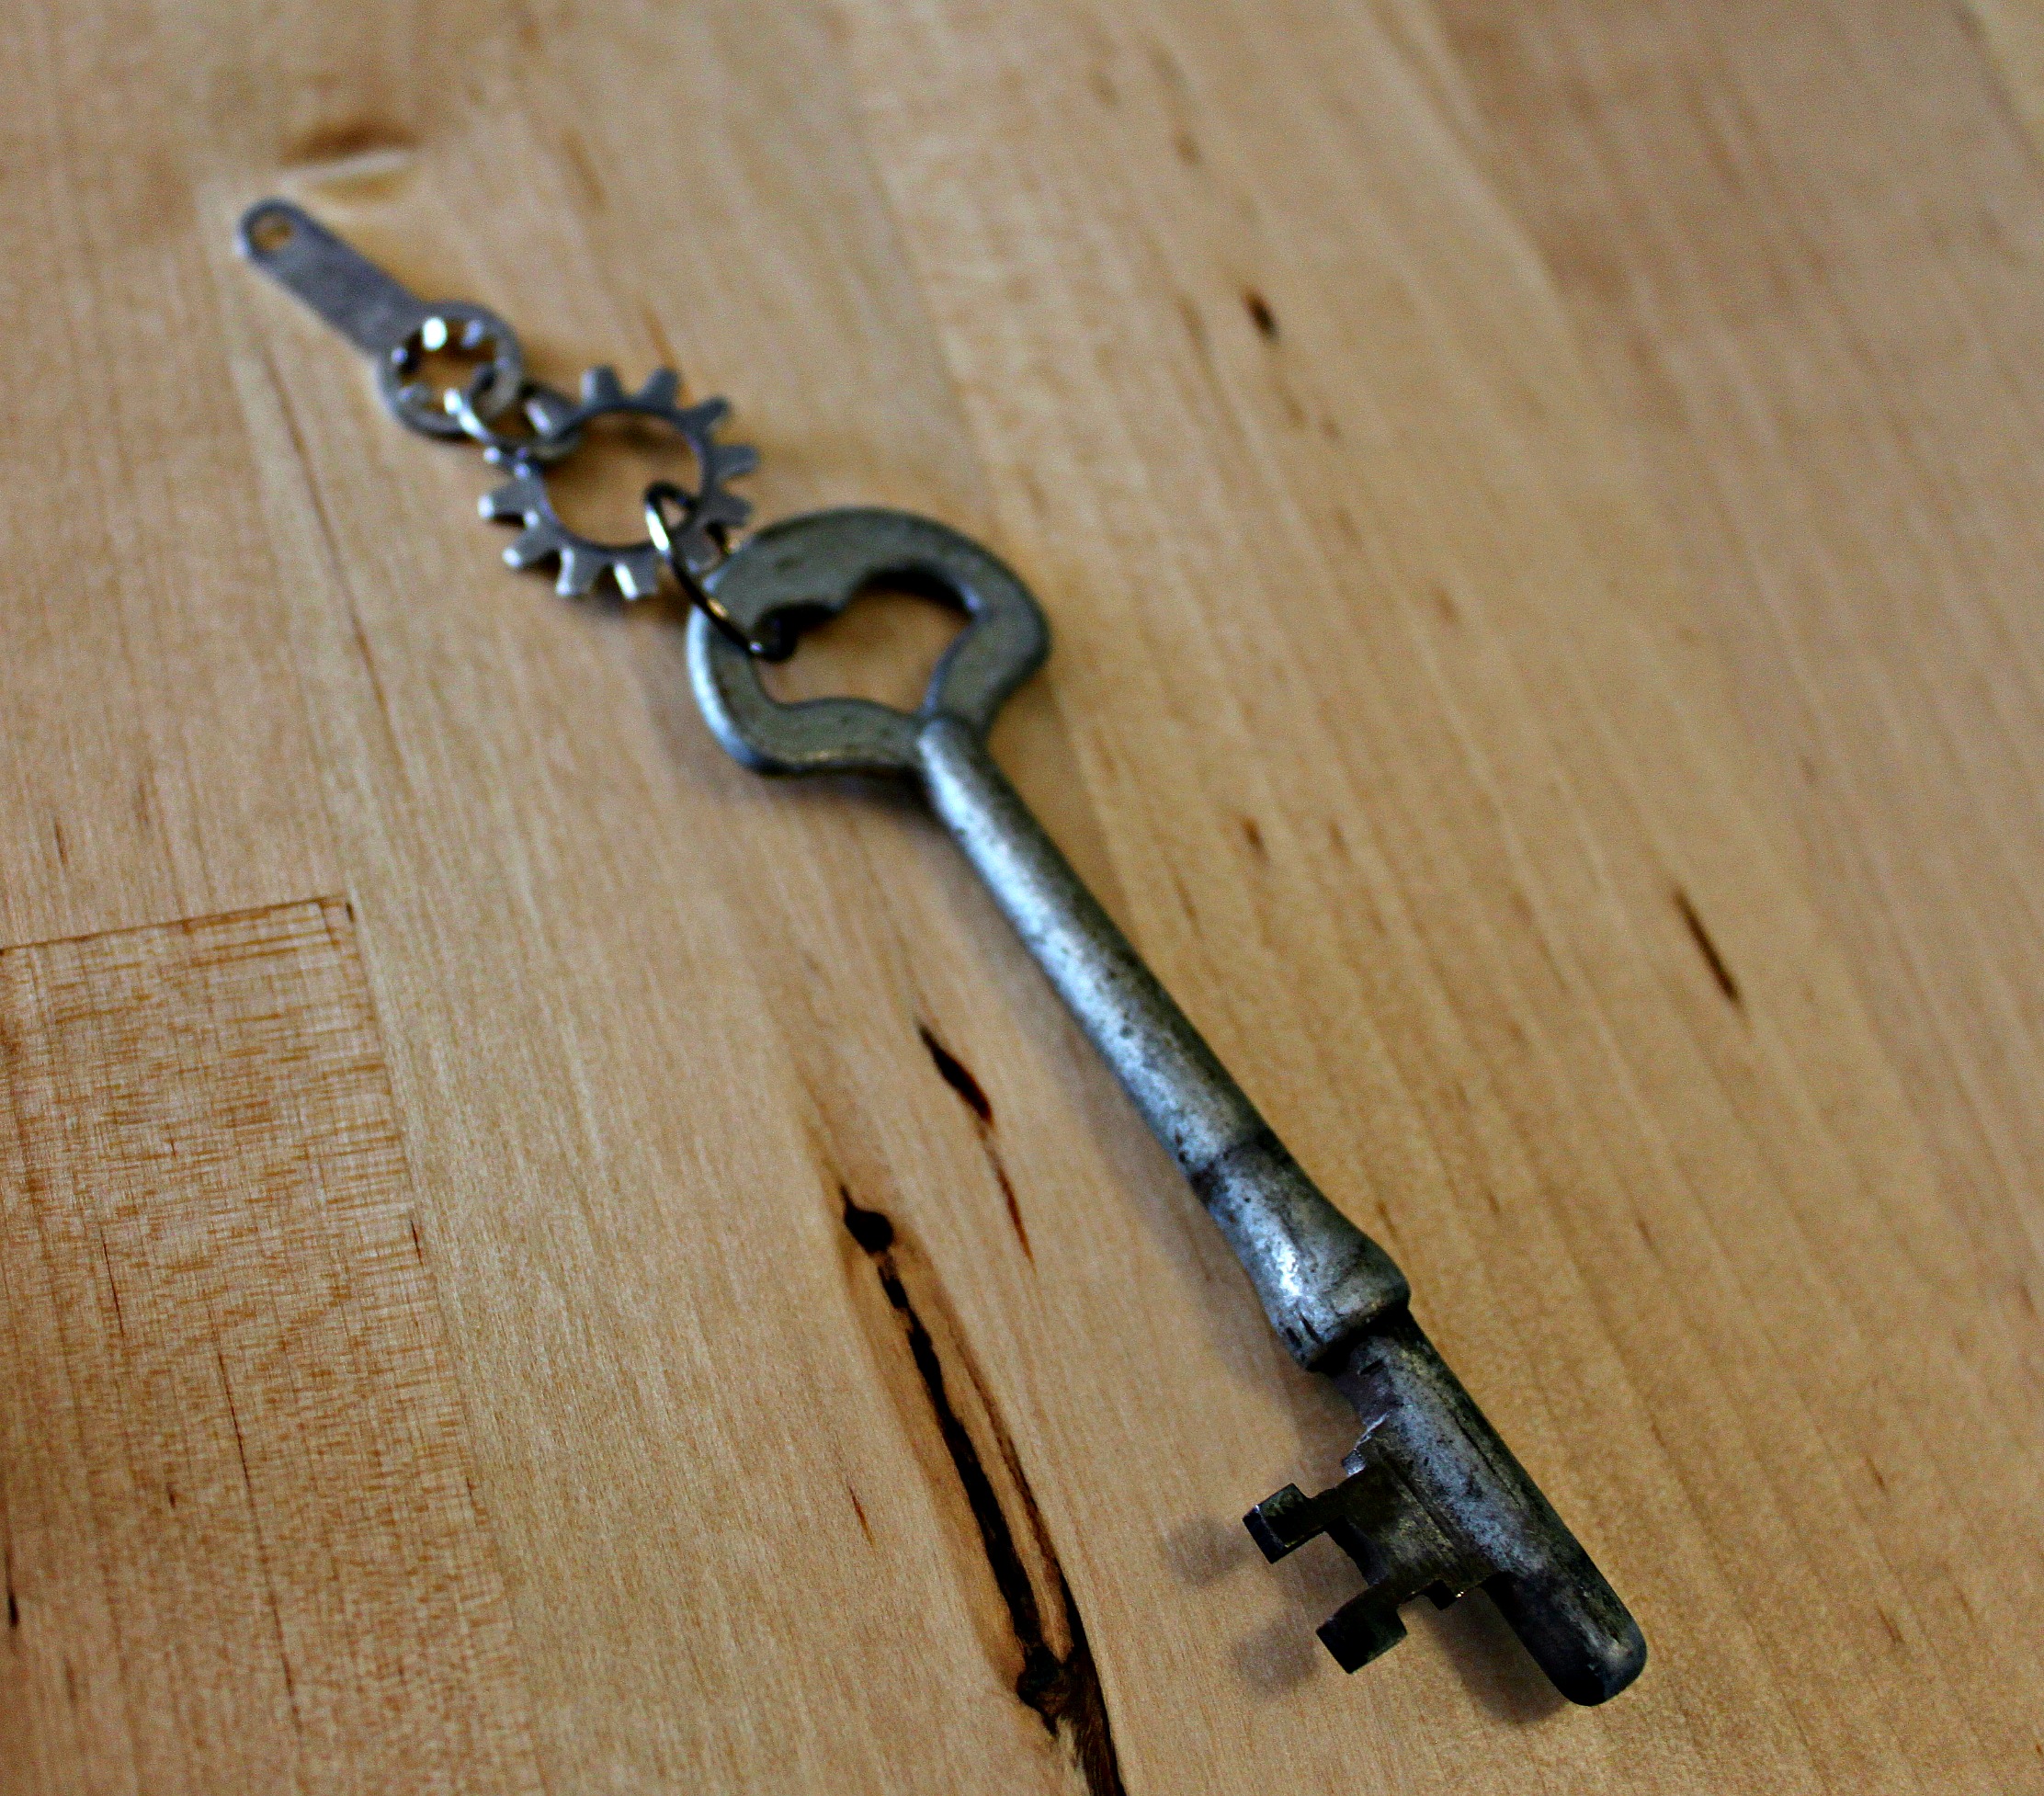 (All connected)
- Get to bakin'! You've got a fancy steampunk cake stand to show off!
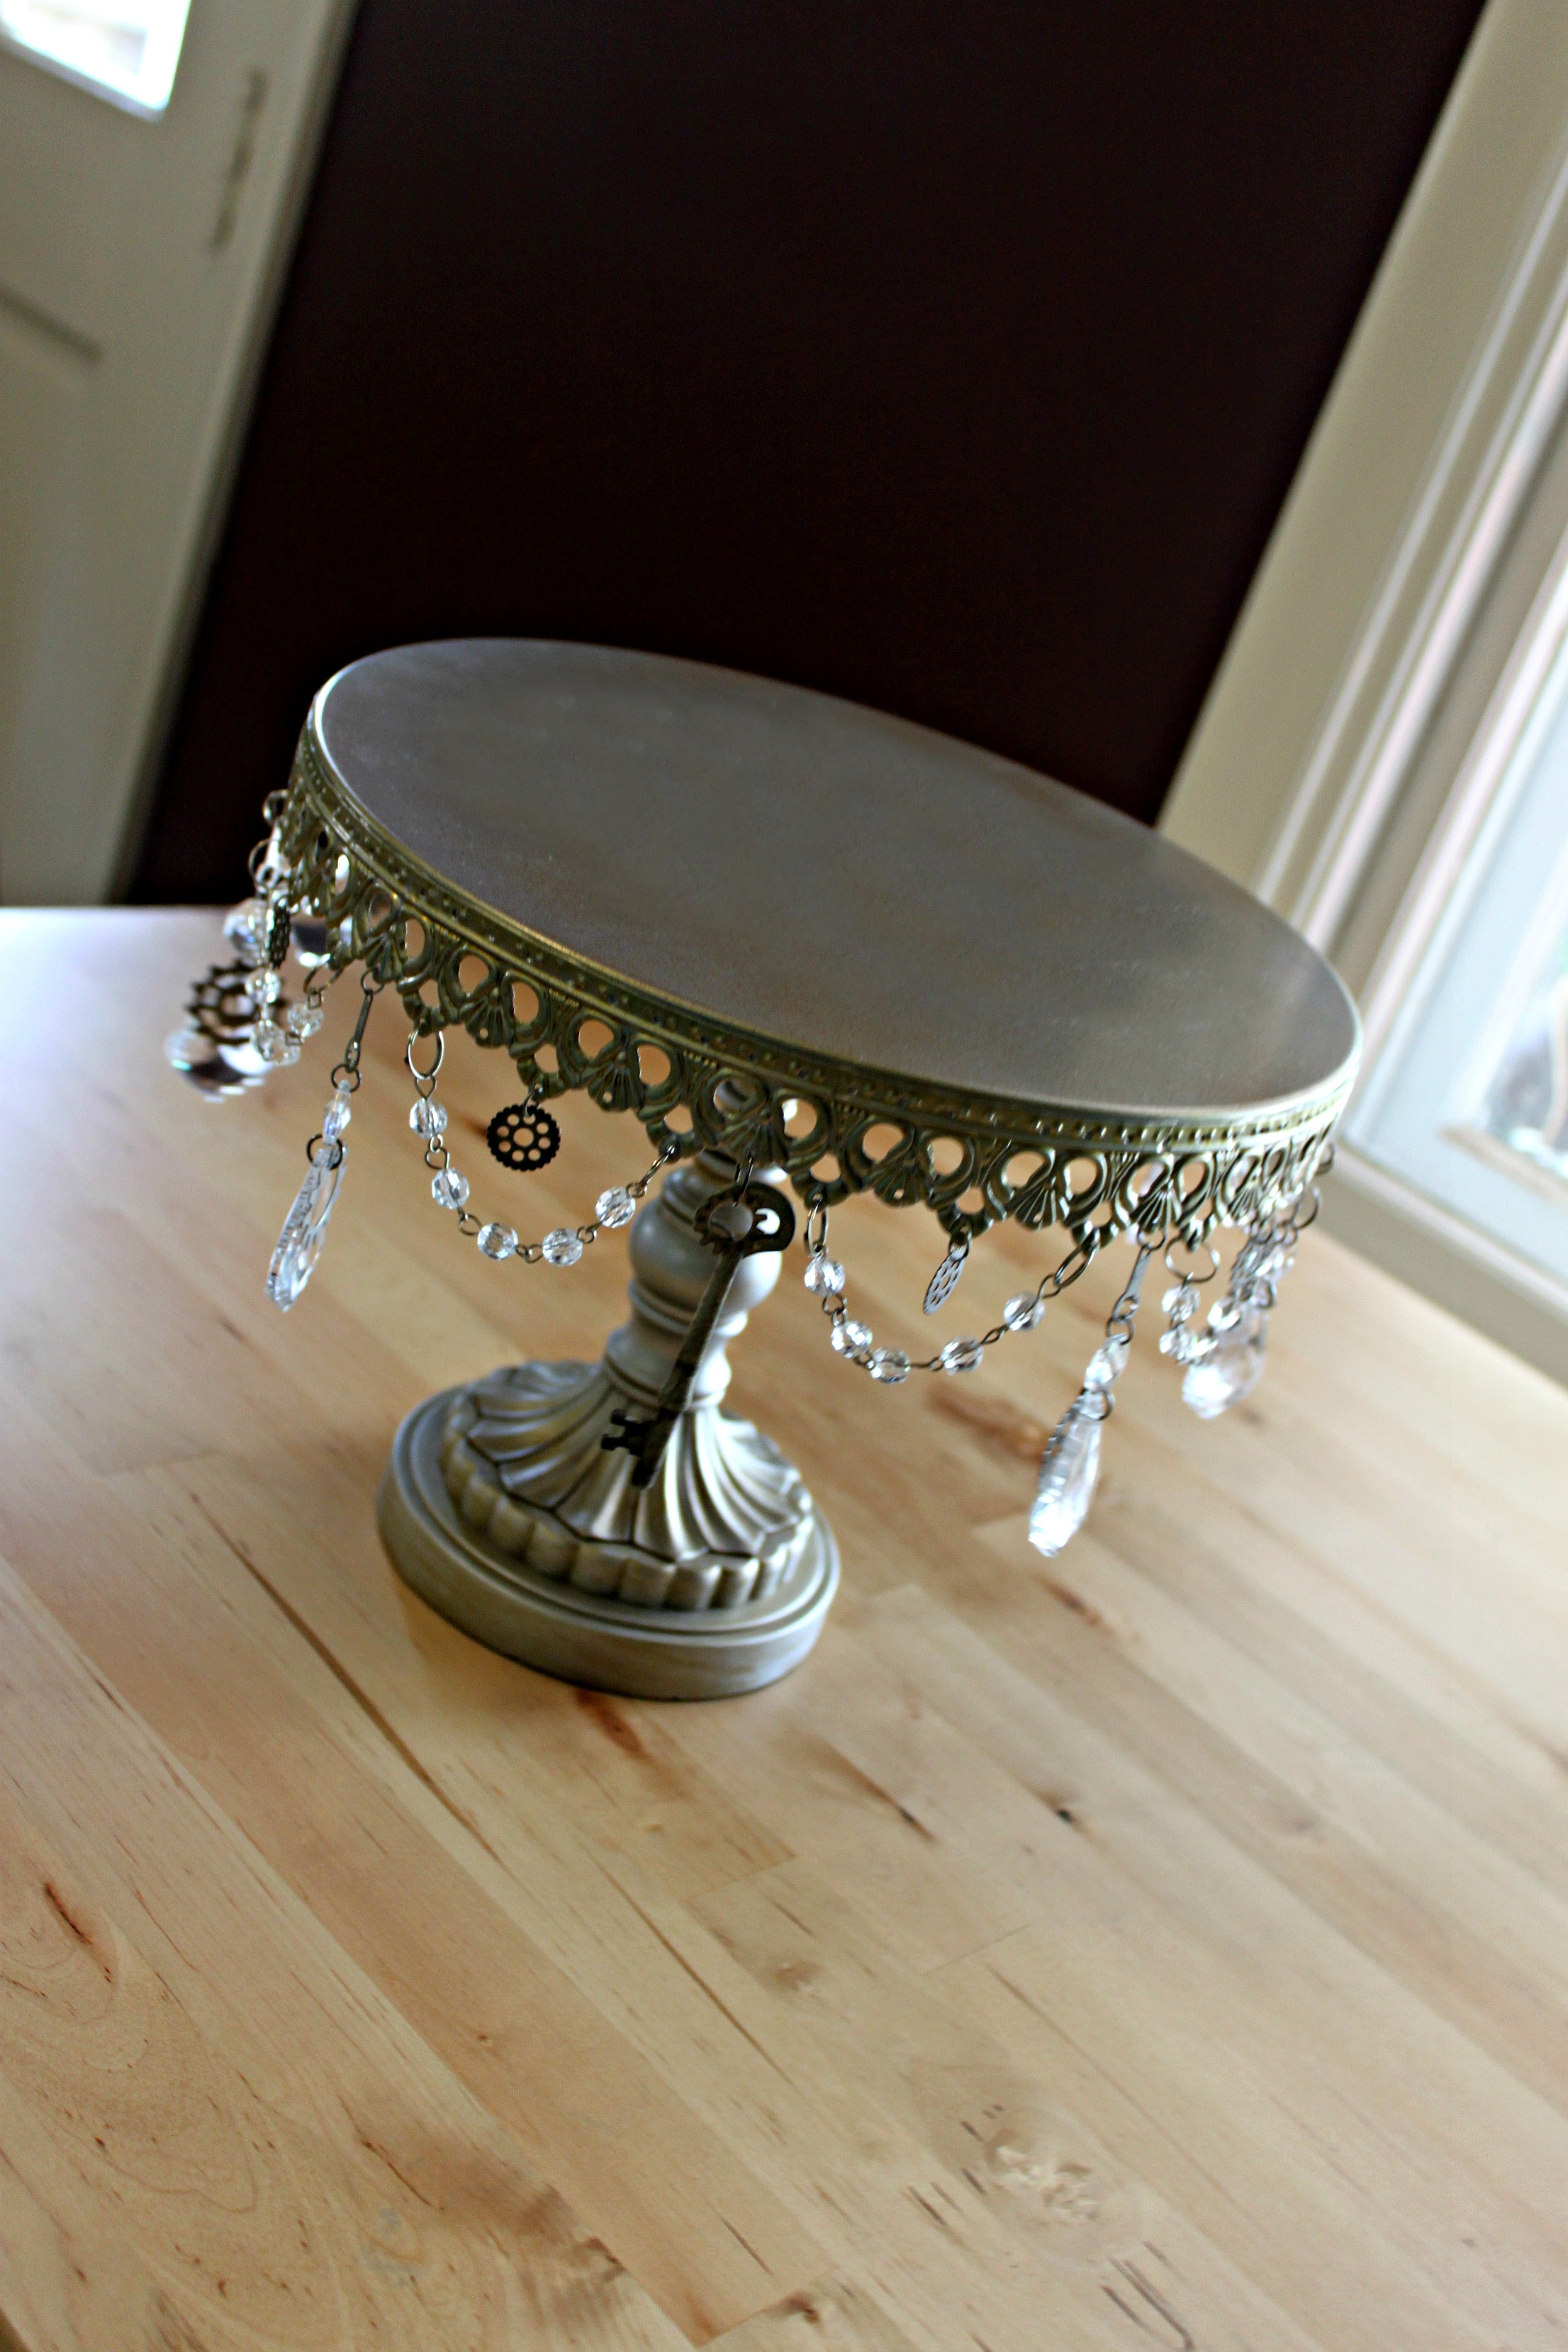
 When mine is not in use, or the cake was gobbled up all too soon, I like to adorn it with a doily.
If you liked this DIY, or are looking for more ways to steampunk your kitchen check out my other baking related post on steampunk cupcakes! As always, Merry Making!
